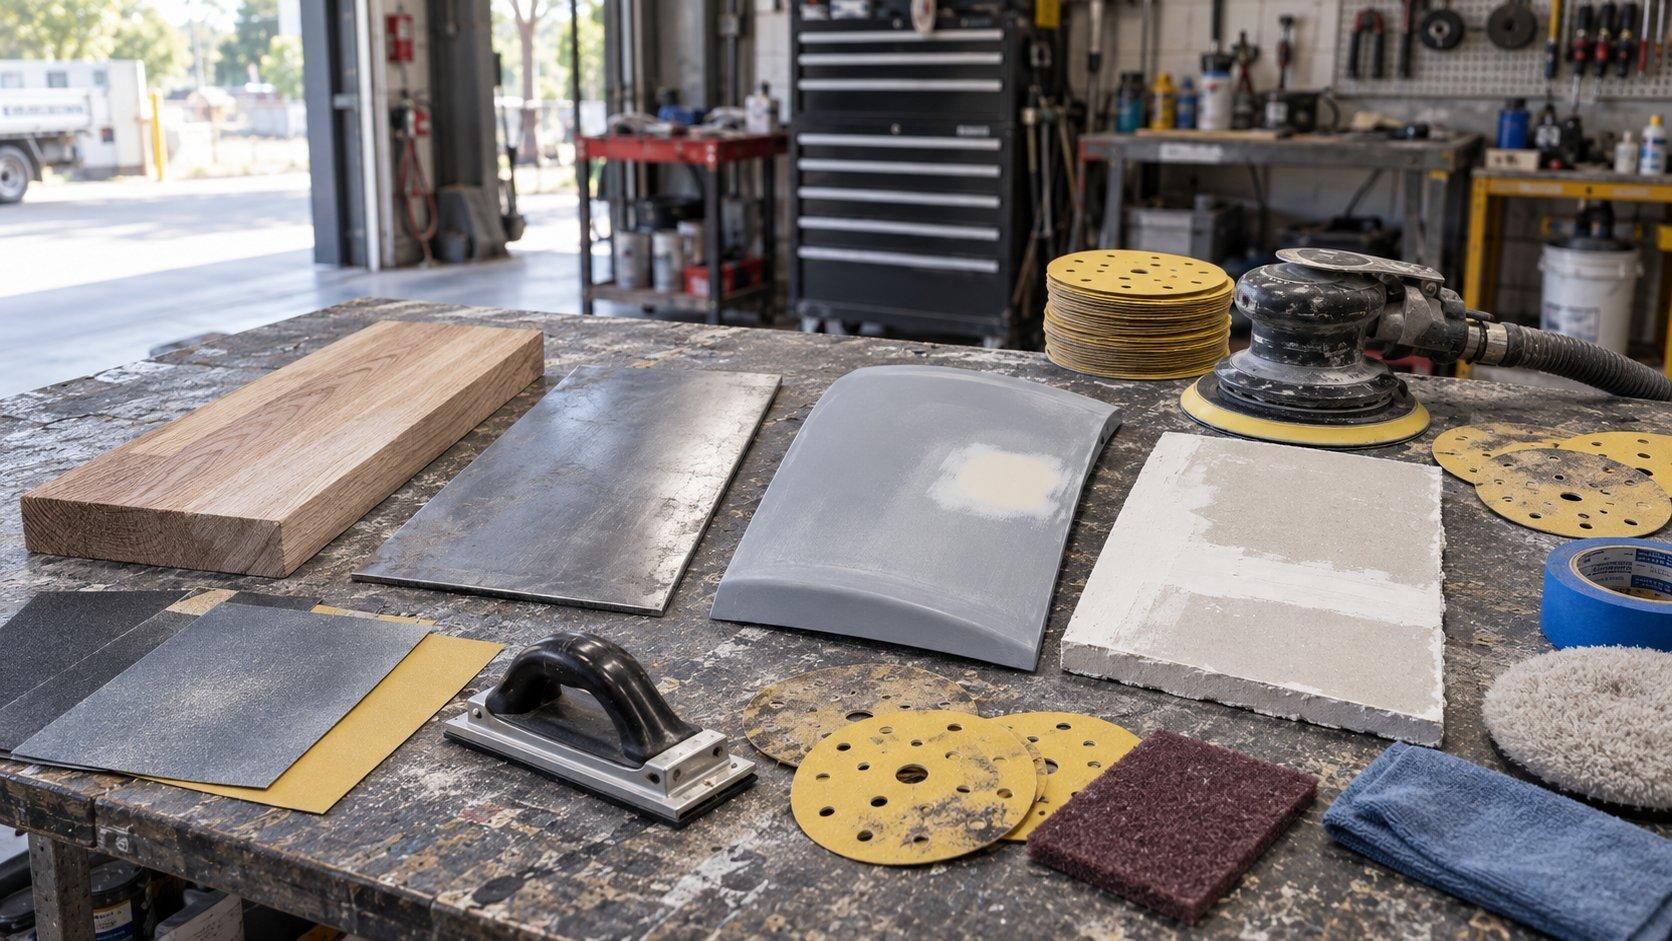
Practical sanding guide for Australian panel shops, cabinet makers, painters, plasterers, fabricators and workshops
```Sandpaper Grit Chart: What Grit to Use for Wood, Metal, Paint & More
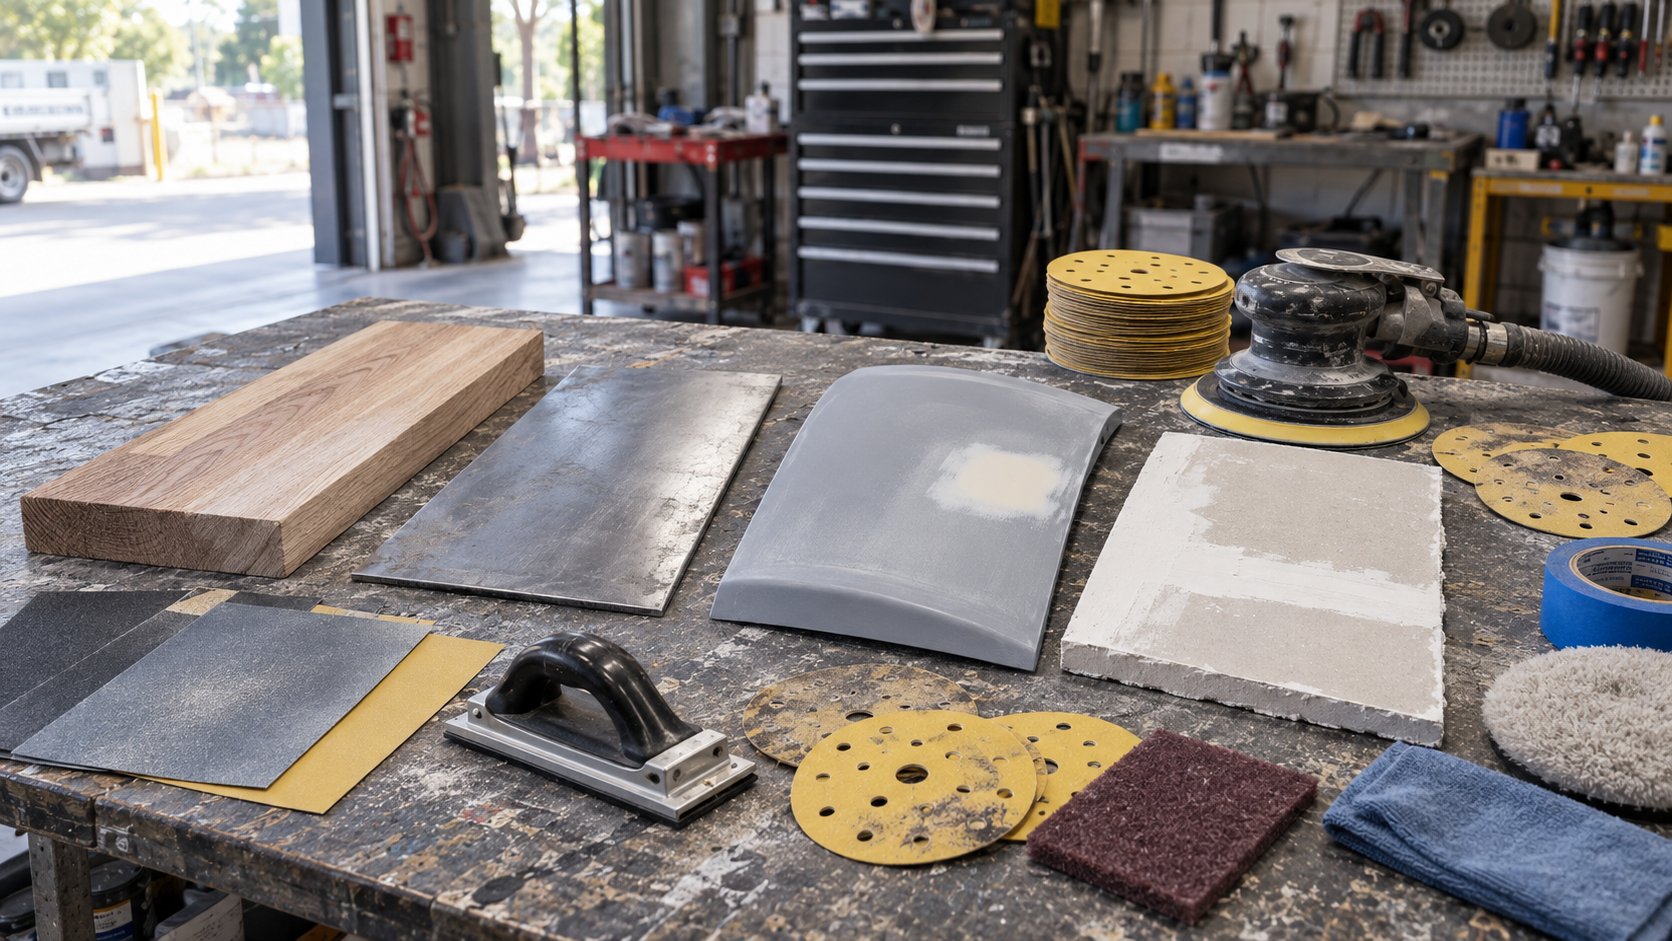
For most sanding jobs, lower grit numbers remove material faster and leave deeper scratches; higher grit numbers remove less material and leave a finer surface. P40–P80 is generally heavy-removal territory, P100–P180 covers a lot of everyday sanding and refinement, P220–P400 moves into fine preparation, and P600 upwards is increasingly specialised finishing work.
The catch is that grit numbers only make sense in context. P180 can be close to finished on bare timber, an intermediate step on body filler and completely inappropriate for clear coat correction. So don't choose sandpaper by number alone. Choose it by material, defect and what comes next.
```Sandpaper grit chart: quick answer by material and job
```If you came here because there is a job sitting on the bench right now, start with this table. These are practical starting ranges. Where primer, paint, varnish, resin or another coating follows, its technical data sheet gets the final say.
| Material / job | Start around | Next grit | Typical finishing range | Best format | Watch out for |
|---|---|---|---|---|---|
| Very rough timber | P40–P60 | P80 | P120–P180 | Disc / belt / sheet | Starting coarse when the timber did not need it |
| General timber sanding | P80 | P120 | P150–P180 | Disc / sheet | Leaving coarse scratches that appear under stain |
| Clean dressed timber | P120 | P150 | P150–P180 commonly | Disc / sheet | Creating extra work by starting unnecessarily coarse |
| MDF cut edge | P120 | P180 | P180–P240 before suitable sealer | Block / sheet / sponge | Rounding crisp cabinetry edges |
| Heavy paint removal | P40–P80 | P80–P120 | Depends on substrate | Ceramic disc / roll | Damage to the material underneath |
| Heavy rust / metal clean-up | P40–P80 | P80–P120 | Coating-system dependent | Disc / suitable mechanical abrasive | Removing sound base metal unnecessarily |
| Body filler shaping | P60–P80 | P120 | P180 then finer as required | Ceramic disc / block | Leaving deep shaping scratches under primer |
| Automotive primer prep | P320–P400 | P500 | P400–P600 commonly | DA disc / block | Ignoring the paint-system TDS |
| Clear coat defect correction | P1500–P2000 commonly | P2000–P3000 | P3000–P4000 before polish | Wet/dry sponge-back disc | Burn-through on edges and high spots |
| Plasterboard joint compound | P150 | P180 | P180–P220 mesh where suitable | Paper / mesh / wall-sander disc | Scuffing the plasterboard paper face |
| Fibreglass repair fairing | P80 where levelling is required | P120–P180 | Coating-system dependent | Disc / block | Sanding through sound laminate or gelcoat |
| Bare gelcoat before paint | P180 | P220 | Up to P280 in suitable systems | Disc / sheet | Using a generic process instead of the paint specification |
| Cured epoxy levelling | P80 | P100–P180 | Depends on coating to follow | Disc / block | Contamination or amine blush |
| Epoxy before fine paint / varnish | P220 | P320 | P220–P400 where specified | Disc / sheet | Sanding too fine for adequate coating adhesion |
Quick rule: use the coarsest grit that removes the defect efficiently without creating a bigger repair, then move through enough intermediate grits to remove the scratch pattern you just made.
Want this beside the sander instead of buried in a browser tab?
SPX Grit Selector: what are you sanding?
```Pick the material first. That takes you straight to the grit ranges, common mistakes and abrasive formats that matter for that job.
What are you trying to do?
Example: rough timber with milling marks → start around P80 → move to P120 → finish around P150–P180 if the coating system suits it. P80 does the cutting. P120 removes the P80 scratch. The final grade prepares the timber for what comes next.
```Key takeaways
```- Lower numbers cut harder. Use them when material genuinely needs to be removed.
- Higher numbers leave a finer scratch. They are for refinement, not a shortcut around proper levelling.
- Do not jump blindly from coarse to very fine. The next abrasive still needs to remove the scratch from the previous one.
- The same grit can have completely different jobs on different materials. P180 on timber is not the same stage of work as P180 on an automotive repair.
- The coating applied next matters. Primer, stain, varnish, epoxy and clear coat can require different final scratch profiles.
- Fresh abrasive matters. A dead P80 disc is not a substitute for P120.
How sandpaper grit numbers actually work
```The grit number describes the abrasive grade. In practical workshop terms, the relationship is simple: lower number means larger abrasive particles and a more aggressive scratch; higher number means smaller particles and a finer scratch.
That distinction matters because sanding has two very different jobs. First you remove defects or shape the surface. Then you refine the scratch left by that work.
| General range | What it is doing | Typical work |
|---|---|---|
| P24–P40 | Very heavy stock removal | Specialist stripping, calibration and aggressive rough work |
| P40–P80 | Coarse removal and shaping | Old paint, rough timber, corrosion, body filler |
| P100–P180 | General sanding and refinement | Timber, filler refinement, intermediate preparation |
| P220–P400 | Fine preparation | Primer, between-coat work and coating preparation |
| P500–P800 | Fine finishing preparation | Selected paint and refinishing processes |
| P1000–P2000 | Very fine correction | Selected wet sanding, clear coat and gelcoat work |
| P3000–P4000 | Pre-polish refinement | Reducing sanding scratches before compounding and polishing |
The table is a map, not a recipe. P180 might finish one piece of timber and only start another preparation process. Always ask what the abrasive needs to achieve next.
```FEPA P-grit vs CAMI grit: don't assume the numbers are identical
```Most professional abrasive ranges sold using grades such as P80, P180 or P600 are referring to the FEPA P-grading system for coated abrasives. FEPA defines these grades using controlled particle-size distributions rather than treating each number as one exact particle diameter.[1]
American abrasive products may use CAMI/ANSI-style grit numbers instead. At several coarse grades the familiar numbers sit reasonably close, but the systems diverge as the abrasive becomes finer. That means an overseas recommendation for “600 grit” should not automatically be interpreted as FEPA P600.
Why there is no conversion table here: fine abrasive standards are not clean one-to-one equivalents. If the process is sensitive enough that the difference matters, compare the actual grading system or particle specification rather than trusting an approximate internet conversion chart.
How to move through sanding grits without wasting discs
```The first useful grit gets the surface into shape. The grits after that progressively replace its scratch with something finer.
A sequence such as P80 → P120 → P180 is common because each step has a manageable job. Mirka even packages P80, P120 and P180 together in one of its professional dust-free hand-sanding kits, which is a good example of the sort of progression workshops use rather than jumping straight from coarse to fine.[2]
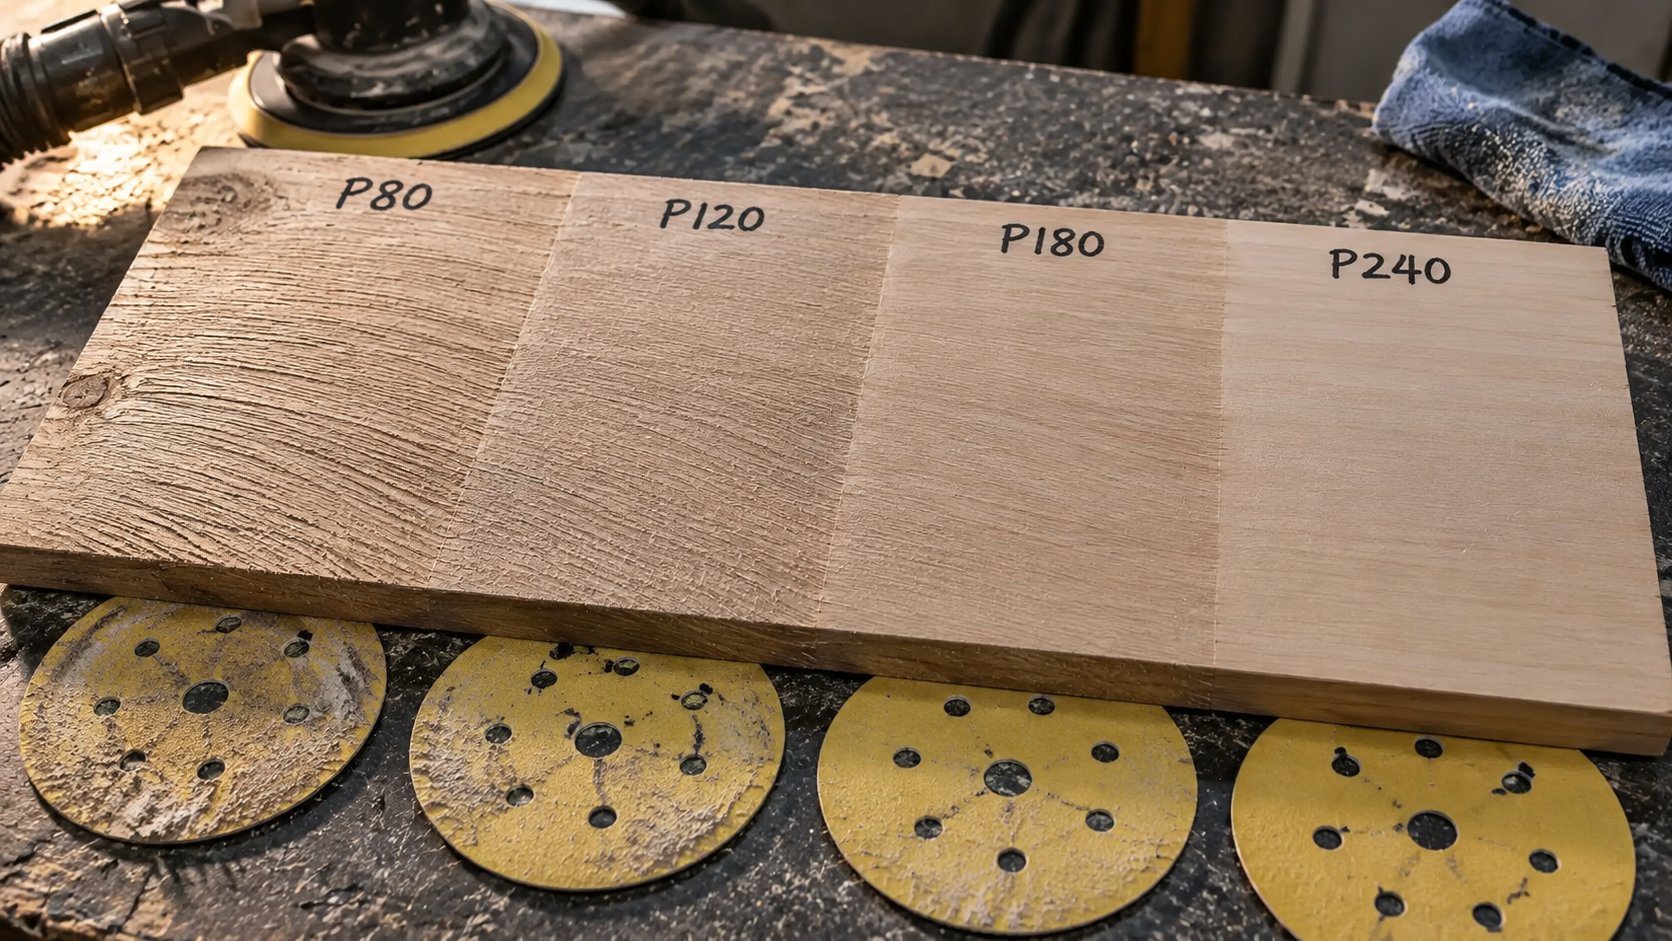
What happens when you skip too far?
Imagine a P80 scratch as a valley. A much finer abrasive removes material slowly from the high points around that valley. It can make the surface feel smooth while some of the deeper P80 scratches remain.
That is how sanding marks survive into stain, primer or paint.
Do you need every grit?
No. Running P80, P100, P120, P150, P180, P220 and P240 on every job would be ridiculous.
The right sequence depends on the abrasive, material, machine and finish standard. Use enough steps that the next grit removes the previous scratch efficiently. Nothing more.
A worn P80 disc does not become P120. It becomes a worn P80 disc: slower cutting, more rubbing, more opportunity for loading and a less predictable scratch. When you need P120, fit P120.
Sandpaper grit chart for wood
```For general timber sanding, P80 → P120 → P150 or P180 is a useful starting progression. If the timber is already dressed and reasonably clean, starting at P120 can save unnecessary work. If there are deep planer marks, old finish or real surface damage, P80 or coarser may be justified.
| Timber condition | Start | Next | Common stopping area |
|---|---|---|---|
| Very rough or damaged timber | P40–P60 | P80 → P120 | P150–P180 depending on finish |
| Planer or milling marks | P80 | P120 | P150–P180 |
| Clean dressed timber | P120 | P150 | P150–P180 commonly |
| Between compatible coating layers | P240 | P320 | P240–P400 as specified |
Do you need P240 before staining?
Not automatically. Timber can be sanded too fine for the finish being applied. A very fine scratch may change how some penetrating stains and oils take into the surface, while stopping too coarse can leave obvious sanding marks.
For a lot of joinery work, somewhere around P150–P180 is a practical finishing zone. Then check the coating instructions rather than sanding finer because “finer must be better”.
Watch cross-grain scratches
When hand sanding exposed timber, finish with the grain where practical. A faint cross-grain scratch has a habit of disappearing on raw timber and returning the second stain hits it.
Working through timber every day? Browse SPX sanding discs for machine sanding or SPX sanding sheets for hand and block work.
```What grit sandpaper should you use for MDF and cabinetry?
```For cut MDF edges, P120–P180 is a practical refinement range before an appropriate sealer or primer. Once primed, P240–P400 may suit further refinement depending on the paint system.
The MDF face and its cut edge are not the same surface. The factory face can be relatively smooth while a routed or sawn edge is porous and furry. Don't keep attacking a sound face simply because the edge still needs work.
Use a block when the edge needs to stay crisp
A soft abrasive is excellent on mouldings and curved profiles. It is less helpful when you are trying to keep a cabinet edge dead straight. Support the abrasive properly and let the block preserve the shape.
For profiles, mouldings and edges, the SPX sanding sponge roll P120–P400 gives you a flexible abrasive that follows contours more easily than a rigid sheet.
```What grit sandpaper should you use for metal?
```For aggressive rust or coating removal, P40–P80 is a common working range. P80–P180 covers a lot of general metal refinement. The final grit before primer or coating should come from that coating system's preparation requirements.
Metal is where “smooth” and “ready to coat” get confused. A polished-looking steel surface can be worse for adhesion than a correctly prepared, visibly scratched surface.
Heavy rust and coating removal
If the job genuinely requires material removal, use an abrasive capable of cutting. Trying to remove serious corrosion with P240 because it feels safer usually means heat, wasted abrasive and a lot of standing around.
Once the unwanted material is gone, refine the scratch only as far as the next process requires.
Bare metal before primer
There is no universal pre-primer grit for all steel or aluminium. Automotive primer, marine systems, industrial epoxies and decorative coatings can ask for very different surface profiles.
That is why the coating TDS wins over a general grit chart.
For suitable coarse dry-sanding work, see the SPX 150mm ceramic sanding discs in the coarse P40–P80 range.
```Sandpaper grit for automotive paint, body filler and primer
```Body filler commonly starts around P60–P80 for shaping, moves through P120–P180 for refinement and then finer as the repair heads toward primer. Primer preparation commonly reaches P400–P600 territory in many systems, while clear coat correction uses much finer abrasives such as P1500–P3000.
That is deliberately only the short version.
A car repair moves through too many distinct surfaces to squeeze the entire process into one row of a general chart. Bog, feather edges, primer surfacer, existing paint, blend areas and clear coat all need different treatment.
For the full workflow, use the dedicated SPX automotive sandpaper grit chart for body filler, primer, paint and clear coat.
For DA preparation from P120 upwards, see the current SPX 150mm ceramic sanding disc range P120–P1200.
```What grit sandpaper should you use for plasterboard?
```For typical plasterboard joint finishing, CSR Gyprock specifies 150-grit sandpaper or 150–220-grit sanding mesh for its Less Mess Multi-Purpose compound, while other Gyprock products specify 180-grit paper or 220-grit mesh.[3]
That is a much better basis than the vague advice to “use fine paper”. Joint compound is soft. The job is to remove ridges and blend the edge, not grind away half the joint.
| Plasterboard job | Useful range | Main goal |
|---|---|---|
| Obvious dried ridge or rough patch | P120–P150 where appropriate | Knock down the high spot carefully |
| General joint finishing | P150–P180 | Blend compound and feathered edges |
| Fine finishing | P180–P220 mesh | Leave an even paint-ready joint |
Keep wall sanders flat. Use extraction. Don't hover on one spot. Once the plasterboard paper face has been chewed up, changing to a finer disc will not put it back.
For 225mm wall sanders, see the SPX 225mm plaster sanding discs P80–P220.
```Sandpaper grit for fibreglass and gelcoat
```There are at least three different jobs hiding under “sand fibreglass”: levelling a repair, preparing gelcoat for paint and correcting the appearance of finished gelcoat. Treating them as one process is asking for trouble.
Repair fairing
Where cured fairing compound or repair material genuinely needs flattening, P80 is a common aggressive starting point. Once the shape is right, refine the scratch rather than continuing to remove material.
Bare gelcoat before paint
International Yacht Paint's Australian guidance specifies 180-grit paper on bare GRP/FRP in certain repair processes, working progressively finer to approximately 280 grit around the surrounding coating. It also specifically notes that bare gelcoat should be sanded in the 180–280 range for that paint-repair process.[5]
That is manufacturer guidance for a particular coating system, not a universal law for every marine product. If another primer or topcoat specifies a different preparation, use its process.
Gelcoat correction
Fine cosmetic correction is completely different. If you are trying to remove oxidation, minor texture or finishing defects from intact gelcoat before polishing, start as fine as the defect allows. Do not bring repair-fairing grits into a finishing job without a reason.
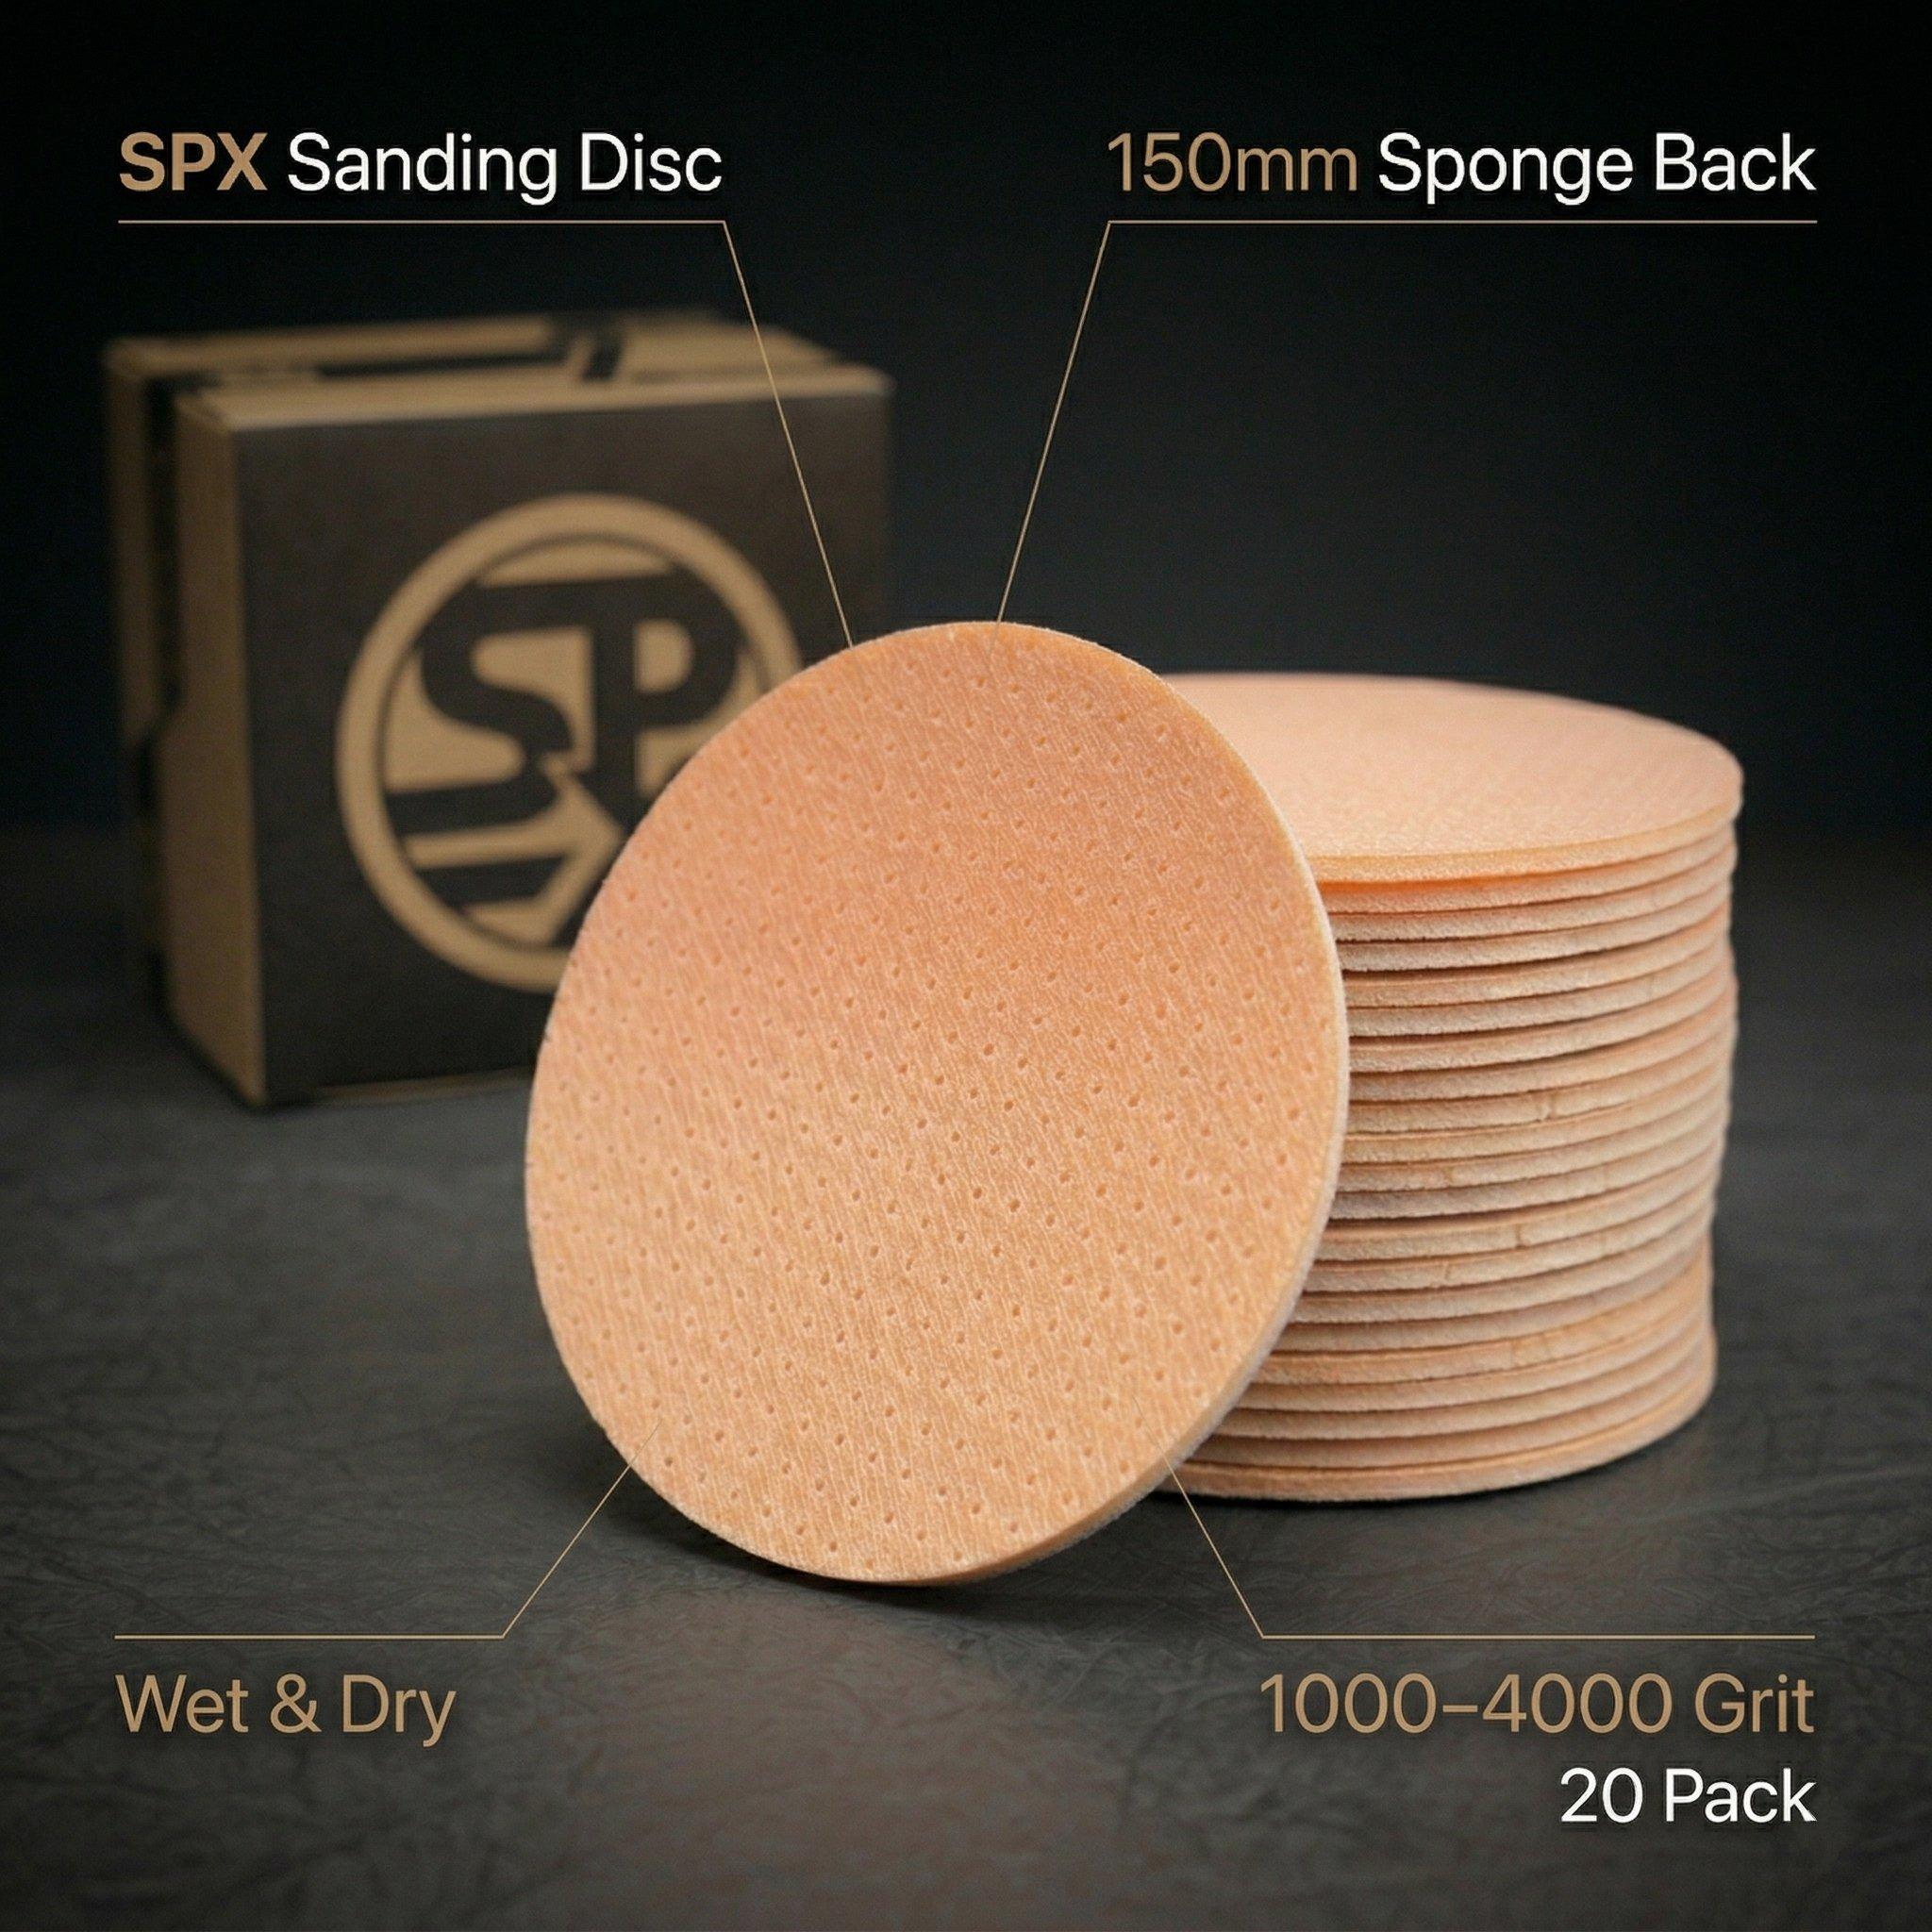
For compatible fine wet or dry finishing, see SPX 150mm sponge-back wet/dry discs P1000–P4000.
```What grit sandpaper should you use for epoxy?
```Cured epoxy can need anything from P80 for serious levelling to P220–P400 before a fine finish. What you plan to put over the epoxy determines where the sanding stops.
West System Australia's preparation guidance is useful here. It says roughly P80–P100 can suit a high-build or filling primer, P120–P180 may suit primers and high-solids coatings, while P220–P400 can prepare for many paints or varnishes. It also warns that sanding finer can leave insufficient tooth for adhesion.[4]
| Epoxy job | Guidance | Why |
|---|---|---|
| Runs, sags or levelling | Start around P80 where required | Actual stock removal |
| Before high-build / filling primer | P80–P100 | Mechanical key for a filling coating |
| Before suitable primers / high-solids coatings | P120–P180 | Refinement while retaining tooth |
| Before fine paint / varnish | P220–P400 | Finer preparation for the finish system |
Clean cured epoxy properly before sanding
Some epoxy systems develop amine blush. West System instructs users to wash the surface appropriately before final preparation.[4] Grinding surface contamination into the job is not preparation.
Do not chase the highest grit number. If the next coating needs mechanical tooth, sanding the epoxy finer and finer can actively work against adhesion.
What grit sandpaper should you use to remove paint?
```P40–P80 is the main aggressive paint-removal range, while P80–P120 gives you more control when you are approaching a sound substrate or coating.
Thick paint on a heavy steel component and a thin finish on veneer obviously cannot be treated the same way. The best starting grit is coarse enough to work efficiently without making the substrate repair harder than the paint removal.
You do not always need bare substrate
If an existing coating is sound, stable and compatible with the new system, the correct preparation may be cleaning, feathering defects and keying the coating rather than stripping everything to bare material.
Unknown old paint deserves caution
Do not automatically put a power sander on old coatings when you do not know what they contain. Hazardous coating dust changes the job from a simple grit-selection exercise into a workplace exposure problem.
For heavier compatible removal work, start with the SPX coarse ceramic 150mm disc range rather than trying to force a finishing grit to strip material.
```What grit sandpaper should you use before painting?
```There is no universal “grit before paint” because the surface underneath matters just as much as the paint.
| Surface | Common preparation area | Final authority |
|---|---|---|
| Bare timber | P150–P180 commonly | Primer / paint instructions |
| MDF | P180–P240 before suitable sealer, finer after primer as needed | MDF finishing system |
| Automotive primer | P400–P600 commonly | Paint-system TDS |
| Steel / aluminium | System dependent | Primer specification |
| Plasterboard compound | P150–P220 | Jointing and paint system |
| Bare gelcoat | P180–P280 in the cited marine system | Marine coating specification |
| Cured epoxy | P80–P400 depending on coating | Epoxy and coating manufacturers |
If the TDS gives a preparation requirement, use it. The grit chart gets you into the right area. The manufacturer of the product being applied has to decide the final surface it needs.
What grit sandpaper should you use between coats?
```P240–P400 is a common between-coat range for many painted and timber-finishing jobs, where the product actually calls for sanding. Mirka's wood-finishing guidance similarly recommends medium abrasives around P240–P400 for intermediate sanding of painted timber surfaces.[7]
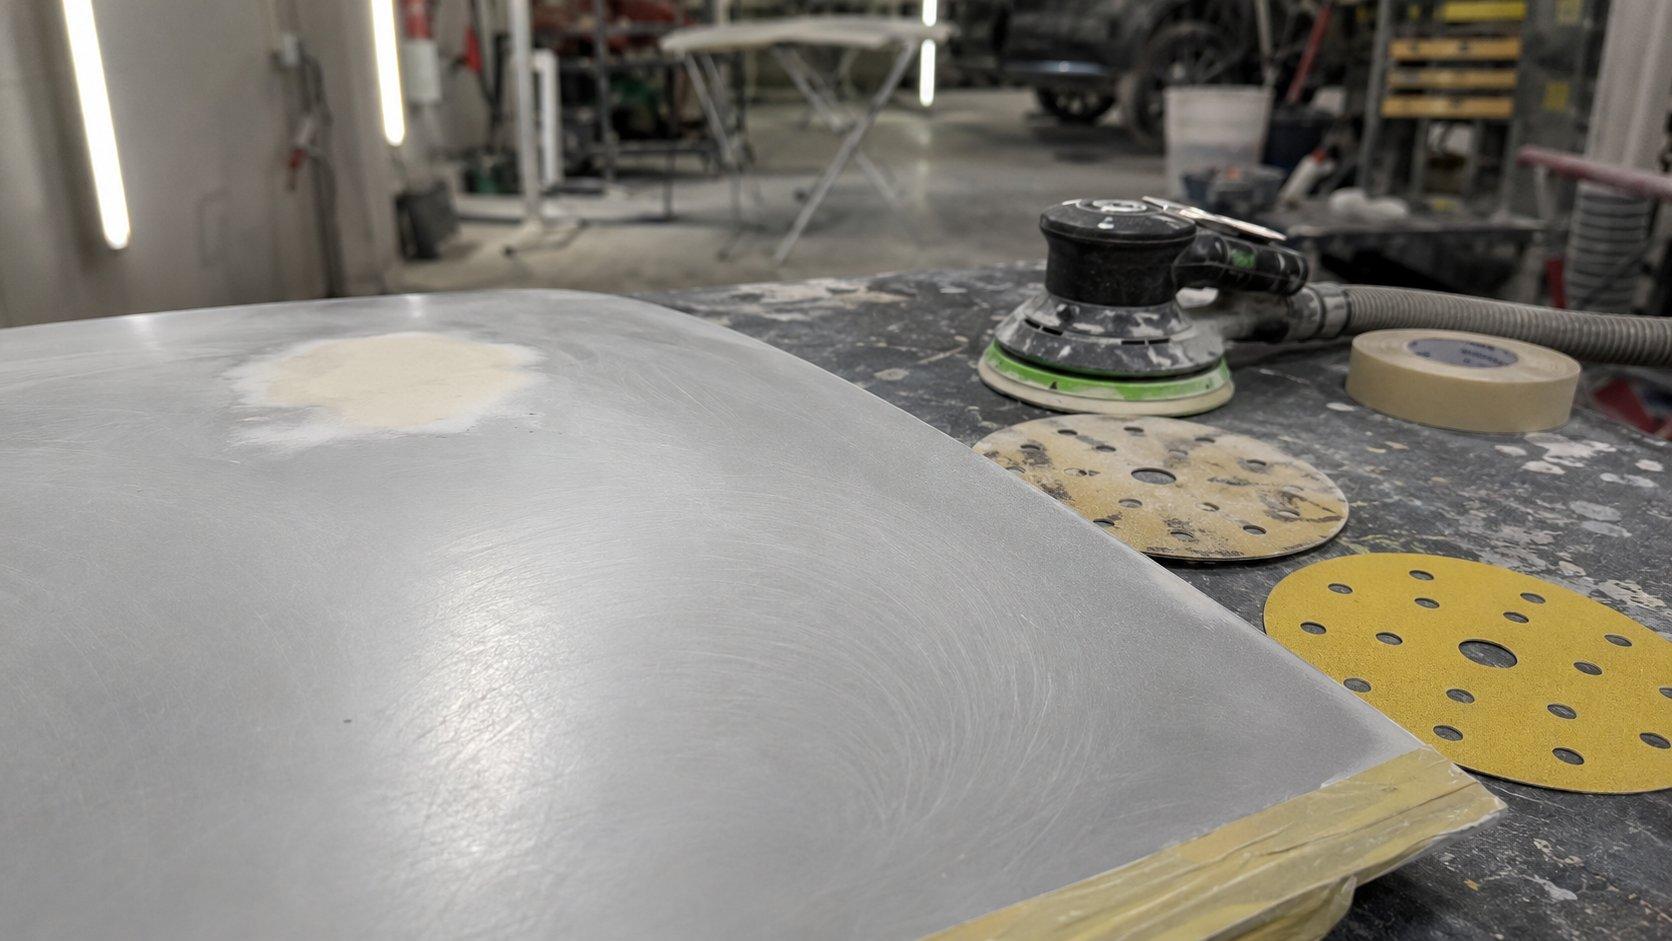
Between-coat sanding is usually about dust nibs, raised fibres, light texture and creating the required key. It is not the stage to discover the panel or piece was never flat.
If you still have a major low spot, ridge or deep scratch, go back and correct it properly. A fine abrasive can refine a surface. It cannot straighten one.
```Wet sanding vs dry sanding: which should you use?
```Wet and dry describe the sanding method, not how coarse the abrasive is. The workpiece, abrasive backing and finishing process decide which method makes sense.
| Dry sanding | Wet sanding |
|---|---|
| Works naturally with dust extraction | Water carries away fine sanding residue |
| Common for filler, primer, timber, metal and plaster preparation | Common in suitable clear coat, gelcoat and fine finishing processes |
| Easy to inspect continuously | Can reduce loading with compatible abrasives |
| Requires appropriate airborne-dust controls | Requires a water-compatible substrate, coating and abrasive |
Do not wet sand simply because someone said it creates a better finish. Water needs to be compatible with the job, and the abrasive needs to be designed to use it.
```Which abrasive format should you use: disc, sheet, roll, sponge or block?
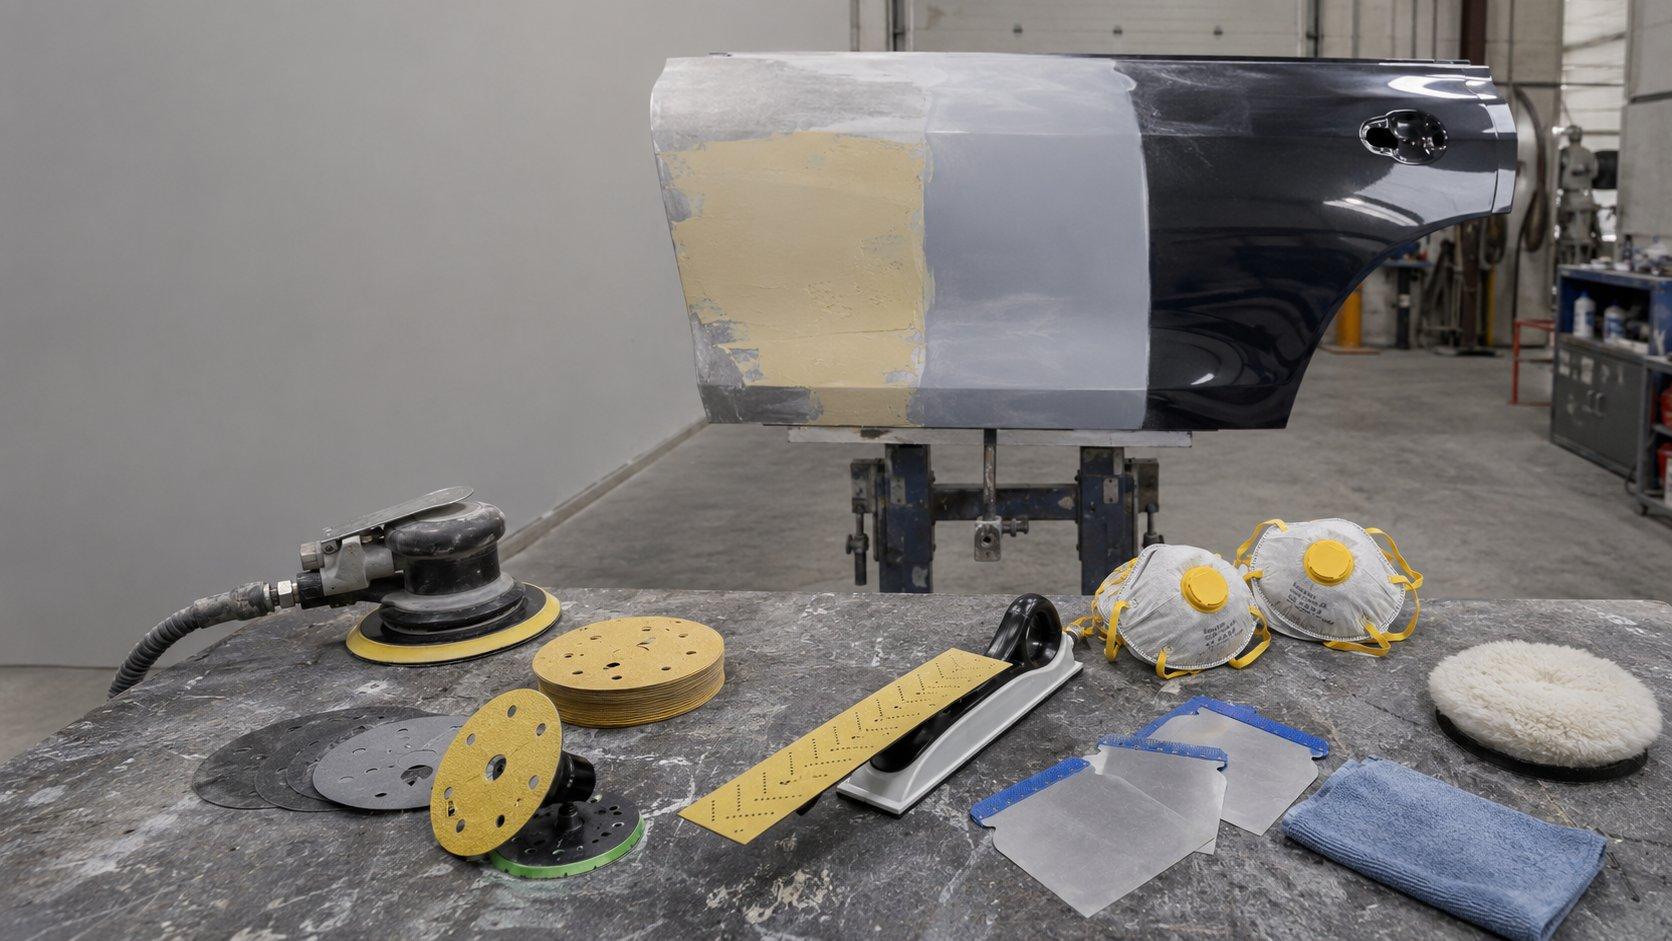
```Grit is only half the sanding system. A P180 abrasive on a hard block behaves differently from P180 on a soft interface pad because the backing controls how the abrasive follows the surface.
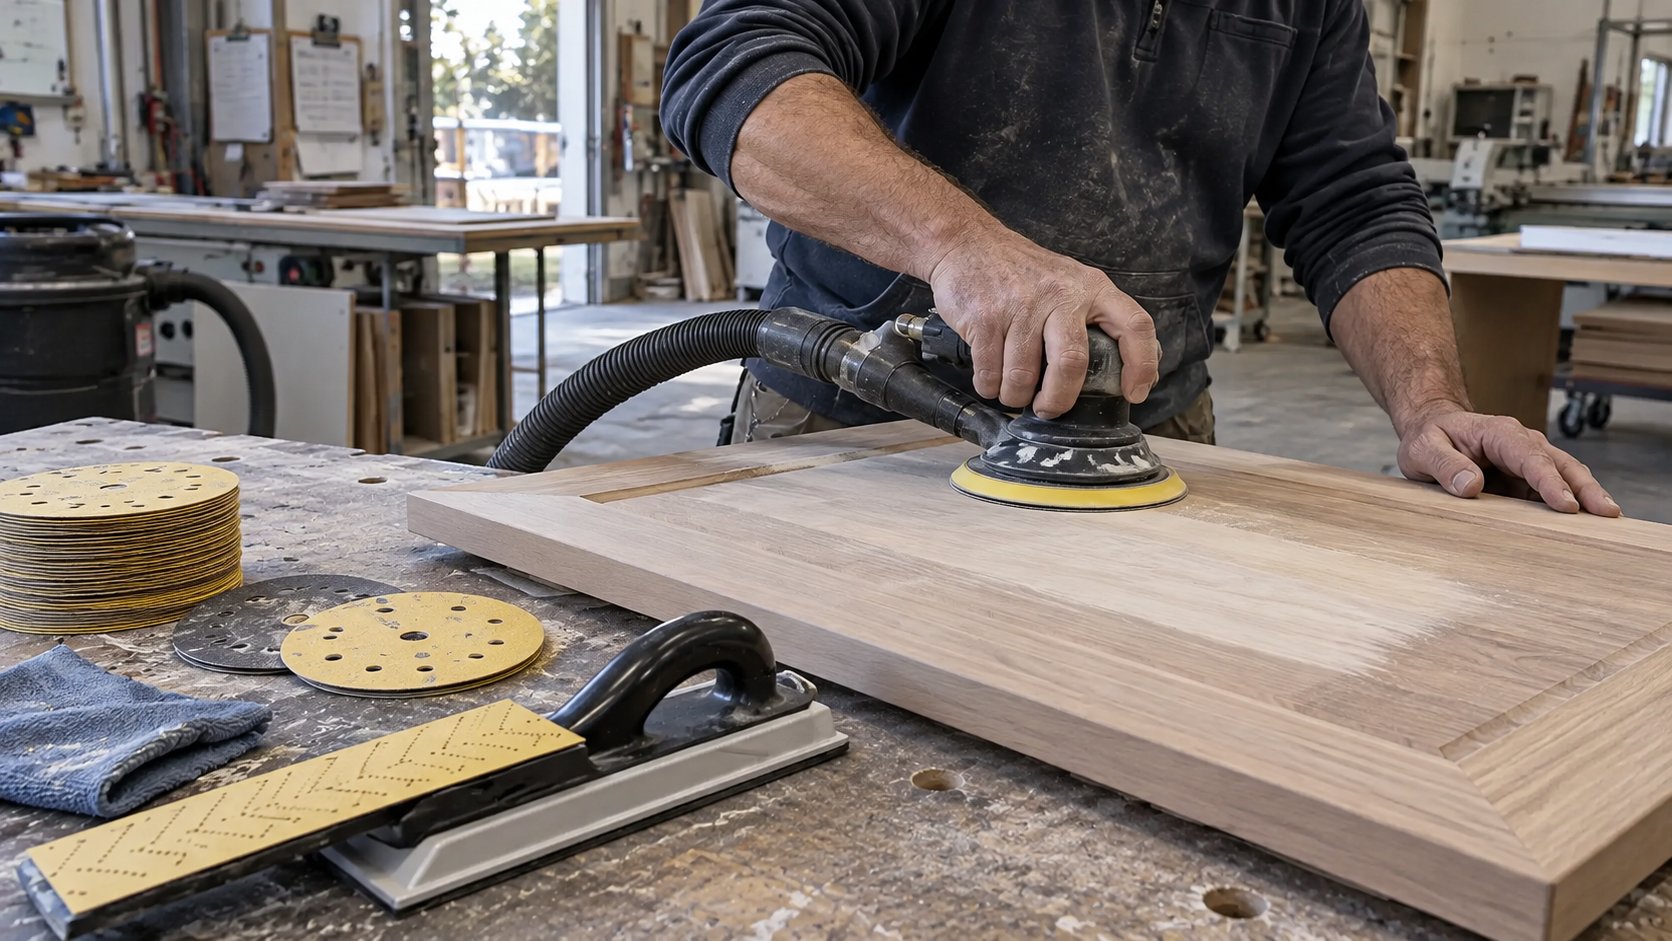
| Format | Good for | Watch out for |
|---|---|---|
| 150mm sanding disc | Fast open-area sanding | Wrong pad or hole pattern hurting dust extraction |
| Sanding sheet | Edges, corners, blocks and small jobs | Finger pressure creating grooves |
| Hard sanding block | Flattening and preserving straightness | Using too short a block for a long defect |
| Sanding roll | Cut-to-length workshop sanding | Wrong backing or width for the block |
| Sponge abrasive | Profiles and contours | Rounding sharp edges |
| Ironhead strip | Controlled block sanding | Skipping the correct grit progression |
| Sponge-back wet/dry disc | Fine contours and correction work | Following a low spot that actually needs flattening |
Shop by format: sanding discs, sanding sheets, sanding rolls, Ironhead abrasives and sanding blocks.
```Sanding problem diagnosis chart
```Changing grit is not always the fix. When sanding starts fighting you, check the whole system.
| Problem | Likely cause | What to do |
|---|---|---|
| Abrasive barely cuts | Grit too fine, disc worn, loading or poor machine action | Fit a fresh abrasive and decide whether you need a coarser starting grade |
| Deep scratches remain | Jumped too far or did not complete the previous stage | Go back one stage and remove the old scratch properly |
| Random deep marks | Debris or contamination under the abrasive | Clean the work, pad and abrasive before continuing |
| Disc clogs quickly | Uncured coating, resinous material, wrong abrasive or poor extraction | Check cure and sanding system before burning through another box |
| Edges keep rounding | Backing too soft or pressure too high | Move to a firmer block and lighten up |
| Stain shows scratches | Cross-grain or coarse scratches left behind | Return to the grit that will remove them and refine properly |
| Primer shows coarse marks | Earlier scratch pattern not fully removed | Do not expect more primer to repair bad sanding |
| Coating adhesion problem | Contamination, incompatibility or wrong surface profile | Check the preparation specification before blaming the abrasive |
| Surface gets hot | Dead abrasive, too much pressure or wrong machine technique | Change the abrasive and let the cutting edges do the work |
For a deeper explanation of cutting behaviour, see Understand Abrasive Cut Rates for Efficient Refinishing.
```Dust and sanding safety
```Sanding does not only create abrasive dust. It creates dust from whatever you are removing: timber, paint, primer, filler, plaster, concrete-containing products, metal contamination or old coatings.
Safe Work Australia warns that mechanical processing such as sanding materials containing crystalline silica can release respirable crystalline silica into the air. Its current guidance emphasises elimination or minimisation of exposure using the hierarchy of controls, including methods such as dust extraction, isolation, wet processes where appropriate and correctly selected respiratory protection.[6]
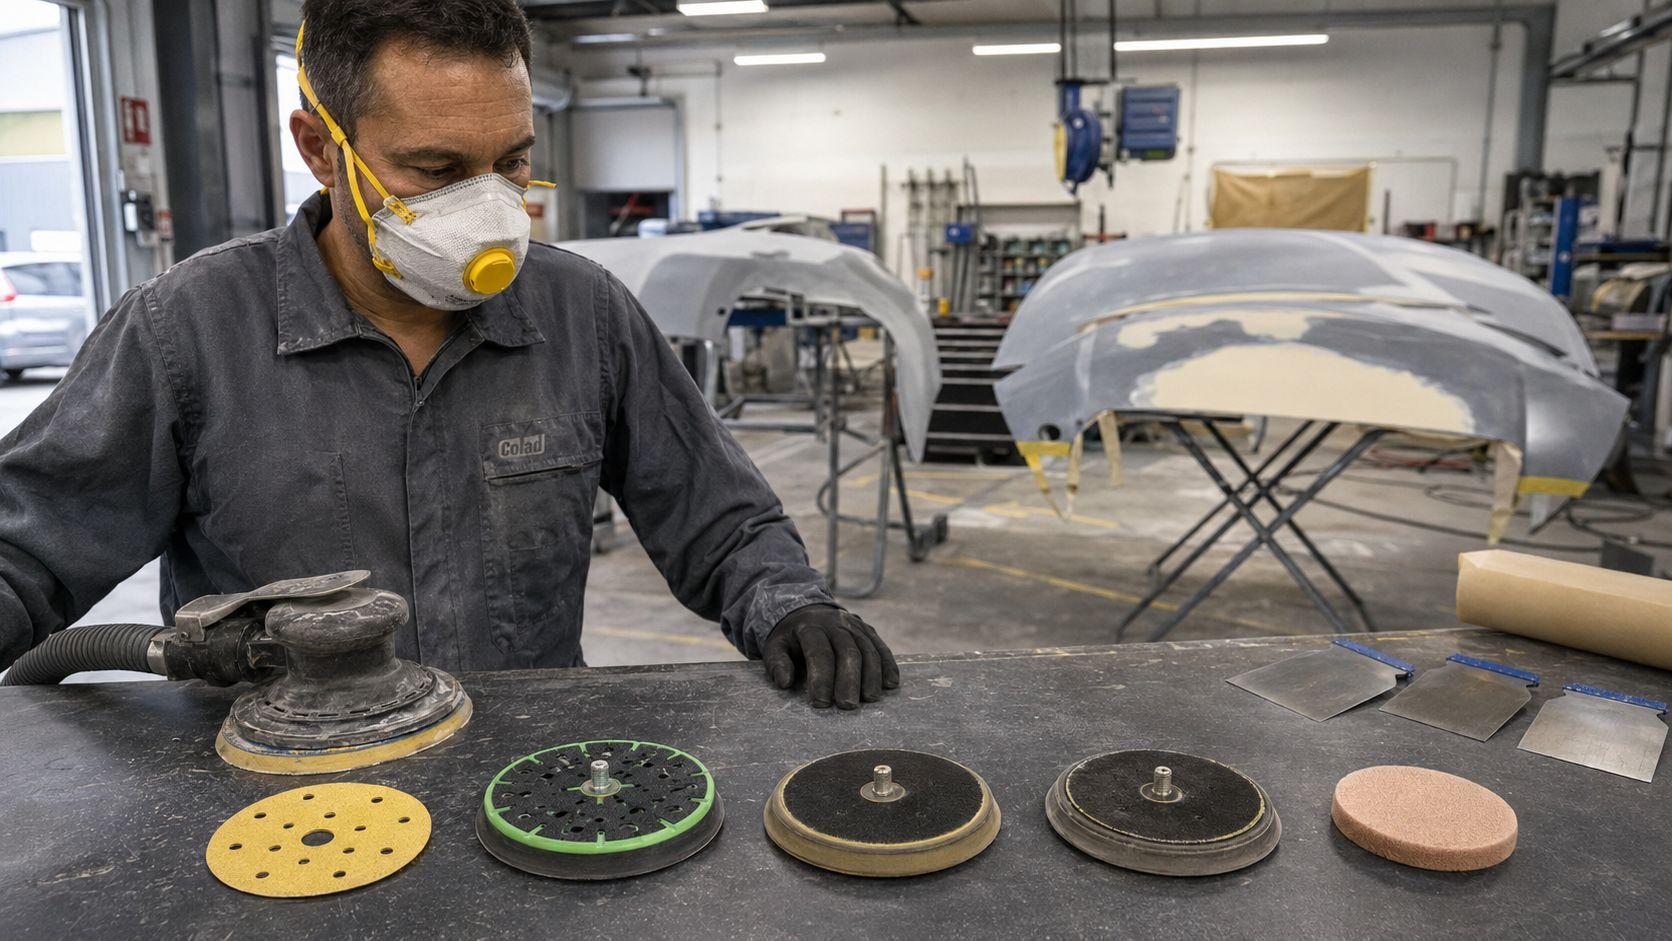
Do not assume a basic disposable mask makes every sanding process safe. Identify what you are sanding, check the SDS and workplace requirements, and use controls suited to the actual hazard.
For workshop PPE options, browse SPX safety gear and protective equipment. PPE supports the control system; it does not replace proper hazard control.
```Useful SPX abrasive setups for common sanding jobs
```You do not need every abrasive format in every grit. You need enough range that nobody has to make the wrong disc do the right grit's job.
Coarse removal and shaping
SPX 150mm ceramic sanding discs P40–P80 cover heavier compatible material-removal stages.
General preparation and refinement
SPX 150mm ceramic sanding discs P120–P1200 cover the broad middle and finer end of common DA preparation.
Hand and block sanding
SPX dry sanding sheets P80–P400 suit general hand sanding and can be folded or cut to suit blocks.
Long block and extraction work
SPX Ironhead ceramic abrasives P120–P600 give workshops a useful refinement range for compatible block-sanding setups.
Plasterboard
SPX 225mm plaster sanding discs P80–P220 cover heavier correction through common finishing grades.
Fine wet/dry finishing
SPX 150mm sponge-back wet/dry discs P1000–P4000 suit compatible fine automotive, marine and finishing work.
Buying abrasives for a workshop?
If you are going through discs and sheets by the carton rather than grabbing the odd packet, request an SPX trade account for trade and repeat-supply enquiries.
FAQ: sandpaper grit chart
```What sandpaper grit should I start with?
Use the least aggressive grit that will remove the defect efficiently. Rough removal may require P40–P80. A clean dressed timber surface might start at P120. Starting too fine wastes time; starting too coarse creates scratches you then have to remove.
Is 80 grit coarse or fine?
P80 is coarse. It is commonly used for rough timber sanding, body filler shaping and suitable paint, corrosion or coating-removal work.
What is 120 grit sandpaper used for?
P120 is a useful general refinement grit. It often follows P80 on timber or filler and works well where P80 would be unnecessarily aggressive.
What is 180 grit sandpaper used for?
P180 is a common medium-to-fine preparation grade. It can be close to a finishing grit on timber, a filler-refinement grit in automotive work and a finishing grade for some plasterboard compounds.
What is 240 grit sandpaper used for?
P240 sits in fine preparation territory. It is common in coating refinement, feathering and between-coat work. It is too fine for efficient heavy shaping and much too coarse for high-end clear coat finishing.
Is 400 grit good before paint?
It can be. P400 is common in some primer and paint-preparation systems, particularly automotive refinishing. It is not a universal pre-paint grit for timber, metal, epoxy or marine coatings.
What grit should I use to sand wood before painting?
P120–P180 is a useful range for many bare-timber painting jobs. Start coarser only where defects require it, then use the primer or paint manufacturer's specification to decide the final surface.
What grit removes paint?
P40–P80 is commonly used for aggressive stripping, while P80–P120 gives more control as you approach the substrate or a sound existing coating.
What grit should I use for plasterboard?
For common Gyprock jointing products, guidance sits around 150-grit sandpaper through to approximately 220-grit sanding mesh depending on the compound. Sand lightly enough to avoid damaging the plasterboard paper.
What grit should I use before staining timber?
P150–P180 is a common finishing area for many timber jobs, but the correct final grit depends on timber species and the stain or oil system. Sanding excessively fine can change finish absorption.
Can I skip from P80 to P240?
You can, but it is often inefficient. P240 has to remove the much deeper P80 scratch. An intermediate step such as P120 or P180 normally makes the scratch-removal process faster and more reliable.
Does worn sandpaper become a finer grit?
No. It becomes worn sandpaper. The original abrasive particles become dull, damaged or loaded. Fit the correct finer grit when you need a finer scratch pattern.
What does the P in P80 or P180 mean?
The P identifies a FEPA coated-abrasive grade. Other abrasive grading systems exist, including American CAMI/ANSI grading, and the systems should not be assumed to match exactly at finer grades.
```Technical sources and TDS note
```The numbered references below support the specific technical claims marked throughout this guide. External research sources are named for transparency; SPX product links elsewhere in the article remain internal.
- FEPA – Federation of European Producers of Abrasives: P-grit sizes for coated abrasives and FEPA abrasive grain standards.
- Mirka: professional hand-sanding systems and P80/P120/P180 abrasive progression examples.
- CSR Gyprock: Australian joint-compound sanding instructions specifying 150-grit paper and 150–220-grit mesh ranges depending on product.
- West System Australia: Final Surface Preparation guidance for cured epoxy, including preparation ranges for high-build primers, high-solids coatings, paints and varnishes.
- International Yacht Paint Australia: GRP/FRP repair and bare-gelcoat preparation guidance.
- Safe Work Australia: current guidance on respirable crystalline silica, sanding-related exposure and hierarchy-of-control requirements.
- Mirka: Intermediate Sanding of Paint Coats on Wood guidance recommending medium P240–P400 abrasives for appropriate between-coat sanding.
Technical data sheet rule: a general grit chart cannot override the filler, primer, paint, epoxy, varnish, stain, clear coat or other coating system being used. Surface requirements vary with chemistry, substrate, cure, film build and the next stage of work.
```Final word
```A grit chart gets you close. The surface tells you whether you're actually there.
If there is material to remove, use a grit that cuts it. If there is a P80 scratch left behind, remove that scratch before moving on. If the surface is already straight, stop attacking it with coarse paper. And when a coating manufacturer specifies the final preparation, follow the specification.
P80 has a job. P180 has a job. P400 has a job. P3000 has a job.
Most sanding trouble starts when one of them gets asked to do another one's work.
```Featured Products From This Article
A practical abrasive spread covering coarse removal, general sanding, hand preparation, plasterboard and fine finishing.
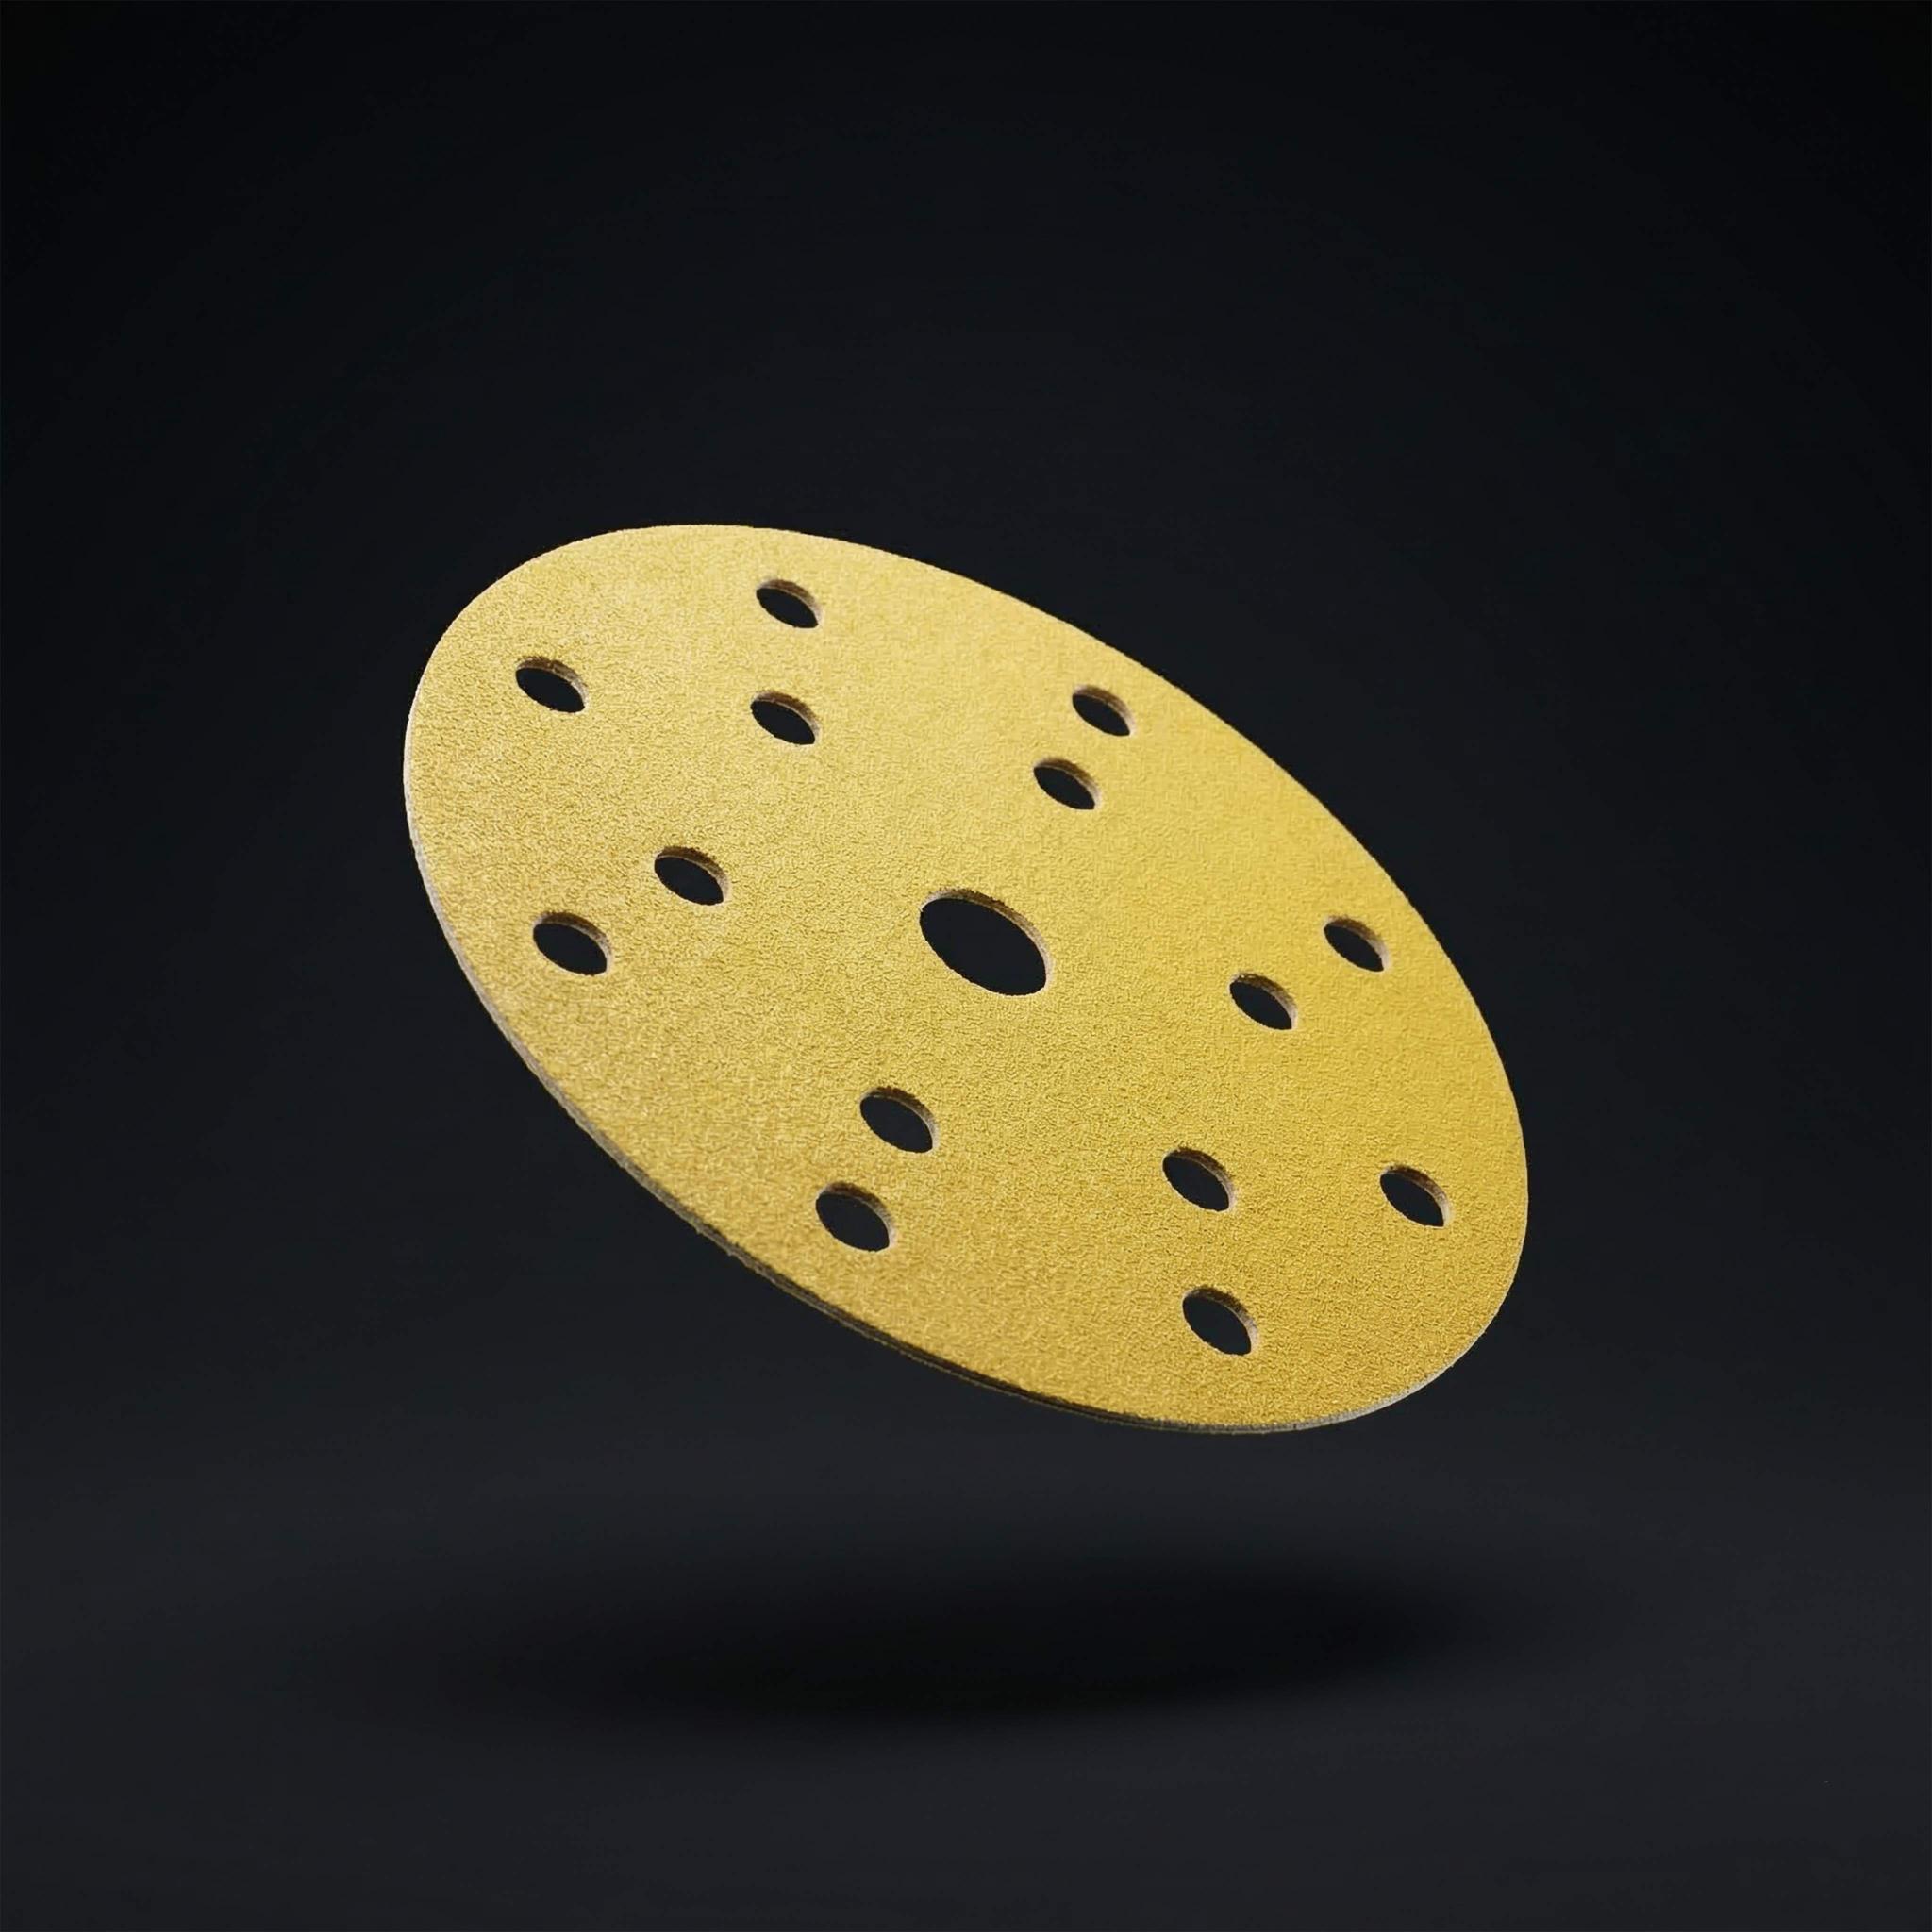
SPX 150mm Ceramic Sanding Discs - 40–80 Grit (50 pcs)
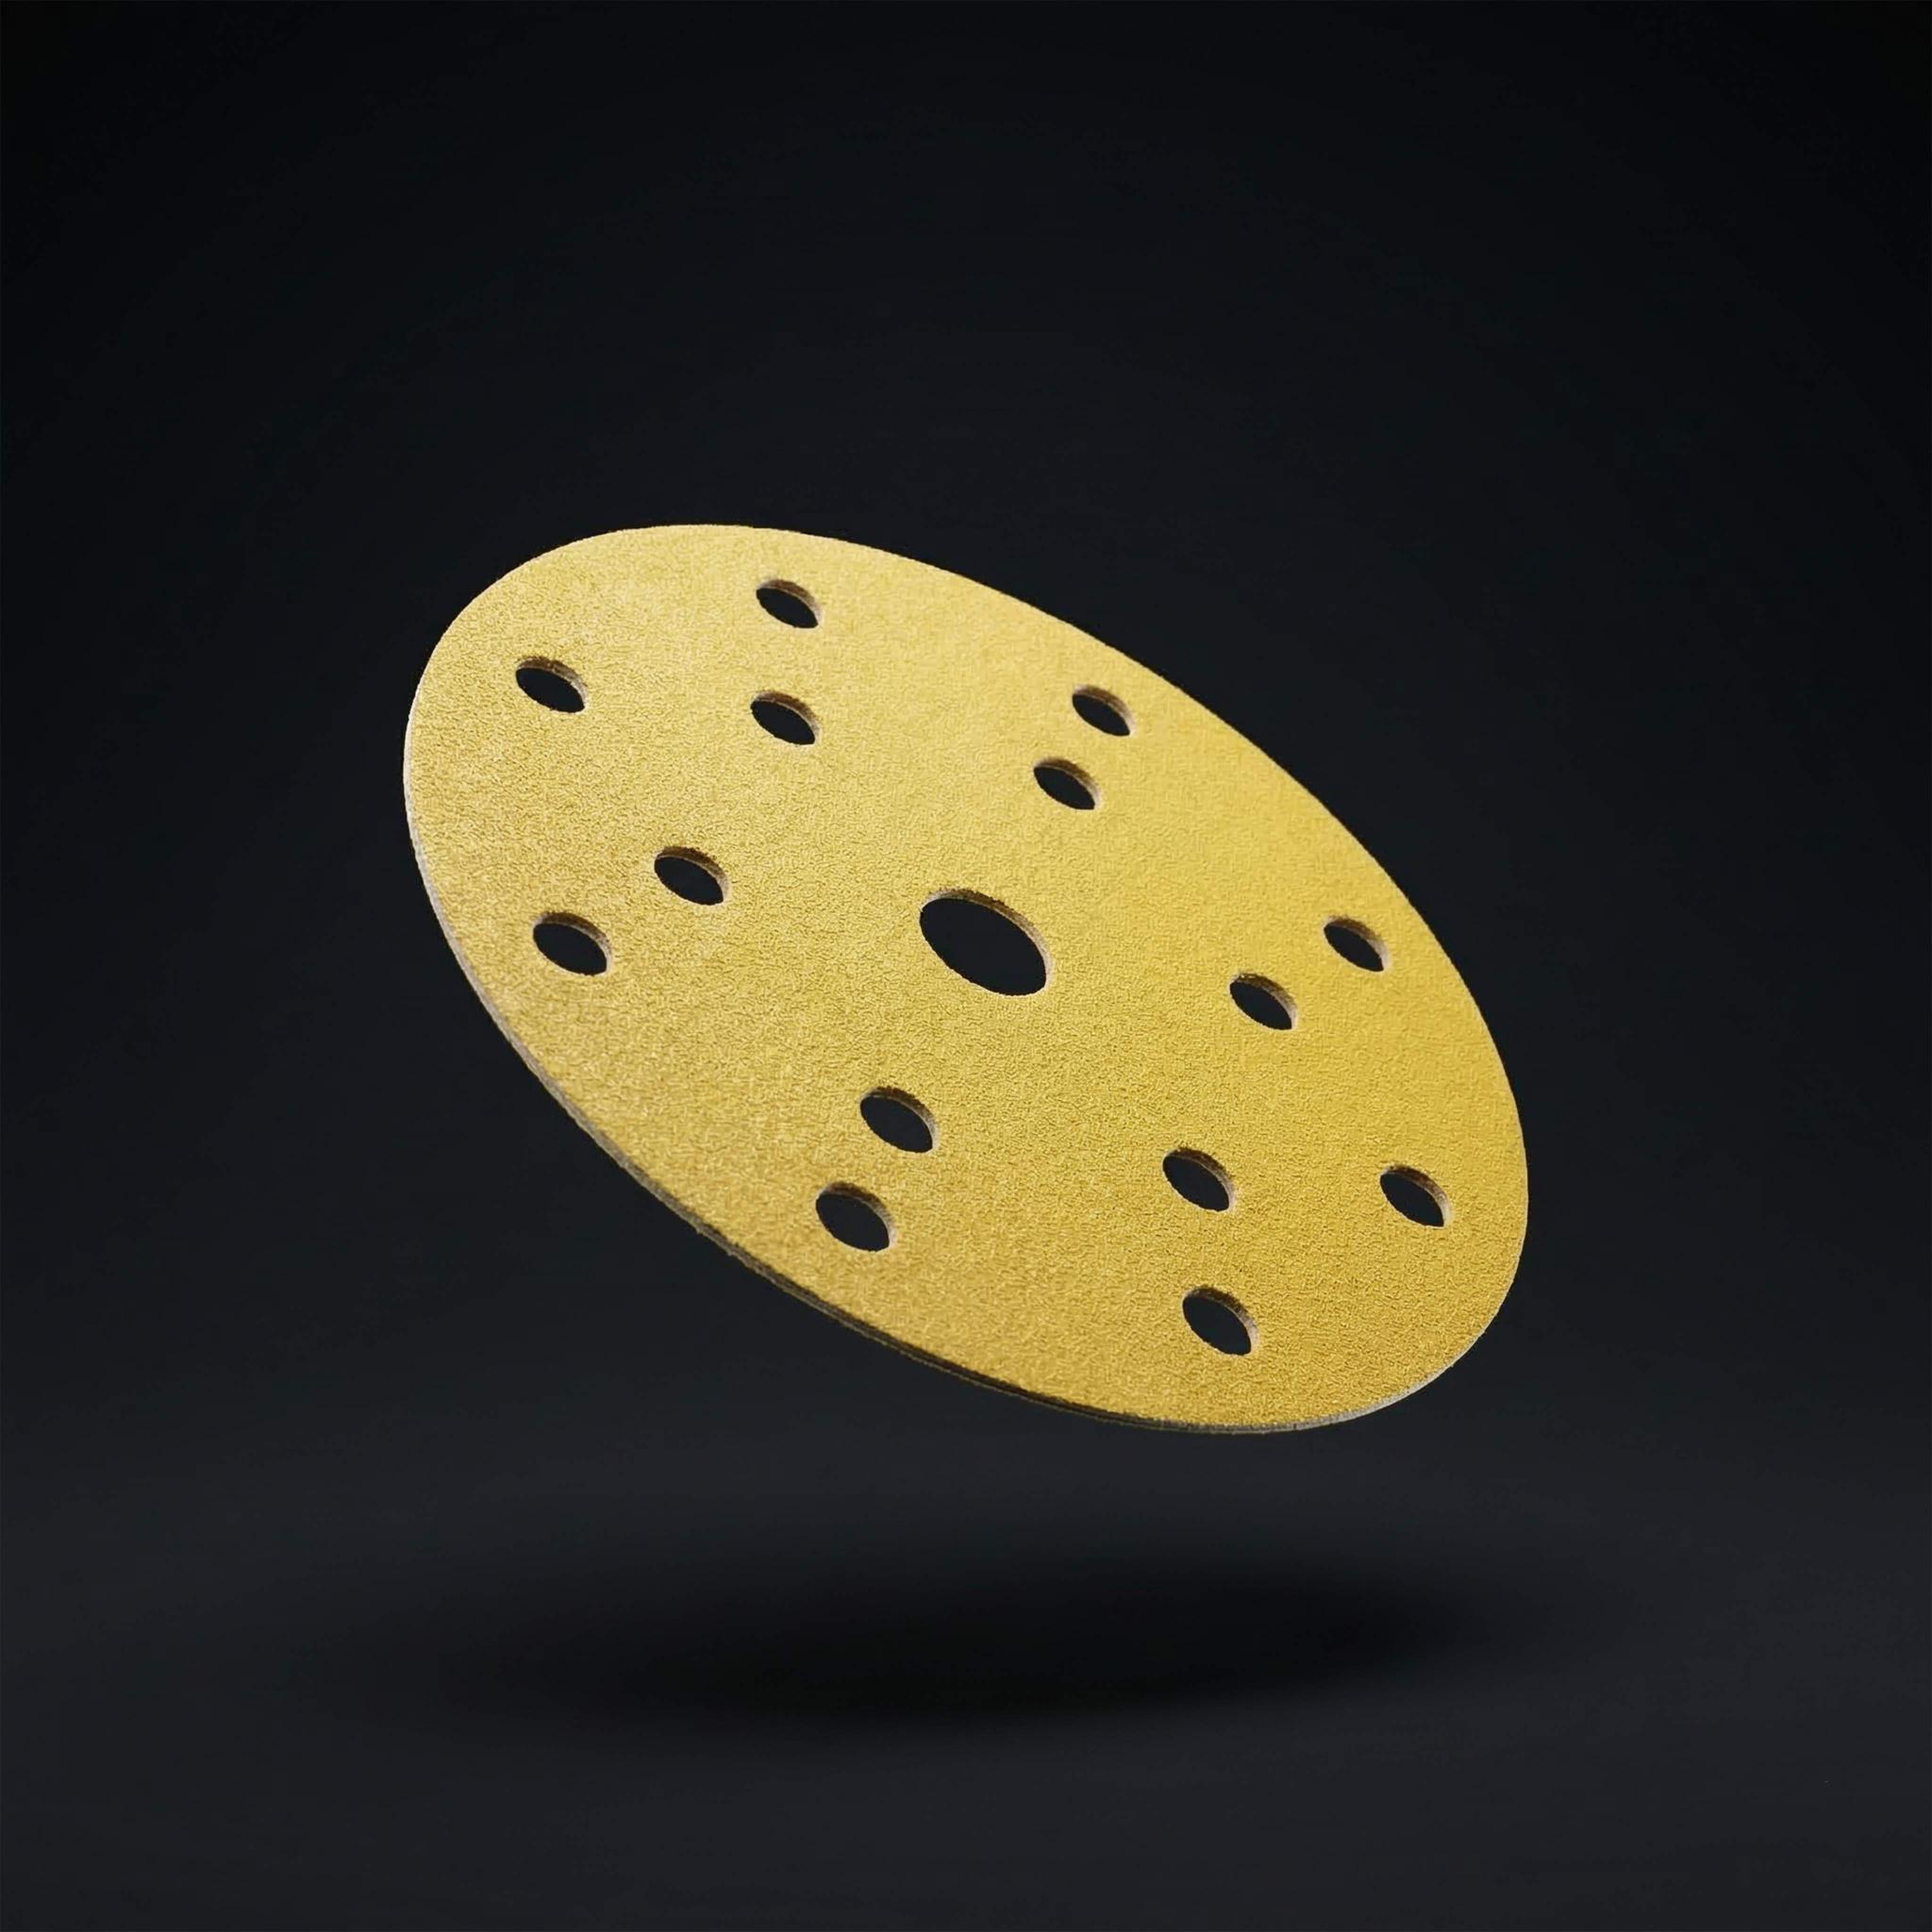
SPX 150mm Ceramic Sanding Discs - 120–1200 Grit (100 pcs)
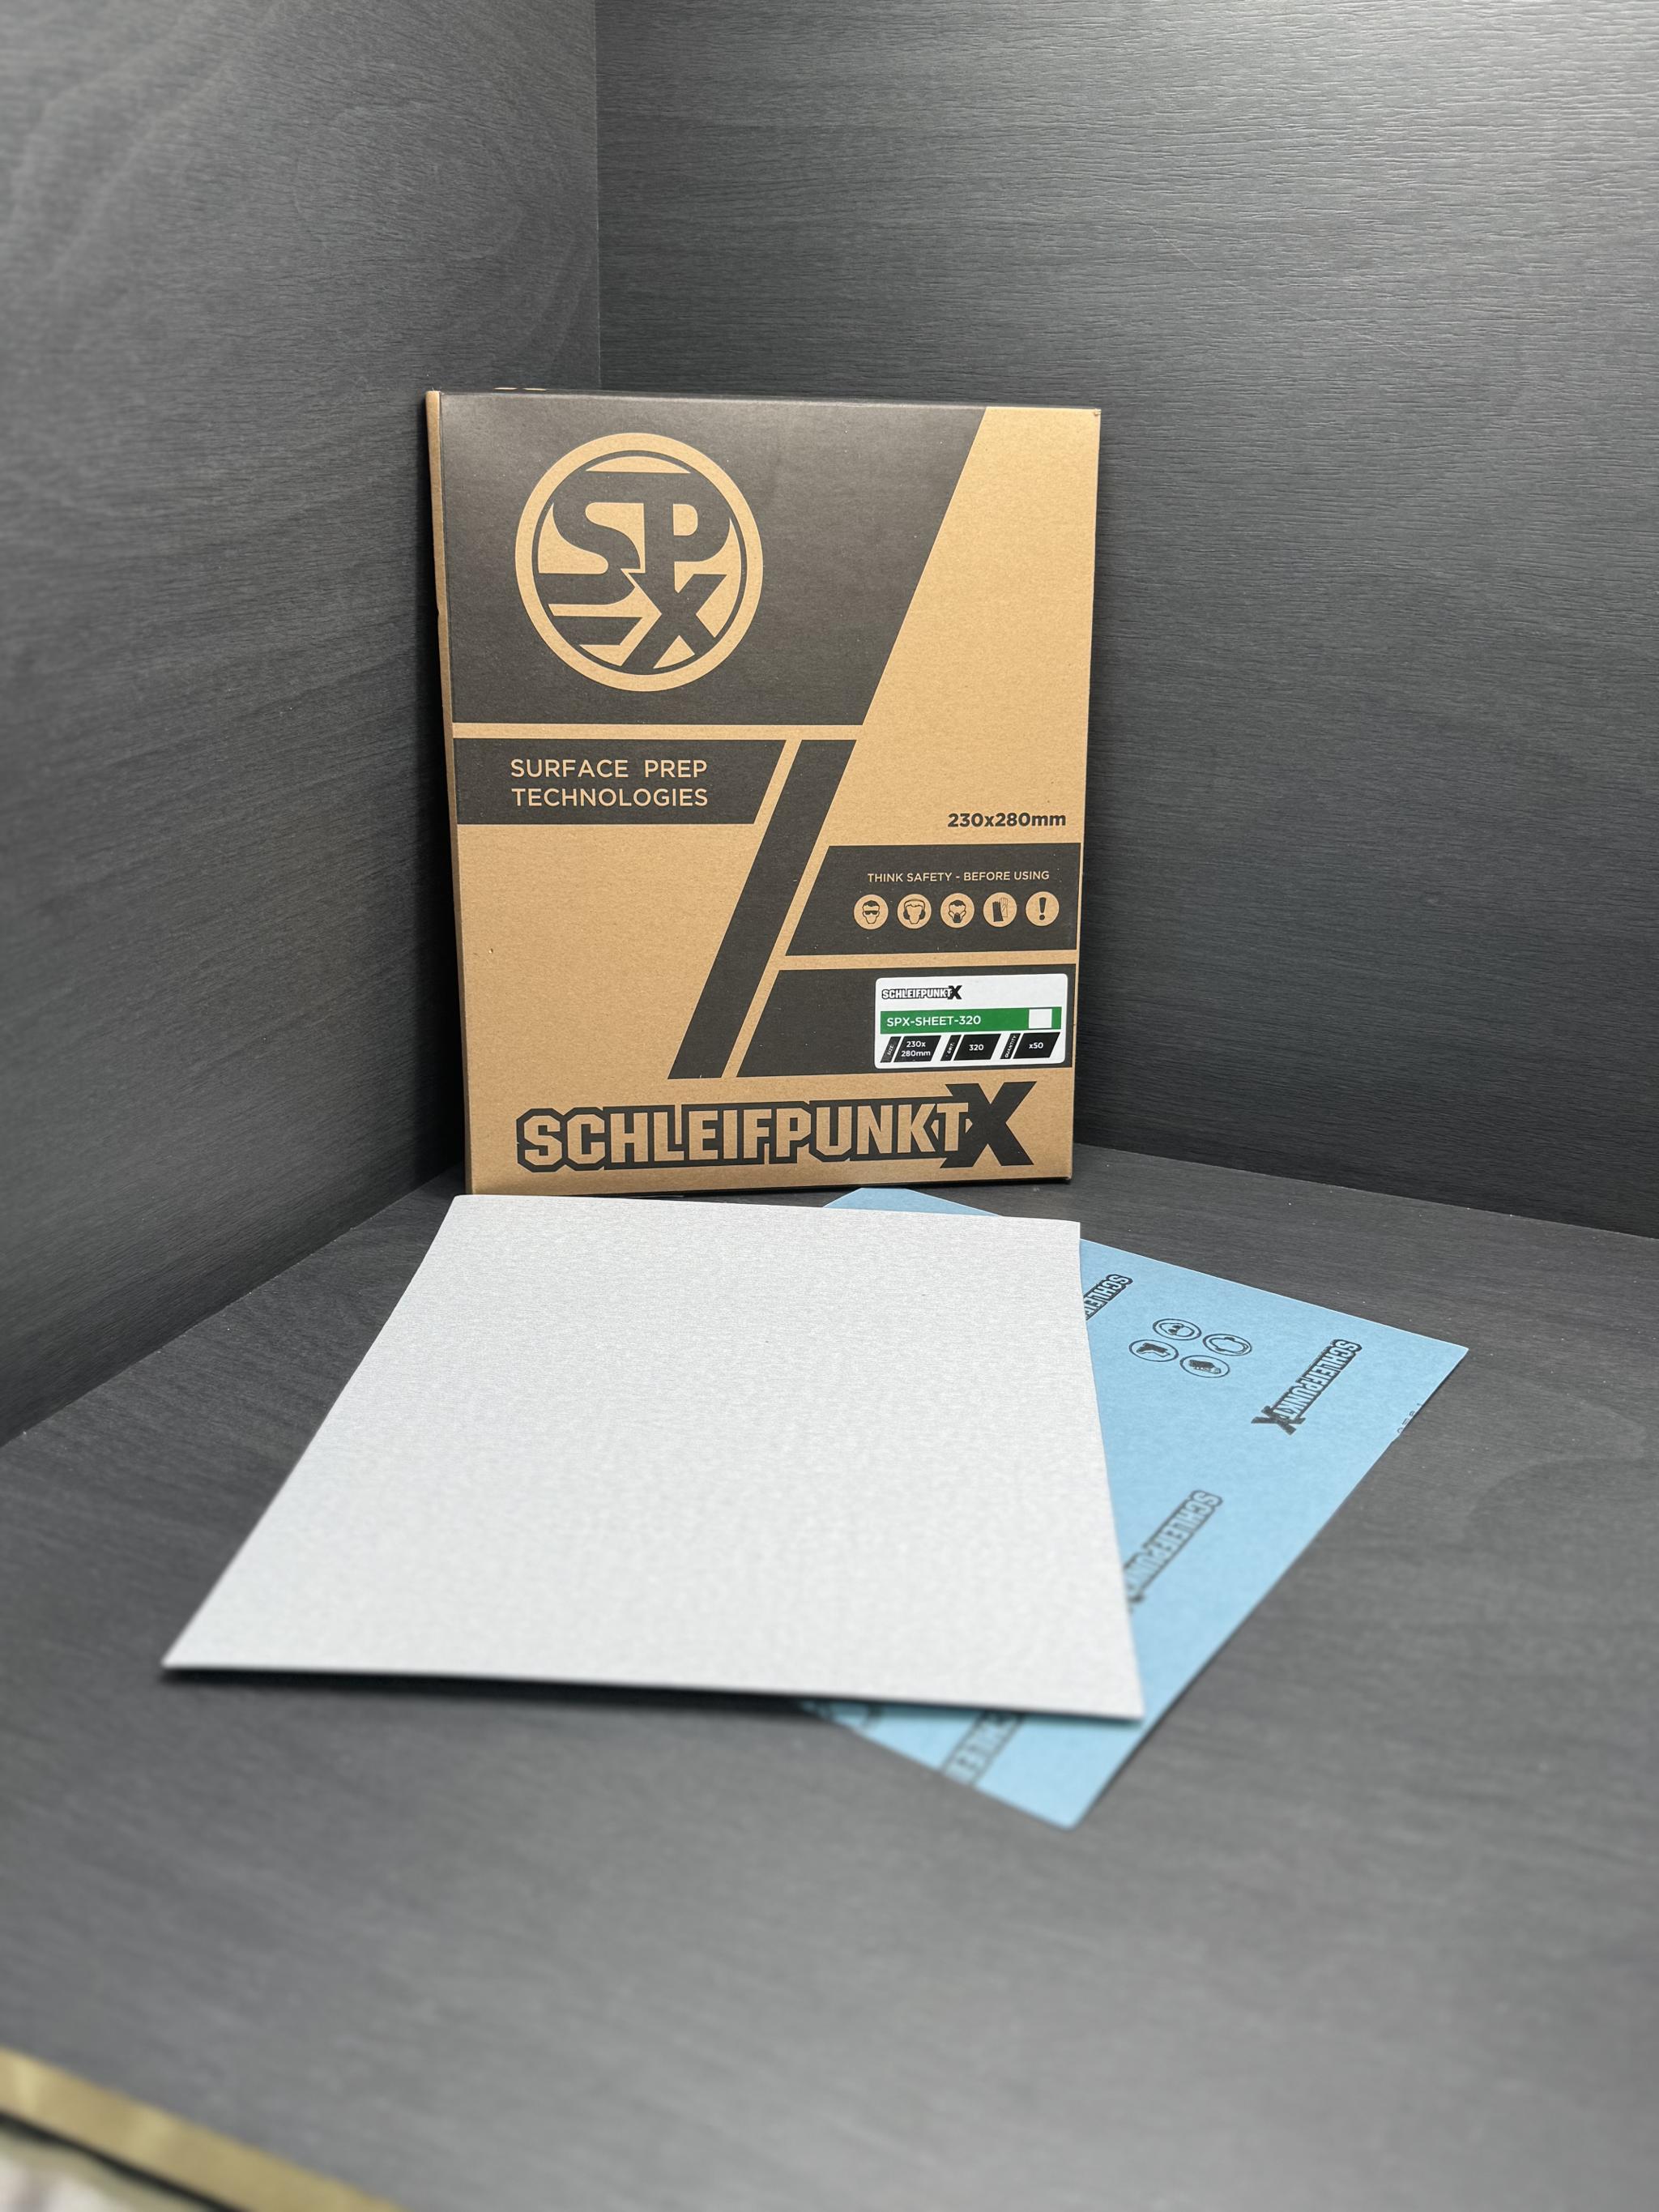
SPX Sanding Sheet Dry - 80-400 Grit (50 pcs)
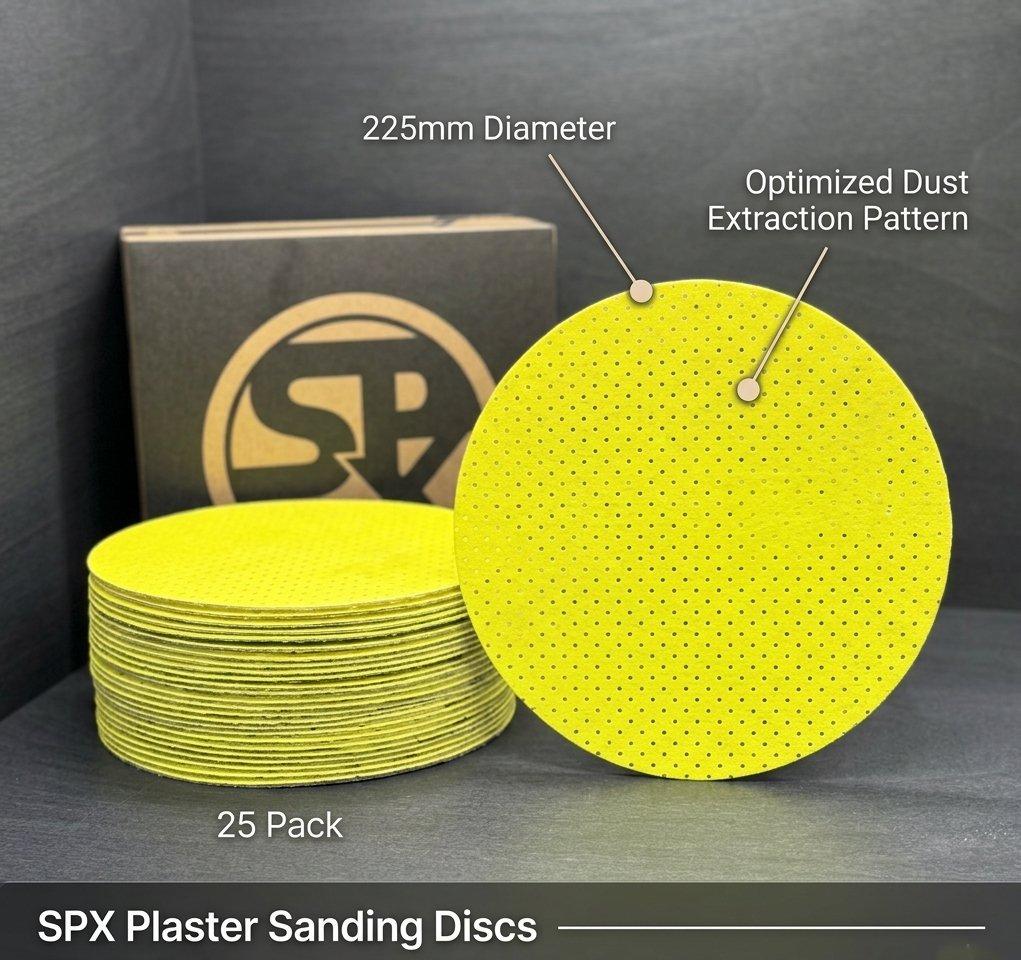
SPX 225mm Sanding Discs "Plaster" - 80-220 Grit (25 pcs)