Automotive sanding guide for Australian panel shops, spray painters and repairers
Automotive Sandpaper Grit Chart: What Grit to Use for Body Filler, Primer, Paint and Clear Coat

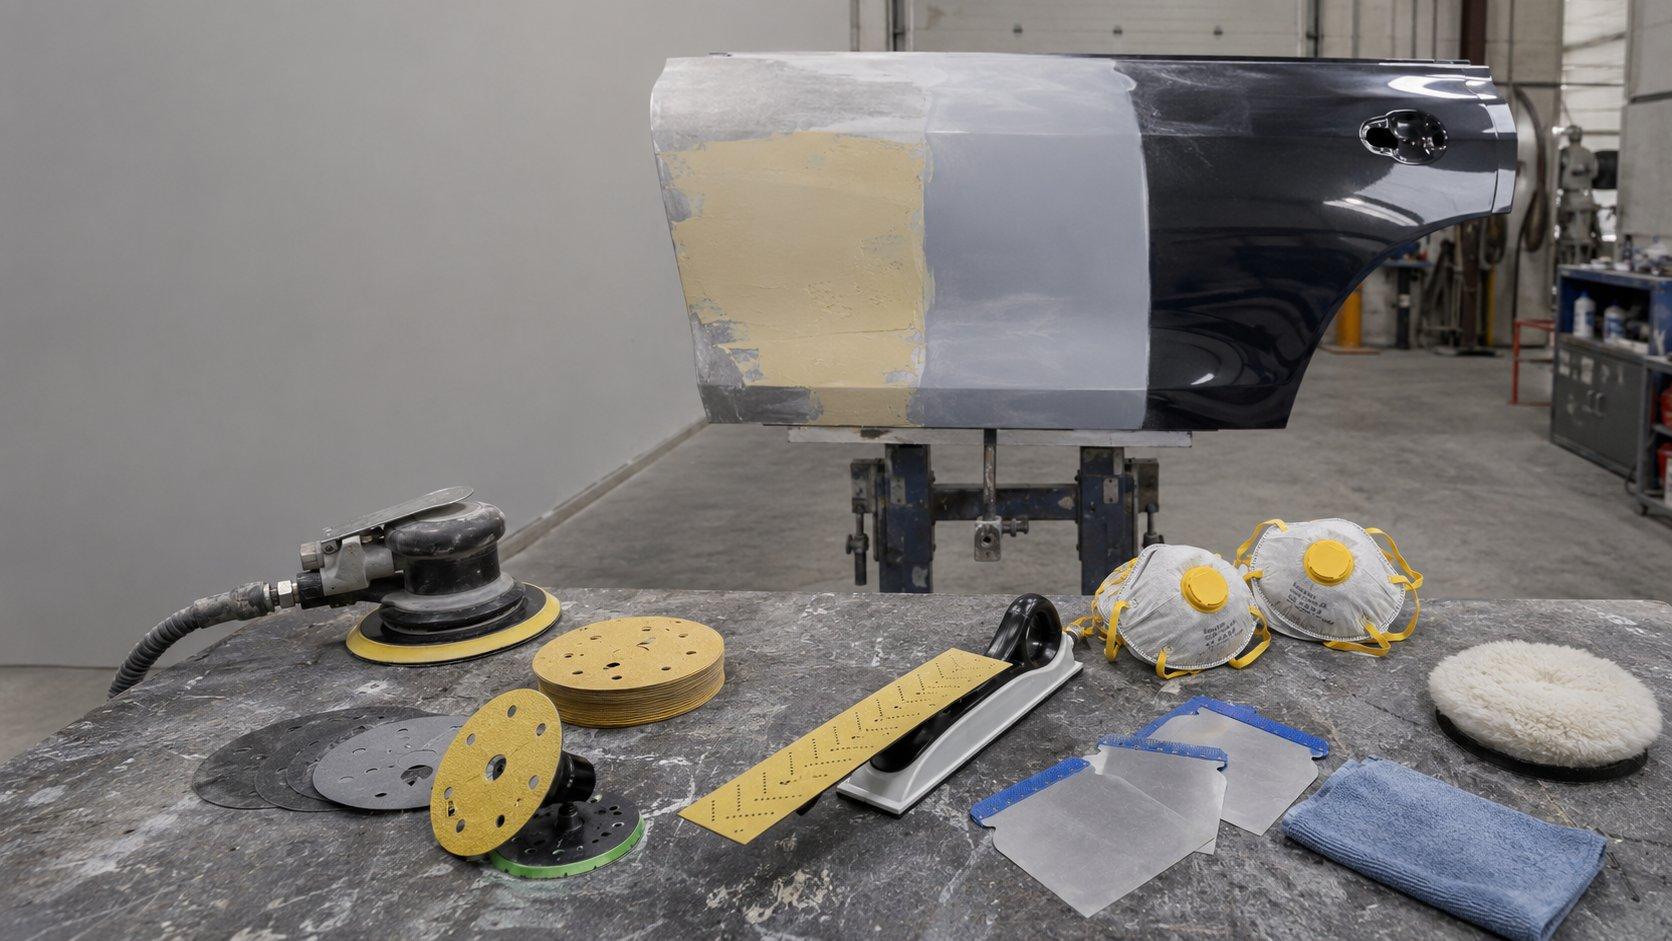
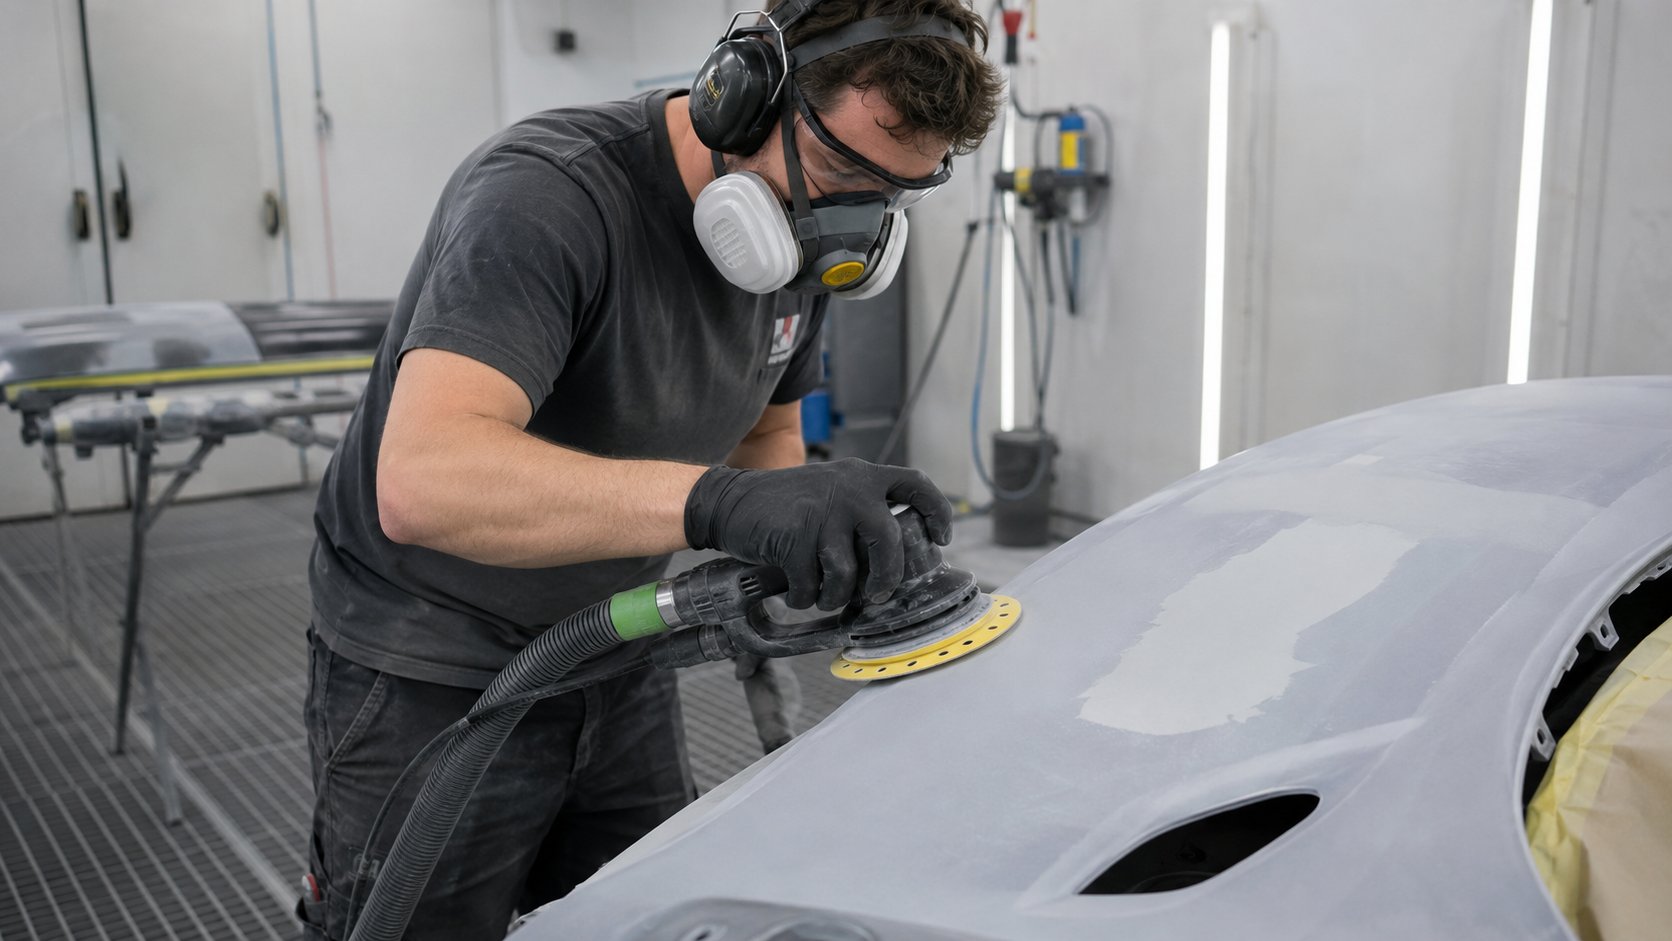
For automotive refinishing, start coarse only when you need to shape or remove material, then step finer as the job moves toward primer, paint and clear coat. Body filler is commonly shaped around P60–P80, refined through P120–P240, primer is usually prepared around P320–P600, and clear coat correction normally starts much finer, around P1500–P3000 depending on the defect.
This guide is built for panel shops, spray painters, prep teams, smash repairers, restorers and serious DIY users who want a practical grit sequence before they waste discs, primer, paint or clear coat.
Key takeaways
- P60–P80 is commonly used for initial body filler shaping, not final prep.
- P120–P180 helps remove coarse filler scratches before moving finer.
- P240–P320 is commonly used before primer, depending on the repair and primer system.
- P400–P600 is a common final primer prep range before many basecoat systems, but the coating TDS should decide the final grit.
- P1500–P3000 is normally clear coat correction territory, not filler or primer shaping territory.
- The safest grit is the grit that removes the previous scratch pattern without creating a deeper problem for the next stage.
Panel-shop note: A grit sequence is only useful if each step removes the scratch pattern from the step before it. Skipping from P80 to P320 often looks faster until primer exposes the scratches.
Download the SPX automotive sanding grit chart PDF
Use this as the printable version for the prep bay. It should sit near the sanding discs, not buried in a folder on someone’s desktop.
.png)
Download the SPX Automotive Sanding Grit Chart PDF
| Stage | Common grit range | Abrasive format | Risk level | Common mistake |
|---|---|---|---|---|
| Body filler shaping | P60–P80 | 150mm ceramic disc / sanding block | Medium | Trying to shape filler with paper that is too fine |
| Filler refinement | P120–P180 | Ceramic disc / Ironhead strip | Low to medium | Leaving P80 scratches under primer |
| Feather edging | P180–P240 | DA disc / hand block | Medium | Creating a hard edge that prints through later |
| Before primer | P240–P320 | Disc / block / roll | Medium | Using primer as a shortcut for poor prep |
| Primer surfacer blocking | P320–P400 | Sanding block / 15-hole disc | Medium | Skipping guide coat and missing lows |
| Final primer prep | P400–P600 | 15-hole disc / sheet / scuffing product | Medium | Not checking the paint system TDS |
| Existing paint prep | P400–P800 | Disc / sheet / scuffing pad | Medium | Painting over unstable coating or contamination |
| Clear coat denibbing | P1500–P2000 | Wet/dry disc or sheet | Medium to high | Sanding too aggressively near edges |
| Orange peel correction | P1500–P3000 | Sponge-back wet/dry disc | High | Starting too coarse without checking clear coat thickness |
| Pre-polish refinement | P3000–P4000 | Wet/dry foam-backed abrasive | Low to medium | Compounding deep P1500 scratches too early |
What grit should I use? Quick answer by job
Here is the fast answer. The deeper explanations follow below.
| Question | Short answer | Important warning |
|---|---|---|
| What grit for body filler? | P60–P80 to shape, then P120–P180 to refine. | Do not try to shape filler with fine paper. |
| What grit before primer? | Often P240–P320, depending on the primer system. | Coarse scratches can show later if not refined. |
| What grit for primer before paint? | Often P400–P600 for many systems. | Always confirm with the paint TDS. |
| What grit for clear coat? | P1500–P3000 for many correction jobs. | Clear coat edges burn through quickly. |
| What grit for orange peel? | P1500–P2000 to level, then P3000 before polish. | Measure or assess clear coat thickness first where possible. |
Quick automotive sandpaper grit chart
This chart is a practical starting point for automotive refinishing. Paint systems, primer build, substrate, colour, film thickness, curing conditions and the product technical data sheet still decide the final process.
| Job stage | Common grit range | Best abrasive format | Main goal |
|---|---|---|---|
| Strip heavy paint or rust | P40–P80 | Ceramic disc / sanding roll | Fast removal |
| Shape body filler | P60–P80 | 150mm ceramic disc / sanding block | Level filler without polishing it |
| Refine filler | P120–P180 | Ceramic disc / Ironhead strip | Remove coarse scratches |
| Feather edges | P180–P240 | DA disc / hand block | Smooth the transition into existing coating |
| Final filler surfacing | P240–P320 | Disc / block | Prepare for primer surfacer |
| Primer surfacer sanding | P320–P600 | 15-hole disc / sanding block | Straight, clean prep |
| Final prep before basecoat | P400–P800 | Disc / sheet / scuffing product | Adhesion and scratch control |
| Denib clear coat | P1500–P2000 | Wet/dry disc or sheet | Remove small defects |
| Orange peel correction | P1500–P3000 | Wet/dry / sponge-back disc | Level texture before polish |
| Final refinement before polish | P3000–P4000 | Wet/dry / foam-backed abrasive | Reduce compounding time |
Choose your sanding grit by job
Use these quick selectors like a workshop decision guide. They can be built as HTML accordion blocks on the live page.
Body filler
Recommended starting grit: P60–P80
Next grit: P120–P180
Stop before: Leaving coarse scratches under primer
Use: DA sander for speed, sanding block for shape control
Risk: Medium
SPX product: SPX 150mm ceramic sanding discs P60–P80
Primer surfacer
Recommended starting grit: P320–P400 for blocking, depending on build and system
Next grit: P500–P600 for many final prep stages
Stop before: Sanding through edges or leaving guide coat in lows
Use: Block, 15-hole DA disc, dust extraction
Risk: Medium
SPX product: SPX 150mm ceramic sanding discs P120–P1200
Existing paint before repainting
Recommended starting grit: P400–P600 for many prepared surfaces, finer for blend areas where specified
Next grit: P600–P800 or suitable scuffing product where the coating system requires it
Stop before: Painting over unstable paint, silicone, wax, polish residue or cut-throughs that need priming
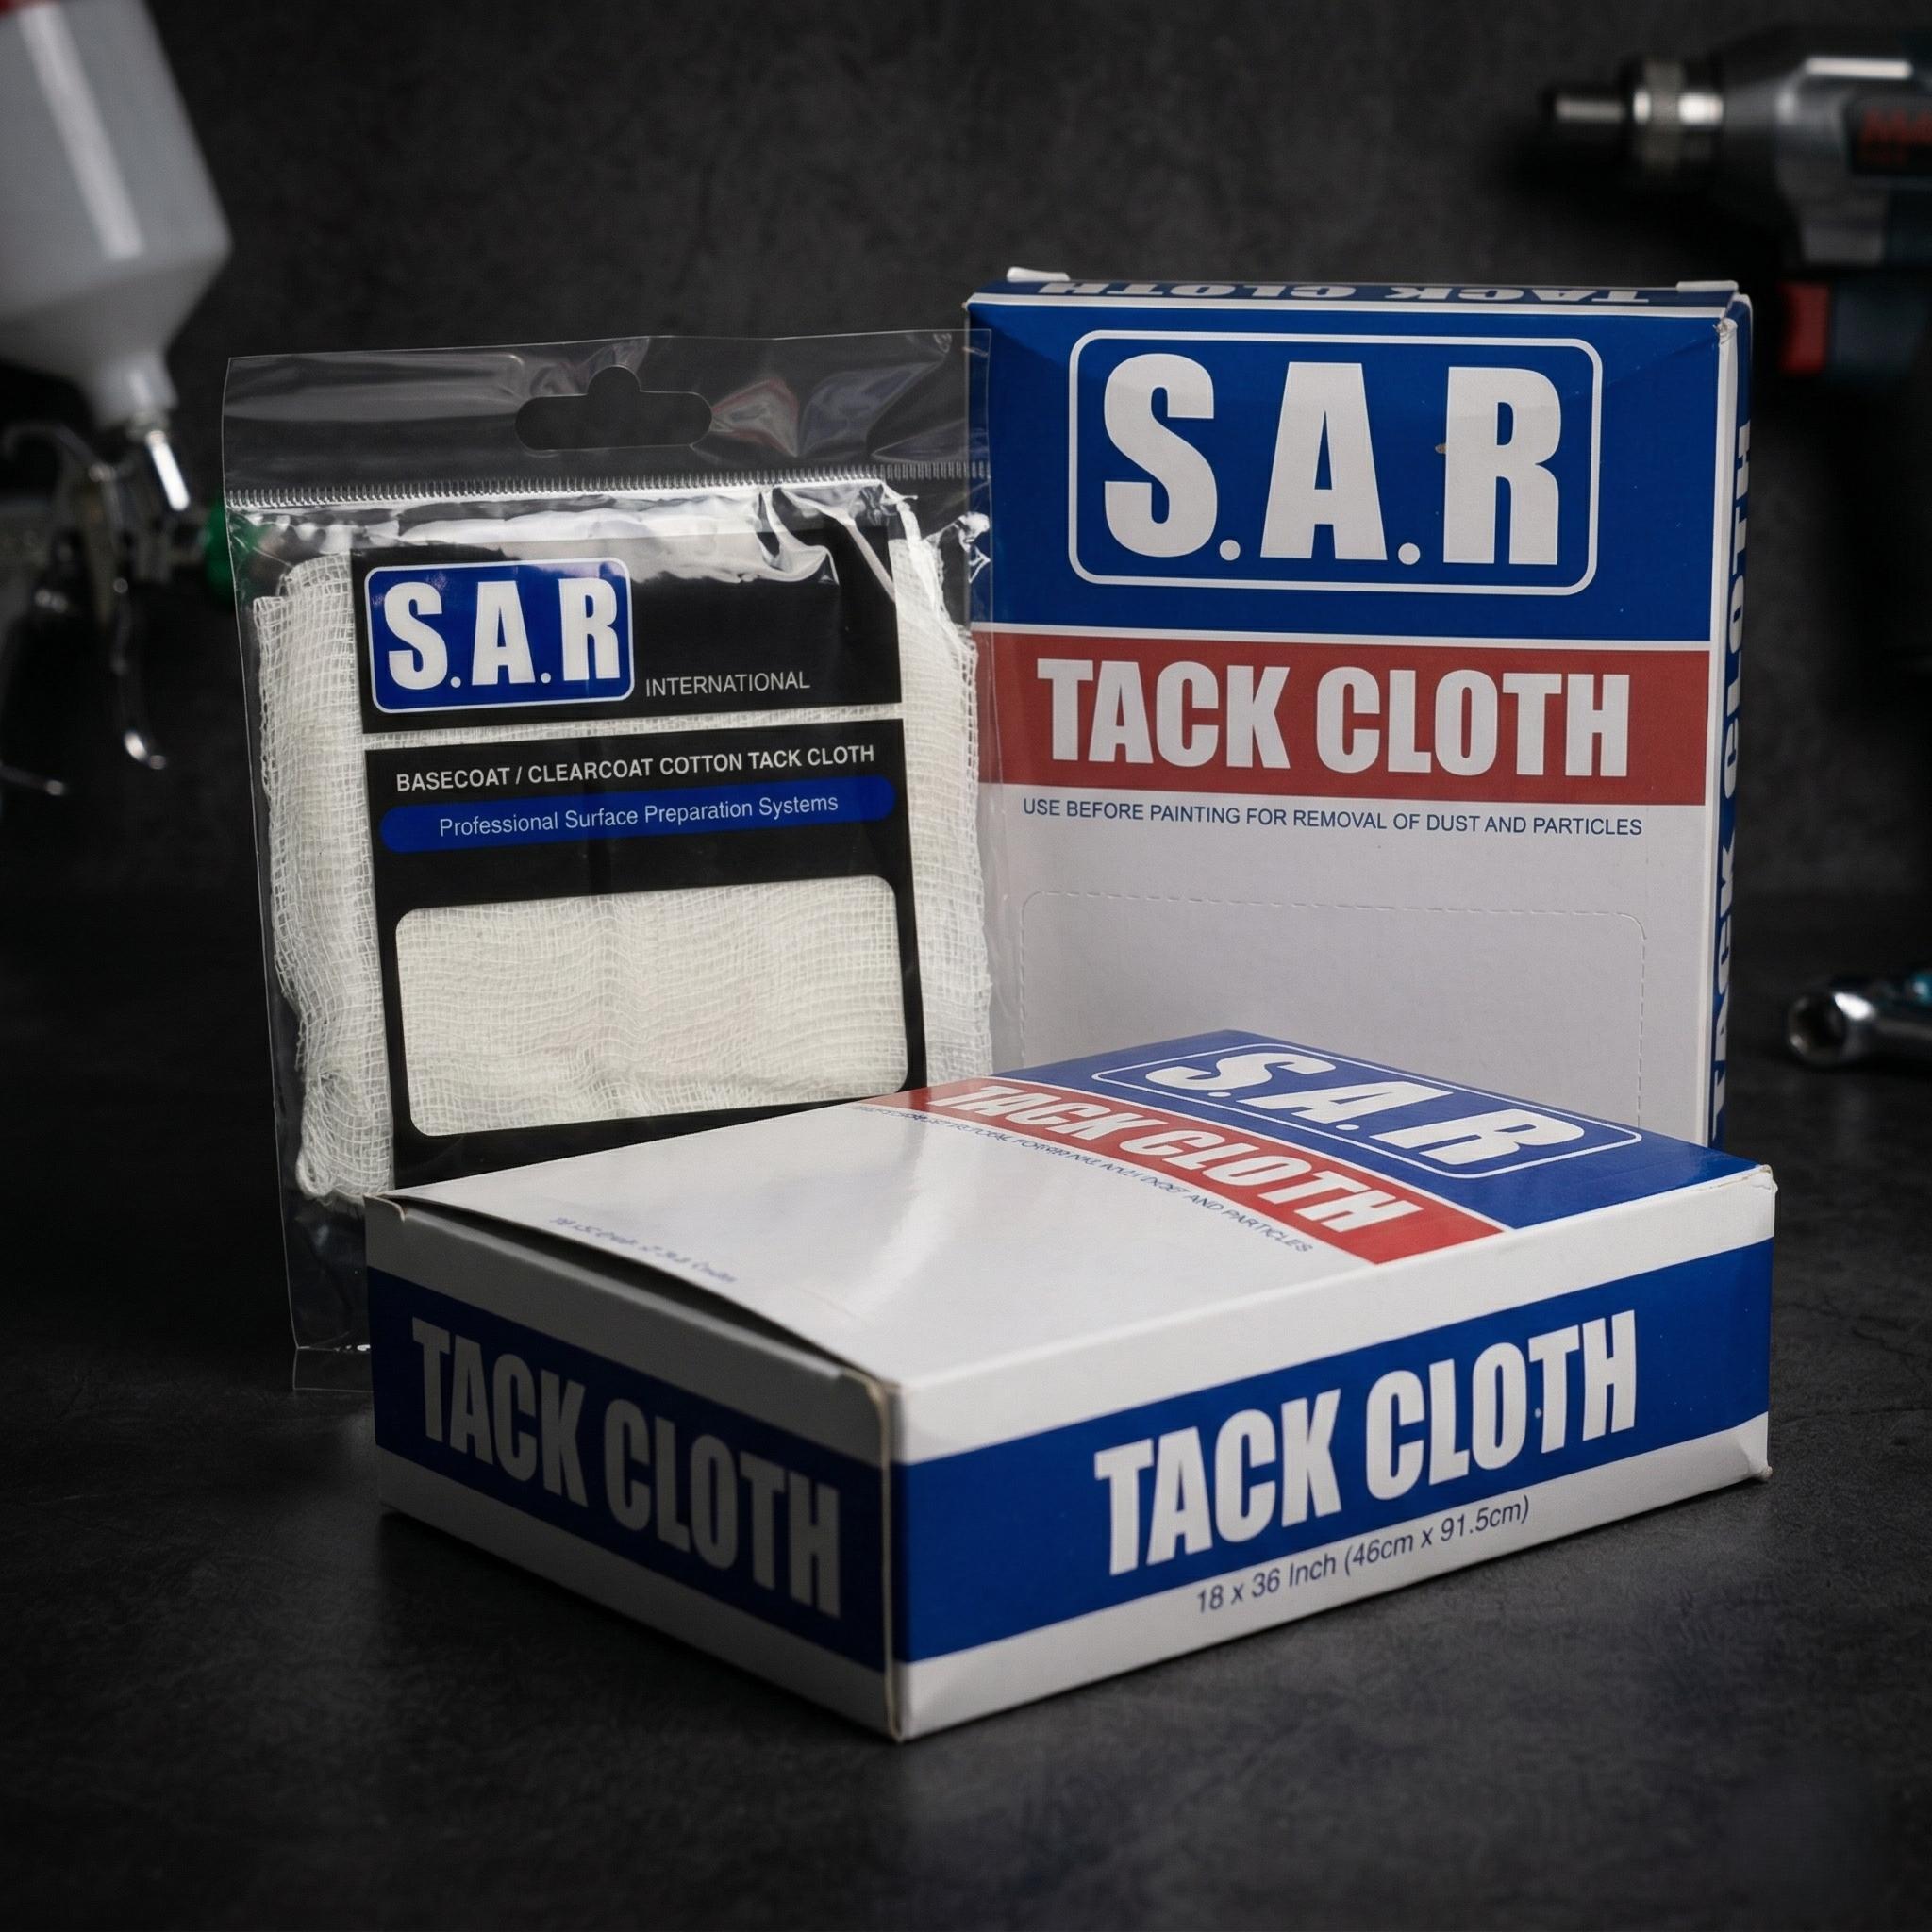
Use: DA disc, hand sheet, scuffing product, tack cloth after proper cleaning
Risk: Medium
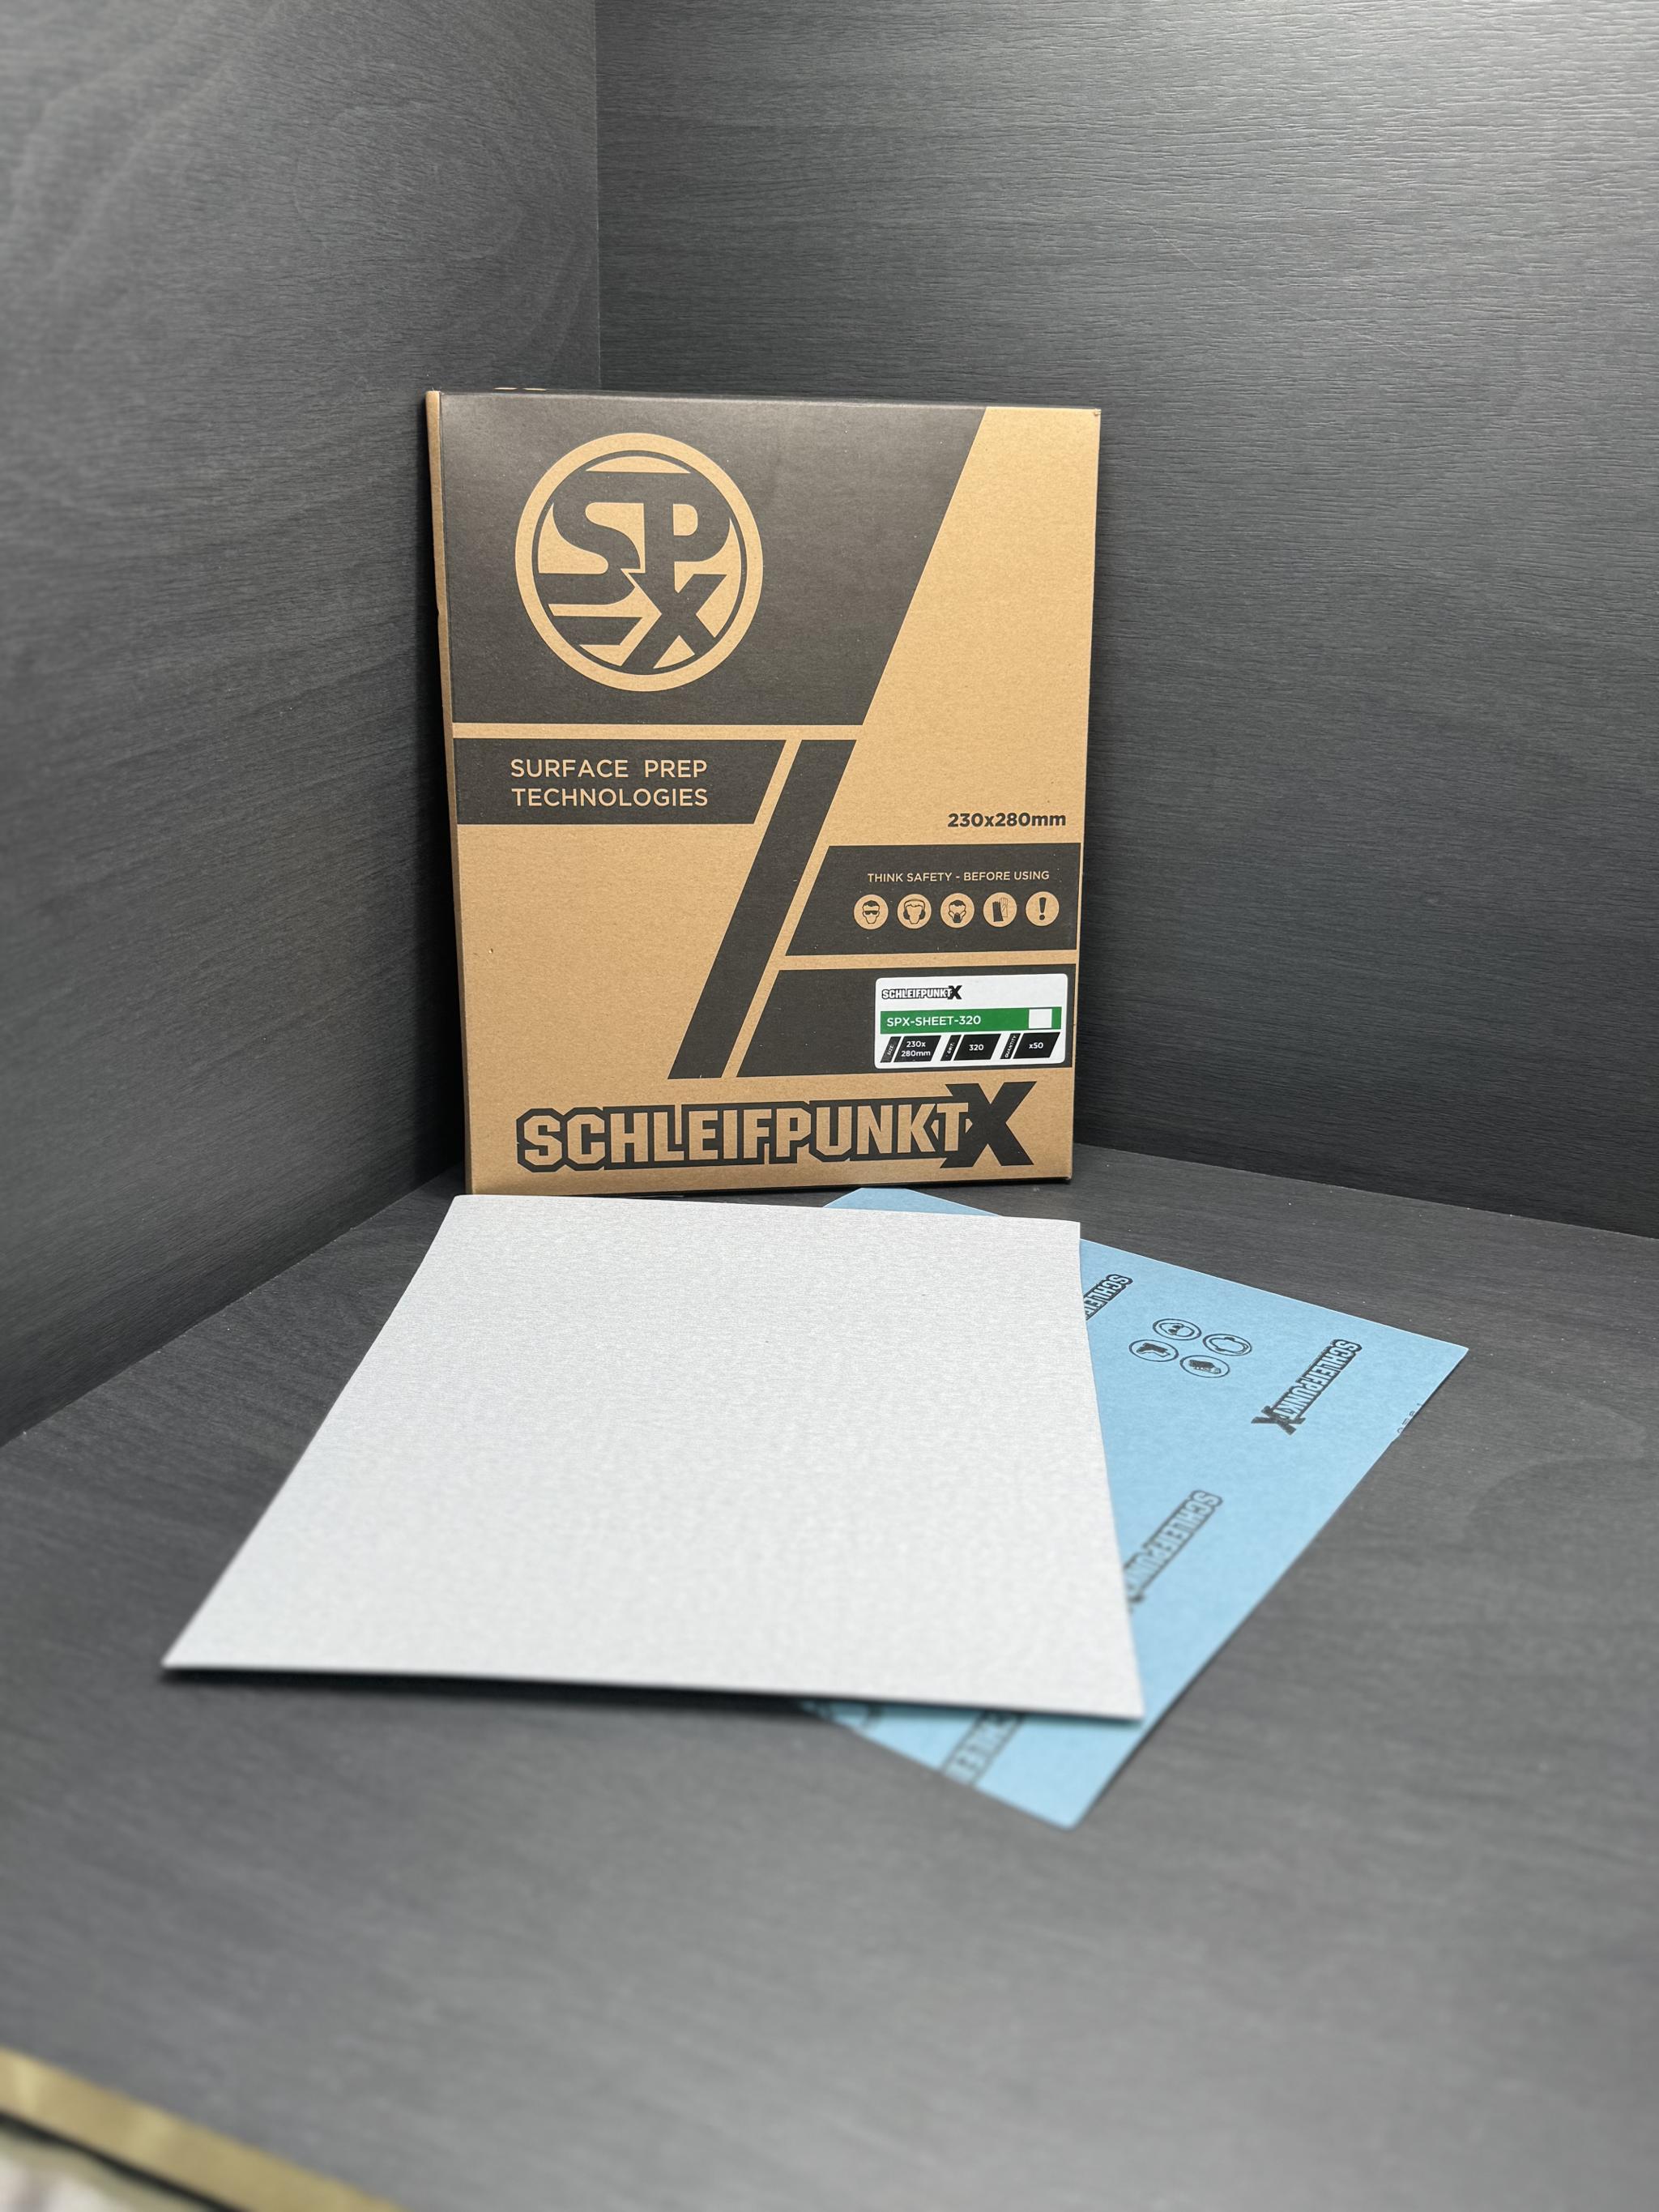
SPX product: SPX dry sanding sheets 80–400 grit and SPX tack cloths
Clear coat dust nibs
Recommended starting grit: P2000 where the nib is minor; P1500 where more cut is needed and safe
Next grit: P3000
Stop before: Sanding surrounding clear unnecessarily
Use: Small wet/dry disc or sheet, clean water, light pressure
Risk: Medium to high
SPX product: SPX sponge-back wet/dry 150mm discs P1000–P4000
Orange peel
Recommended starting grit: P1500–P2000 after a test spot
Next grit: P3000, then compound and polish
Stop before: Levelling too much clear on edges, swage lines and high spots
Use: Wet/dry abrasive, sponge-back disc, interface pad where suitable
Risk: High
SPX product: SPX 150mm interface pad and SPX polishing pads
Runs or sags in clear
Recommended starting grit: Depends on severity. Experienced operators may use P1000–P1500 after assessing film build.
Next grit: P1500, P2000, P3000, then compound and polish
Stop before: Chasing a run into the edge of a panel
Use: Controlled block or localised wet sanding, not heavy pressure across the whole panel
Risk: High
SPX product: SPX wet/dry sponge-back discs
Grit-by-grit explanation
Grit choice is not about memorising one magic number. It is about knowing what each grit is good at, and what it will wreck if you use it in the wrong place.
| Grit | What it feels like on the job | Best use | Do not use it for |
|---|---|---|---|
| P40 | Very aggressive removal | Heavy stripping, rust or old material removal where appropriate | Final filler, primer prep or clear coat |
| P60 | Fast shaping cut | Initial filler shaping and heavier repair levelling | Final primer prep |
| P80 | Coarse shaping marks | Body filler shaping | Basecoat prep or clear coat correction |
| P120 | Still cuts well, but starts refinement | Removing P80 scratches and improving filler shape | Fine paint prep |
| P180 | Medium refinement scratches | Filler refinement and feathering | Clear coat correction |
| P240 | Controlled transition grit | Feather edges and final filler surfacing | Heavy filler shaping |
| P320 | Primer prep and early blocking feel | Primer surfacer sanding and pre-primer refinement | Removing heavy defects quickly |
| P400 | Fine prep scratch | Primer sanding, some final prep stages | Shaping filler |
| P600 | Fine paint-prep scratch | Basecoat prep in many systems | Removing deep scratches or heavy orange peel |
| P800 | Very fine dry or wet prep | Blend areas, sensitive substrates and system-specific prep | Fast material removal |
| P1500 | Fine wet-sanding cut | Clear coat correction and moderate orange peel | Filler or primer shaping |
| P2000 | Safer clear coat refinement | Dust nibs, light peel and pre-polish work | Heavy levelling where more cut is required |
| P3000 | Pre-polish refinement | Reducing compounding time after wet sanding | Levelling heavy peel by itself |
| P4000 | Ultra-fine refinement | Final refinement before polishing where desired | Correcting defects that still need real levelling |
What grit sandpaper should you use for body filler?
Use P60–P80 for initial body filler shaping, then refine through P120–P180 before moving toward P240–P320 for final surfacing.
Body filler, or bog as plenty of Australian shops still call it, needs enough cut to level the repair before the surface gets polished smooth. Start too fine and you skate over high spots. Stay too coarse for too long and you carve marks that take extra primer and extra time to bury.
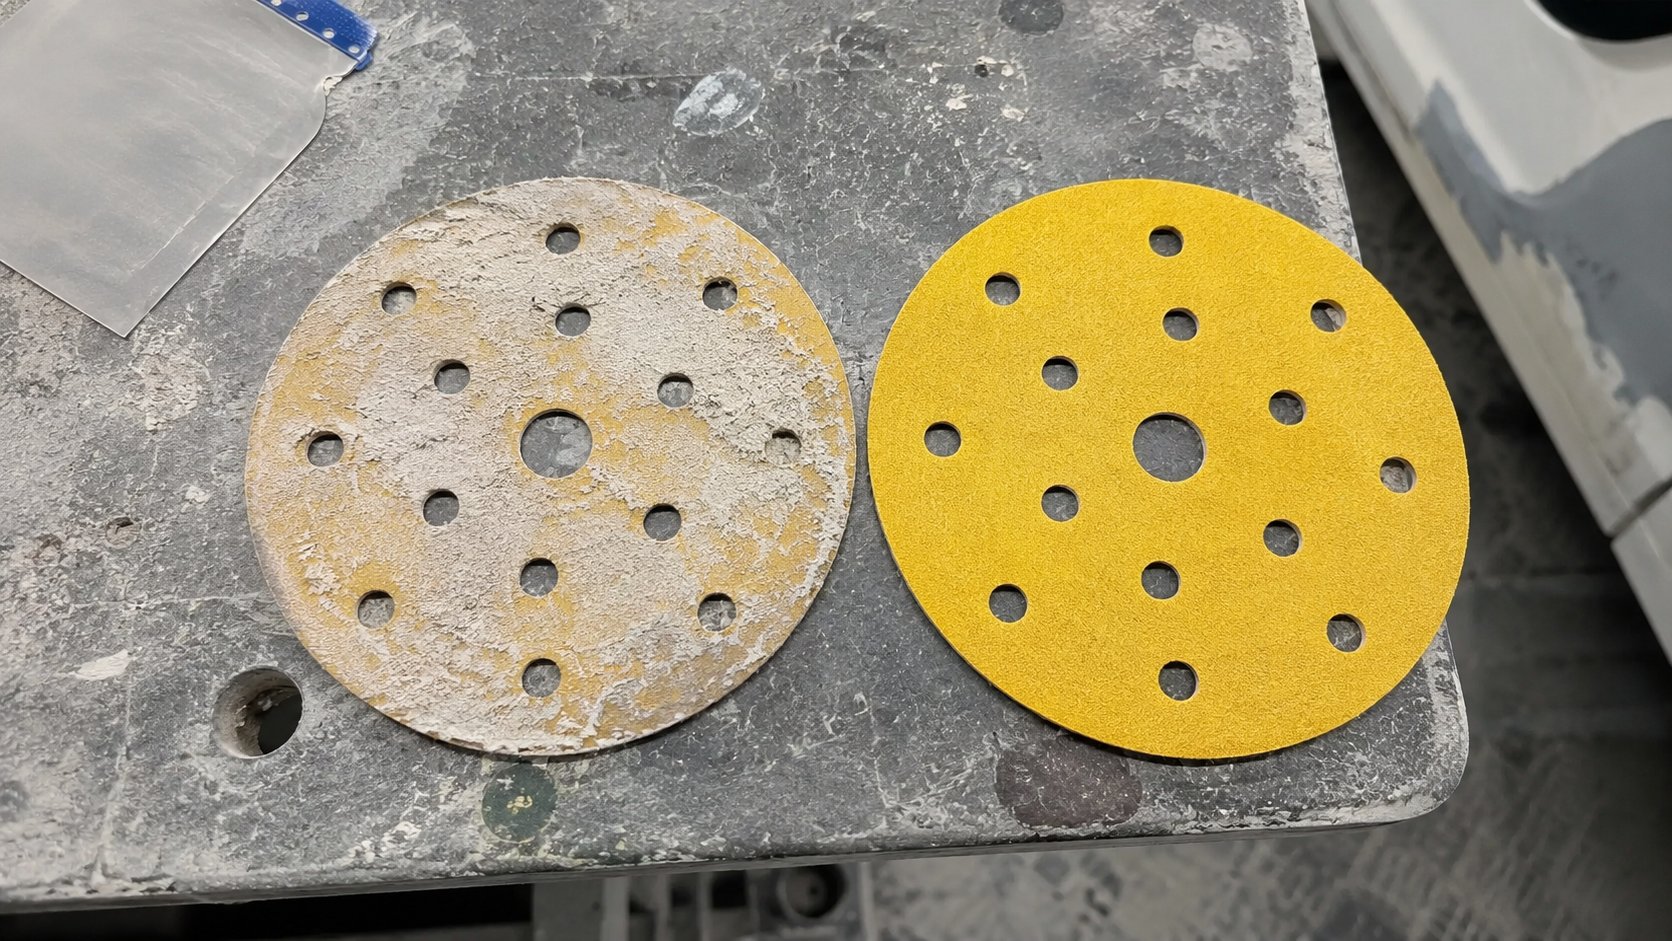
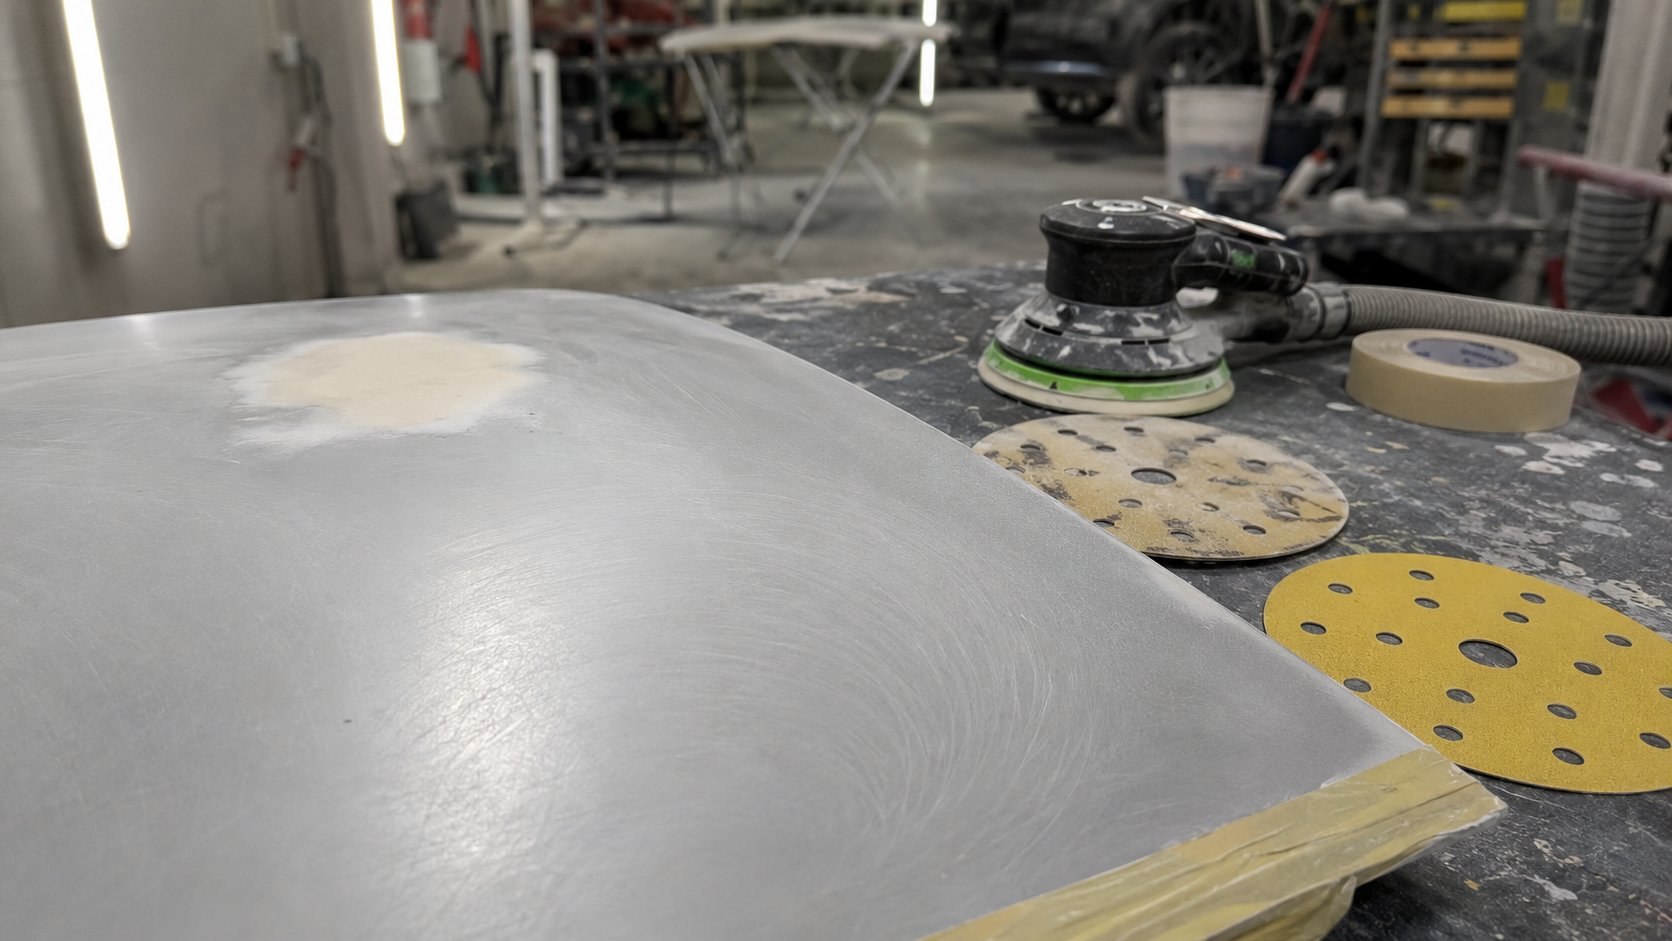
SPX workshop note: If the abrasive stops cutting and starts rubbing, do not push harder. Change the disc, clean the surface or check dust extraction. Extra pressure usually creates heat, pigtails and inconsistent scratches.
| Filler stage | Grit | Use it for | What good prep looks like |
|---|---|---|---|
| Initial shaping | P60–P80 | Levelling filler and removing bulk material | The repair is close to shape, but not ready for primer yet. |
| Refinement | P120–P180 | Removing P80 scratches and tightening the repair profile | Coarse scratches are gone, and highs/lows are easier to read. |
| Feather edge | P180–P240 | Smoothing the transition into surrounding coating | No hard ridge around the repair. |
| Final filler surfacing | P240–P320 | Preparing for primer surfacer where suitable | The repair is straight, clean and compatible with the primer system. |
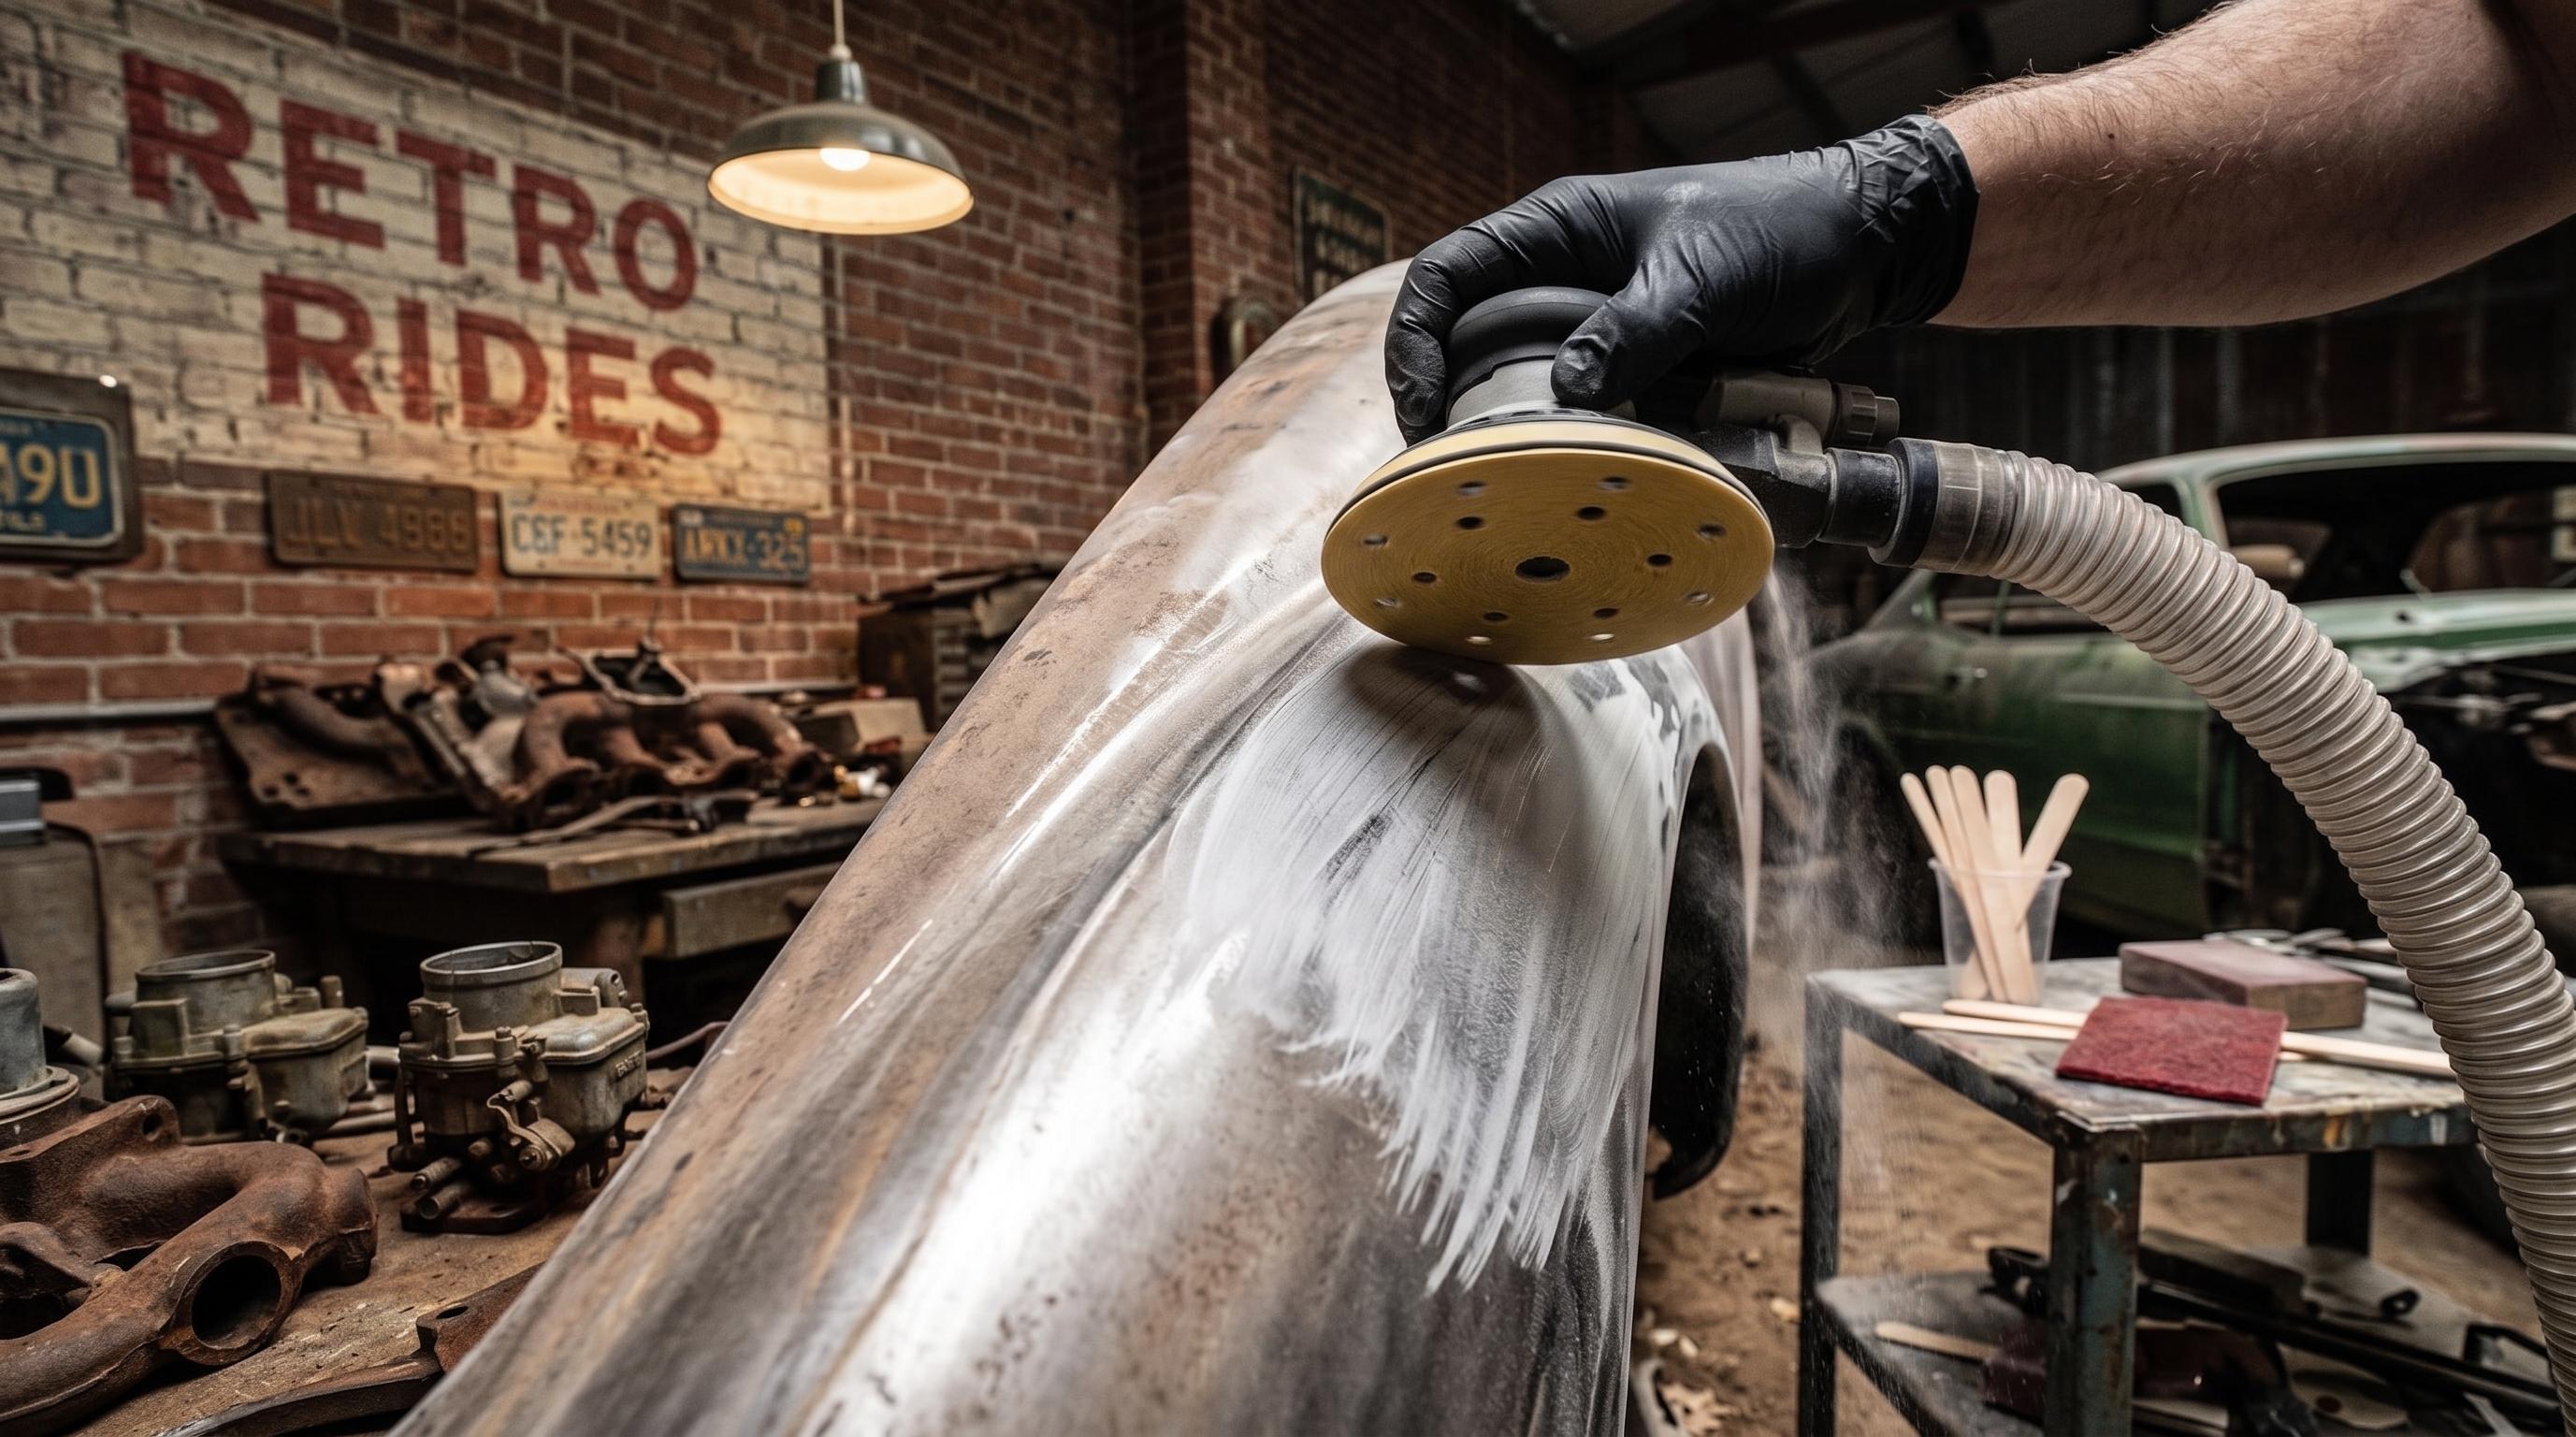
For DA filler shaping, use SPX 150mm ceramic sanding discs in P60–P80. For refinement, move into SPX 150mm ceramic discs from P120 and finer. On flat panels, keep a block in the process. A DA can make a repair look better than it is.
What grit should you use before primer?
Before primer, most filler repairs should be refined beyond coarse shaping scratches. Many workflows move through P180, P240 and P320 depending on the repair and primer system.
Primer surfacer can fill minor sanding marks. It should not be treated like a bin for bad prep. If deep P80 scratches are still sitting in the repair, primer can cover them at first, then shrink-back makes the shortcut visible later.
- Small repair: P80 shape, P120/P180 refine, P240/P320 before primer.
- Large repair: Use guide coat and block work to confirm shape before committing to primer.
- Unknown coating: Clean, inspect and follow the coating system’s TDS before sanding aggressively.
Panel-shop note: Primer problems often start before primer is mixed. If the repair is wavy or full of old coarse scratches, more primer is not the fix. Step back, block it properly, then prime.
What grit should you use for primer surfacer?
Primer surfacer is commonly sanded around P320–P600, depending on whether you are blocking for straightness, preparing for sealer, or finishing for basecoat.
Early primer blocking needs enough bite to flatten texture and reveal lows. Final primer prep needs a controlled scratch pattern so the topcoat has adhesion without deep marks showing through.
| Primer task | Typical grit | Best approach |
|---|---|---|
| Initial block sanding primer surfacer | P320–P400 | Use a suitable block and guide coat to control straightness. |
| Refining primer before sealer | P400–P500 | Remove coarse scratches and clean the surface properly. |
| Final prep before basecoat | P500–P600, sometimes finer depending on system | Follow the paint manufacturer’s TDS for the exact finish. |
| Edges, curves and sensitive areas | P600–P800 or suitable scuffing product | Reduce cut-through risk and keep the scratch profile even. |
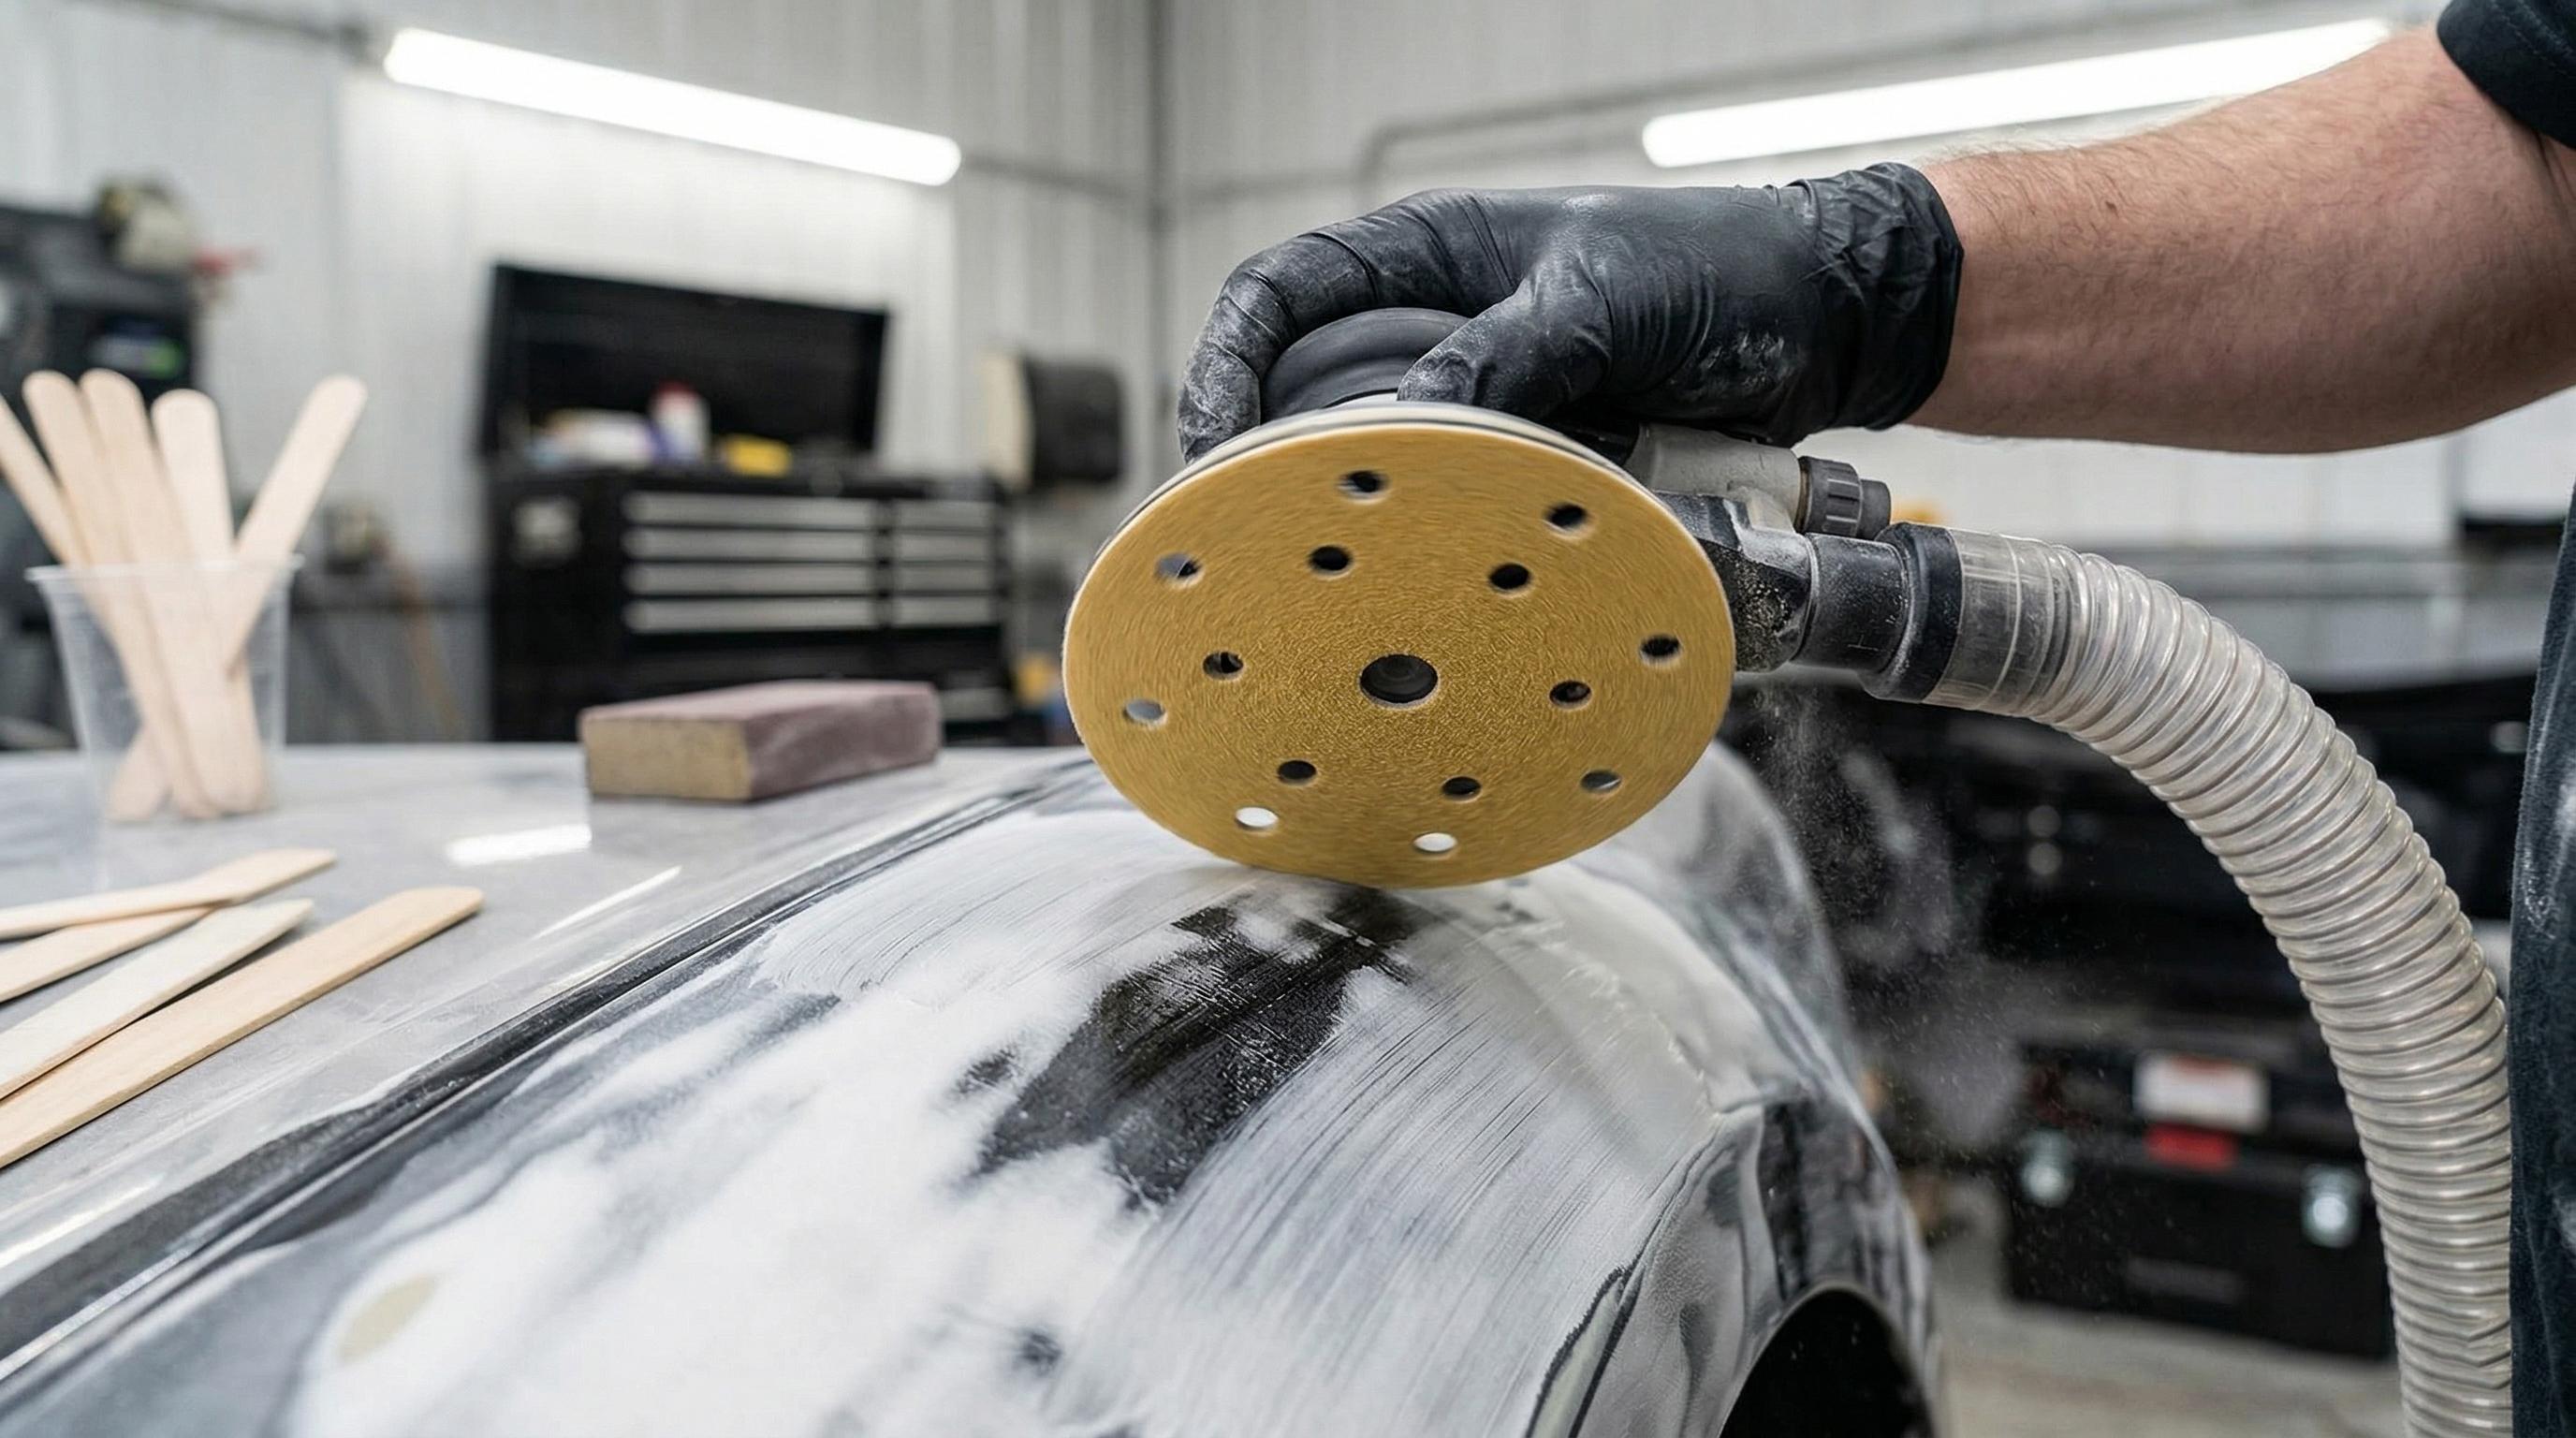
For cleaner primer sanding on a DA, use a well-matched 15-hole disc, backing pad and dust extraction setup. SPX stocks sanding discs, 150mm base plates and 150mm interface pads for different sanding stages.
What grit should you sand before painting a car?
For many basecoat and clearcoat systems, final sanding often sits around P400–P600, with finer choices depending on the paint system, colour, substrate, sealer use and manufacturer instructions.
This is where bad internet advice gets expensive. A solid colour, metallic basecoat, sealer process, plastic bumper, spot repair and full respray can all need different prep. Do not treat one number as universal.
| Surface | Common final prep range | Notes |
|---|---|---|
| Primer surfacer before basecoat | P400–P600 | Use the TDS. Metallics and fine colours can be less forgiving. |
| Blend panels | P800 or suitable scuffing system | Keep scratches fine and uniform across the blend area. |
| Old paint for repainting | P400–P600 | Clean, degrease and remove unstable coating first. |
| Plastic parts | P500–P800 depending on system | Use the correct plastic prep, adhesion promoter or primer system where required. |
TDS note: Always confirm final sanding recommendations against the paint, primer, filler or clear coat manufacturer’s technical data sheet. Grit selection can change depending on coating chemistry, colour, sealer use, film build and curing conditions.
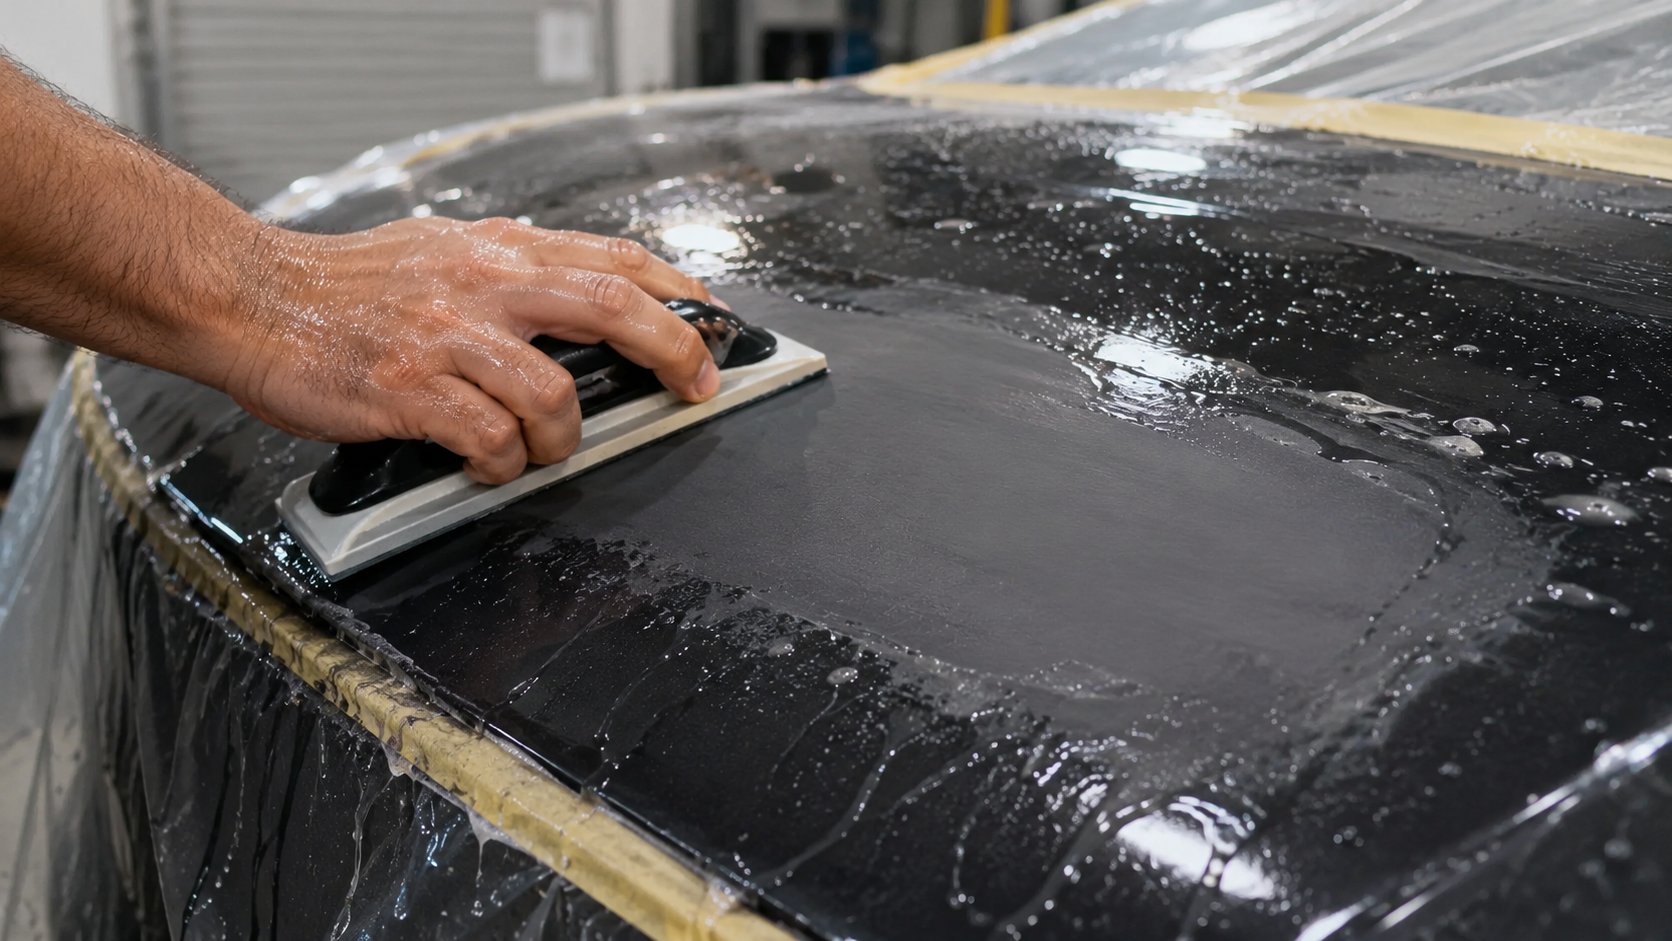
What grit should you use to wet sand clear coat?
Clear coat correction usually starts much finer than primer or filler work. For many modern clear coats, P1500–P2000 is a safer starting range, then refinement through P3000 helps reduce compounding time.
Clear coat has very little tolerance for rough sanding. P1000 or P1200 can have a place on heavy texture, runs or experienced correction work, but it is aggressive compared with P1500 and P2000. If you do not know the clear thickness, stay conservative.
| Clear coat issue | Starting grit | Refinement | Risk level |
|---|---|---|---|
| Small dust nibs | P2000, or P1500 if needed | P3000, then compound and polish | Medium |
| Light orange peel | P2000 | P3000–P4000, then polish | Medium |
| Moderate orange peel | P1500 | P2000, P3000, then compound and polish | High |
| Heavy peel, runs or sags | P1000–P1500 only where justified | P1500, P2000, P3000, then polish | High |
| Unknown or thin clear | Avoid aggressive sanding | Polish only or seek professional assessment | High burn-through risk |

For this stage, SPX 150mm sponge-back wet/dry discs in P1000–P4000 suit denibbing, orange peel correction and pre-polish refinement work. The sponge backing helps with contour control, but it does not replace judgement.
Scratch pattern comparison
The grit number matters because each grit leaves a scratch pattern the next stage must remove. If the next grit cannot remove the previous scratches, the defect gets buried until primer, basecoat or clear makes it visible again.
| Grit | Scratch depth impression | Best use | Do not use for |
|---|---|---|---|
| P80 | Aggressive shaping marks | Body filler shaping | Final primer prep |
| P180 | Medium refinement scratches | Filler refinement, feathering | Clear coat correction |
| P320 | Controlled primer prep | Primer surfacer/blocking | Heavy filler shaping |
| P600 | Fine paint-prep scratch | Basecoat prep in many systems | Removing heavy defects |
| P1500 | Fine wet-sanding scratch | Clear coat correction | Shaping filler |
| P3000 | Pre-polish refinement | Reducing buffing time | Levelling heavy peel |
SPX recommended workflow by repair type
These are practical workflow examples. They are not a replacement for the paint system TDS, but they show how a shop can think through grit progression.
Small filler repair on a door
- Shape cured filler with P80.
- Refine with P120.
- Remove coarse scratches with P180.
- Feather edge with P240.
- Final surface with P320 where suitable for the primer.
- Prime, guide coat and block.
- Final prep primer with P400–P600 depending on the system.
Primer surfacer block sanding
- Apply guide coat.
- Block with P320 or P400 to check shape.
- Address lows before moving finer.
- Refine with P500 or P600 for many basecoat systems.
- Clean properly before masking and paint.
Clear coat orange peel correction
- Confirm the clear has cured enough for correction.
- Inspect film build where possible.
- Mask or avoid sharp edges.
- Test spot with P1500 or P2000.
- Refine with P3000.
- Compound, polish and inspect under proper light.
Dust nib removal
- Let the clear cure as required.
- Target the nib locally with P2000 or P3000 where suitable.
- Keep the water clean.
- Polish the small correction area, then inspect from multiple angles.
Bumper curve or soft panel
- Use an interface pad or softer backing where the shape needs it.
- Reduce pressure.
- Avoid aggressive sanding on edges and body lines.
- Check the scratch pattern often. Curved plastic hides mistakes until paint.
Sanding problem diagnosis chart
People search grit charts before the job. They search troubleshooting after something has gone wrong. Keep this chart close when the finish starts telling on the prep.
| Problem | Likely cause | Fix |
|---|---|---|
| Primer scratches showing through paint | Stopped too coarse or skipped grits | Re-block and refine through the correct sequence. |
| Pigtails after DA sanding | Contamination, clogged disc, wrong pressure, worn abrasive or poor extraction | Clean the surface, replace the disc, check extraction and inspect the backing pad. |
| Filler feels smooth but primer looks rough | Filler was polished with too fine a grit before being shaped properly | Step back to the right grit and re-level the repair. |
| Clear coat looks hazy after wet sanding | Wet sanding scratches were not refined enough before polishing | Refine with P3000/P4000 where suitable, then compound and polish. |
| Edge burn-through | Too much pressure, too coarse a grit or too much time on an edge | Mask edges, reduce pressure, use finer abrasive and avoid machine pressure on body lines. |
| Primer keeps clogging the disc | Primer not cured, poor dust extraction, worn abrasive or wrong disc format | Check cure time, change discs earlier and improve extraction. |
| Deep random scratches | Coarse particle trapped under disc, dirty surface or contaminated water | Clean between grits, use fresh water for wet sanding and inspect the disc face. |
Wet sanding vs dry sanding: when to use each
Dry sanding is common for filler, primer and fast material removal. Wet sanding is mainly used for fine finishing, clear coat correction and high-grit refinement.
| Method | Best for | Advantages | Trade cautions |
|---|---|---|---|
| Dry sanding | Body filler, primer surfacer, old paint prep | Fast cut, easy guide coat use, works with dust extraction | Needs good extraction and PPE; clogged discs create poor scratches. |
| Wet sanding | Clear coat denibbing, orange peel correction, final refinement | Cleaner fine scratch pattern and less airborne dust during the wet stage | Dirty water can scratch; edges can burn through; slurry must be cleaned properly. |
Do not wet sand filler as a shortcut. Filler and moisture are a bad mix, and water hiding in repairs before primer can create problems you do not see straight away.
For dusty stages, use extraction and suitable respiratory protection. SPX carries P2 dust masks, but spray painting, solvent work, isocyanate materials and hazardous dusts can require higher-level controls and properly selected respiratory protective equipment.
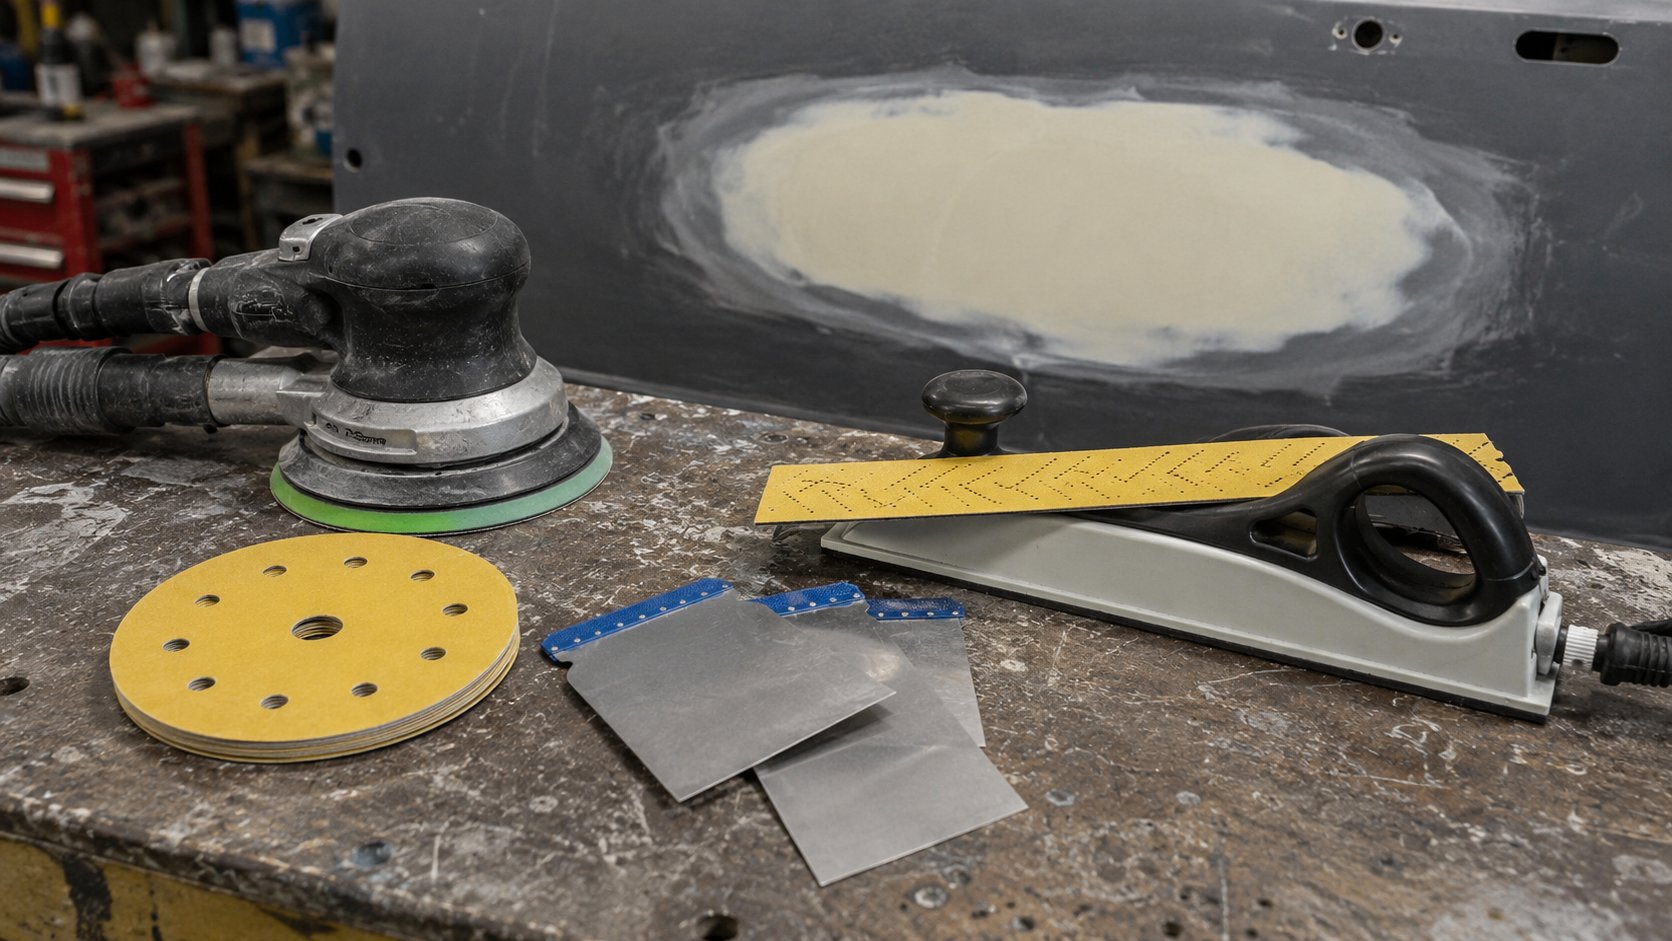
DA sanding vs hand sanding: which is better?
A DA sander is faster and more consistent for many stages, but hand sanding and block sanding are still better when straightness, edge control or tight access matters.
| Tool | Use it for | Avoid using it for |
|---|---|---|
| 150mm DA sander | Fast filler refinement, primer sanding and suitable final prep areas | Sharp edges, tight corners and body lines where machine pressure is risky |
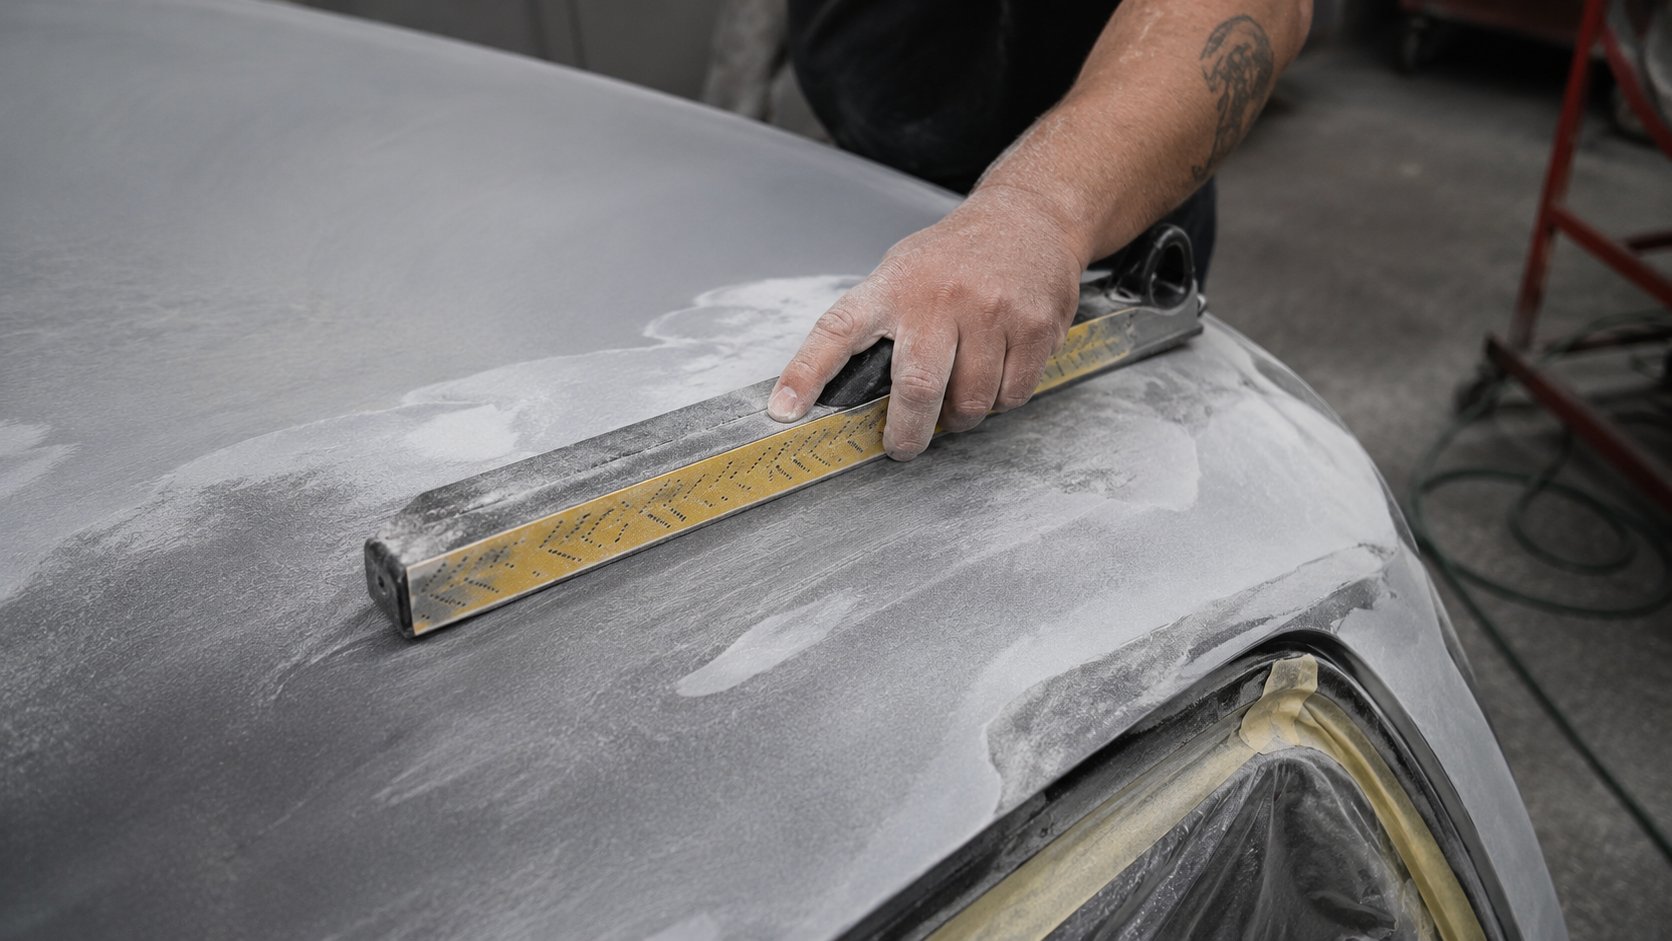
| Long sanding block | Flat panels, primer blocking and checking repair straightness | Large bulk removal where a DA should do the first cut |
| Small hand block | Edges, detail repairs and controlled feathering | Large flat areas where uneven hand pressure creates waves |
| Interface pad | Curves, bumpers, finer prep and clear coat refinement | Heavy filler shaping where you need a firm cut |
A DA is a production tool. A block is a truth tool. Good prep usually uses both.
Common bad sanding advice
Bad grit advice sounds simple. That is why it spreads. The panel does not care how confident the advice sounded.
| Bad advice | Why it is risky | Better answer |
|---|---|---|
| “Just use 400 for everything.” | Too fine for shaping filler and too coarse or too specific for some finishing stages. | Match the grit to the job stage. |
| “Start clear coat with 1000.” | Too aggressive for many modern clear coats unless defect severity and film build justify it. | Test with P1500/P2000 first where suitable. |
| “Skip from P80 to P320.” | Deep scratches can remain under primer. | Step through P120/P180 first. |
| “Use worn discs to get a finer finish.” | Worn discs generate heat and leave inconsistent scratches. | Use the correct fresh grit. |
| “Primer will fill it.” | Primer can shrink back and reveal poor prep. | Remove the scratch pattern before primer. |
Recommended SPX abrasive setup by job stage
This is where the chart becomes useful for ordering. Keep the right grit stages in stock so the prep team is not forced to improvise with whatever is left in the drawer.
Heavy filler shaping
Use SPX 150mm ceramic P60–P80 discs where fast cut matters. Keep a suitable block handy for shape control.
Filler refinement and primer prep
Use SPX 150mm ceramic P120–P1200 discs for controlled progression through filler, primer and fine prep stages.
Hand blocking and straightening
Use SPX sanding blocks, Ironhead ceramic strips and sanding rolls where shape matters more than speed.
Clear coat correction
Use SPX sponge-back wet/dry discs P1000–P4000 for denibbing, orange peel correction and pre-polish refinement.
Curves and sensitive areas
Use SPX 150mm interface pads when the panel shape needs softer contact, especially on bumpers, curves and finer prep.
Polishing after wet sanding
Use SPX polishing pads, including wool, heavy foam, medium foam and soft finishing pads, matched to your compound and polish system.
Cleaning, masking and PPE
Keep tack cloths, automotive masking tape, safety gear and P2 dust masks stocked for repeat prep work.
Trade supply
For repeat ordering, panel-shop consumables and wholesale abrasive supply, use the SPX trade account request page.
FAQ: automotive sandpaper grit chart
What grit sandpaper should I use for car paint?
For repainting over prepared primer or existing coating, many systems use a final prep range around P400–P600. Blend areas and some paint systems may require finer preparation. Always check the paint manufacturer’s TDS.
What grit sandpaper should I use before primer?
Many filler repairs move through P80 for shaping, P120–P180 for refinement and P240–P320 before primer. The exact final grit depends on the primer system and repair type.
What grit do you use to sand body filler?
Use P60–P80 for initial body filler shaping, then refine through P120–P180. Move toward P240–P320 before primer where the primer system allows it.
What grit should I use before base coat?
P400–P600 is common for many primer prep workflows before basecoat, but the correct grit depends on the coating system, substrate, sealer use and colour.
Can I paint over 400 grit?
In some systems, yes. P400 can be suitable before certain primers, sealers or topcoat processes. It is not universal. Use the TDS for the coating being sprayed.
Is 600 grit good before paint?
P600 is commonly used for final primer prep before basecoat in many refinishing workflows. The surface still needs to be clean, stable and compatible with the paint system.
What grit should I wet sand clear coat with?
For many clear coat correction jobs, P1500–P2000 is a conservative starting range. Refine through P3000 before compounding and polishing.
What grit removes orange peel?
Light orange peel may be corrected with P2000 and refined with P3000. Moderate peel often starts around P1500. Heavy peel may require more aggressive correction, but only when film build and defect severity justify it.
Should I wet sand or dry sand primer?
Many panel shops dry sand primer because it works well with guide coat and dust extraction. Some systems allow wet sanding. Use the method recommended by the primer and paint manufacturer.
What happens if I skip sanding grits?
The next grit may not fully remove the previous scratch pattern. Those deeper scratches can show through primer, basecoat or clear, especially after the job cures and settles.
Sources and TDS note
This guide is based on practical abrasive progression used in automotive refinishing, SPX product suitability, coating manufacturer guidance and Australian workplace safety expectations.
Important: Always confirm final sanding recommendations against the paint, primer, filler or clear coat manufacturer’s technical data sheet. Grit selection can change depending on coating chemistry, colour, sealer use, film build, substrate, curing conditions and whether the job is a repair, blend or full refinish.
For workplace safety, check current Australian WHS guidance, the relevant product SDS and your shop’s respiratory protection process. Dry sanding painted surfaces, primers and fillers can create harmful dust. Spray painting and sanding some coatings may involve hazards that need more than a basic dust mask.
Sources and technical data sheet note
This guide is designed as a practical sanding grit resource for Australian automotive refinishing work. It should sit beside, not replace, the technical data sheets for the filler, primer, sealer, basecoat, clear coat and polishing system being used.
Always confirm final sanding recommendations against the product manufacturer’s technical data sheet. Grit selection can change depending on coating chemistry, film build, colour, substrate, curing time, sealer use, temperature and the repair process.
For safety, also check the relevant safety data sheet and workplace requirements before sanding, spraying, cutting, polishing or working around airborne dust. Automotive refinishing can involve fine dust, solvents, isocyanates and other hazards that need the correct PPE and controls.
SPX note: The safest grit is not always the finest grit. It is the grit that removes the previous scratch pattern cleanly without creating a new problem for the next stage.
Final word
Good sanding is not about using one magic grit. It is about using the right abrasive at the right stage, then proving each step has removed the marks from the step before it.
P80 has a job. So does P180. So does P600. So does P3000. Trouble starts when one grit gets asked to do another grit’s work.
For a busy panel shop, the win is simple: keep the right grit sequence on the shelf, use fresh discs, clean between steps, protect edges, and make the coating technical data sheet the final call before paint.
Featured Products From This Article
Quick picks already referenced in this guide.


.png&w=2048&q=75)