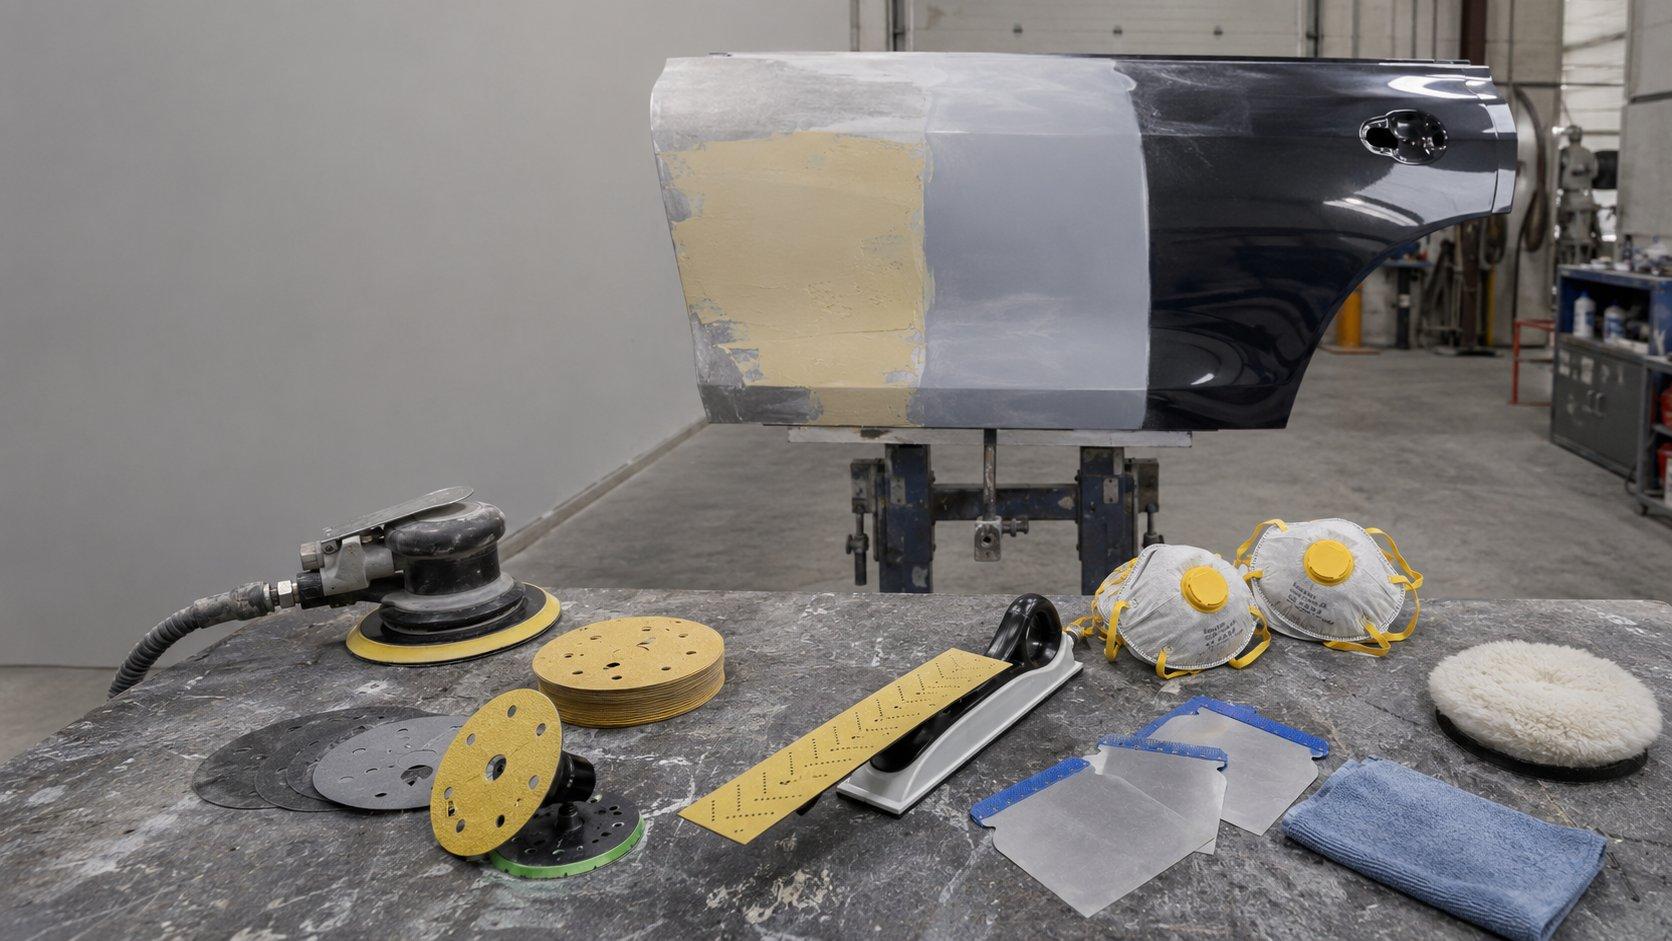
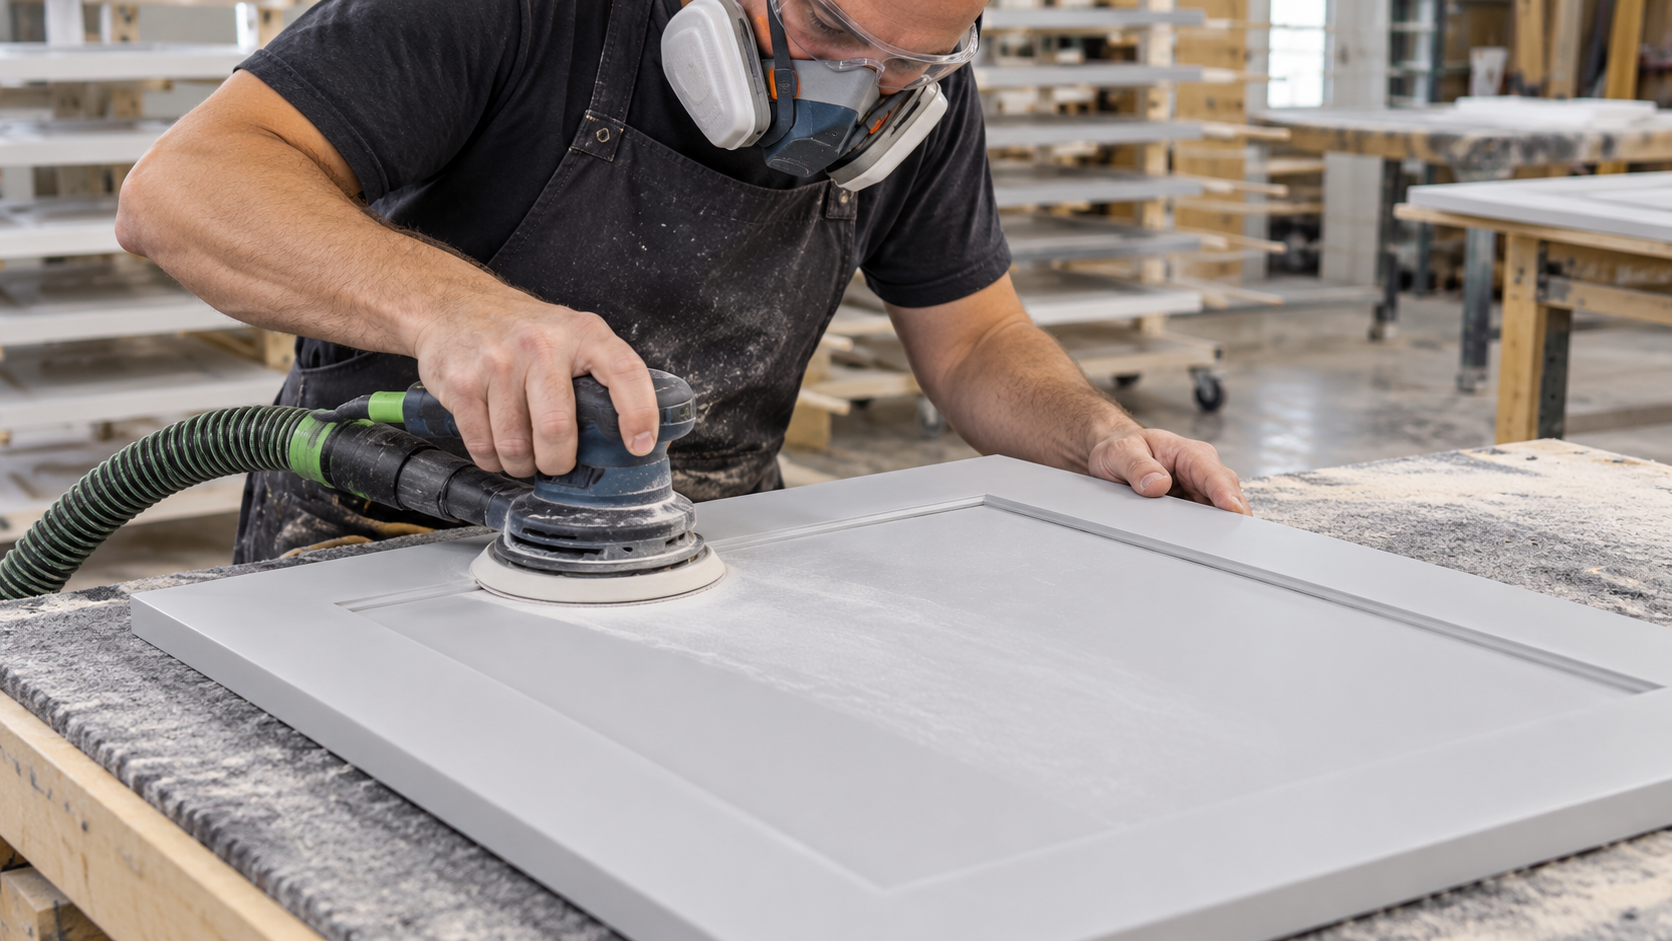
Best Sanding Discs for 2K Cabinet Painting: MDF Prep, Primer & Between-Coat Sanding
Quick Answer: Which Sanding Discs Are Best for 2K Cabinets?
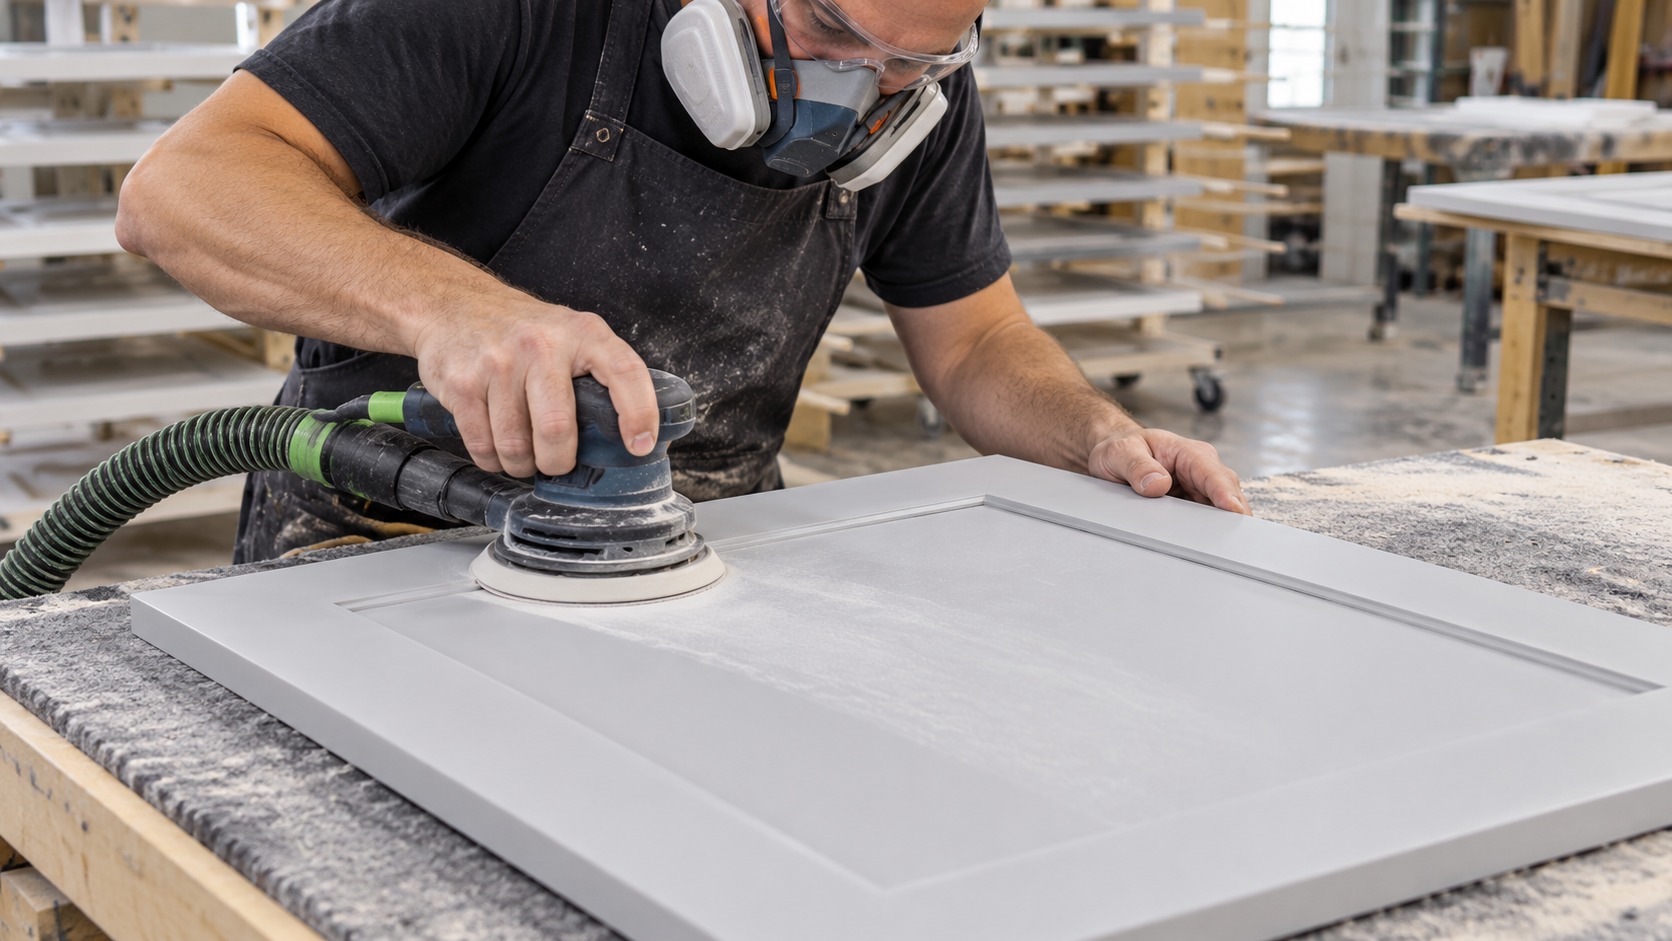
For most professional MDF cabinet preparation, a 150mm dust-extracted random orbital sander fitted with quality sanding discs is a practical choice for flat door faces. Ceramic discs are worth considering for repeat workshop work, while sanding blocks, sheets and flexible abrasives give you better control around edges and routed profiles.
Start with the surface you're working on. Smooth MDF faces often need only light preparation. Cut edges need more attention because they absorb coatings differently. Once you've sealed and primed the door, the sanding grit must suit the actual coating system.
If you're choosing the best sanding discs for cabinets, don't buy one grit and expect it to handle every stage.
| Surface | Starting grit range | Recommended approach |
|---|---|---|
| Factory MDF faces | P180–P240 if sanding is needed | Light machine sanding |
| Cut MDF edges | P120–P180 | Controlled block sanding |
| Sealed MDF edges | As specified by sealer manufacturer | Light block or detail sanding |
| Cured 2K primer | P240–P400 in suitable systems | Fine disc or block sanding |
| Between 2K topcoats | Coating-system specific | Sand only when required or permitted |
Important: These are practical starting ranges, not a universal 2K paint specification. Check the technical data sheets (TDS) for the MDF, sealer, primer and topcoat. For example, Concept Paints specifies P240–P320 Frecut abrasive for its 2K Timber Primer White (4:1) before the finish coat.
Shop SPX 150mm ceramic sanding discs or enquire about trade and wholesale supply.
Key Takeaways
| Workshop decision | What matters |
|---|---|
| Preparing bare MDF | Avoid unnecessarily coarse sanding on already smooth factory faces. |
| Preparing cut edges | Remove raised fibres and seal porous edges using a compatible coating system. |
| Sanding primer | Follow the primer TDS rather than assuming every 2K primer needs the same grit. |
| Choosing discs | Match grit, diameter, backing pad and extraction-hole pattern. |
| Protecting profiles | Use a firm block for straight edges and flexible abrasives for shaped details. |
| Buying for a workshop | Stock your most-used preparation grits and suitable hand-sanding accessories. |
What Are the Best Sanding Discs for 2K Cabinet Painting?
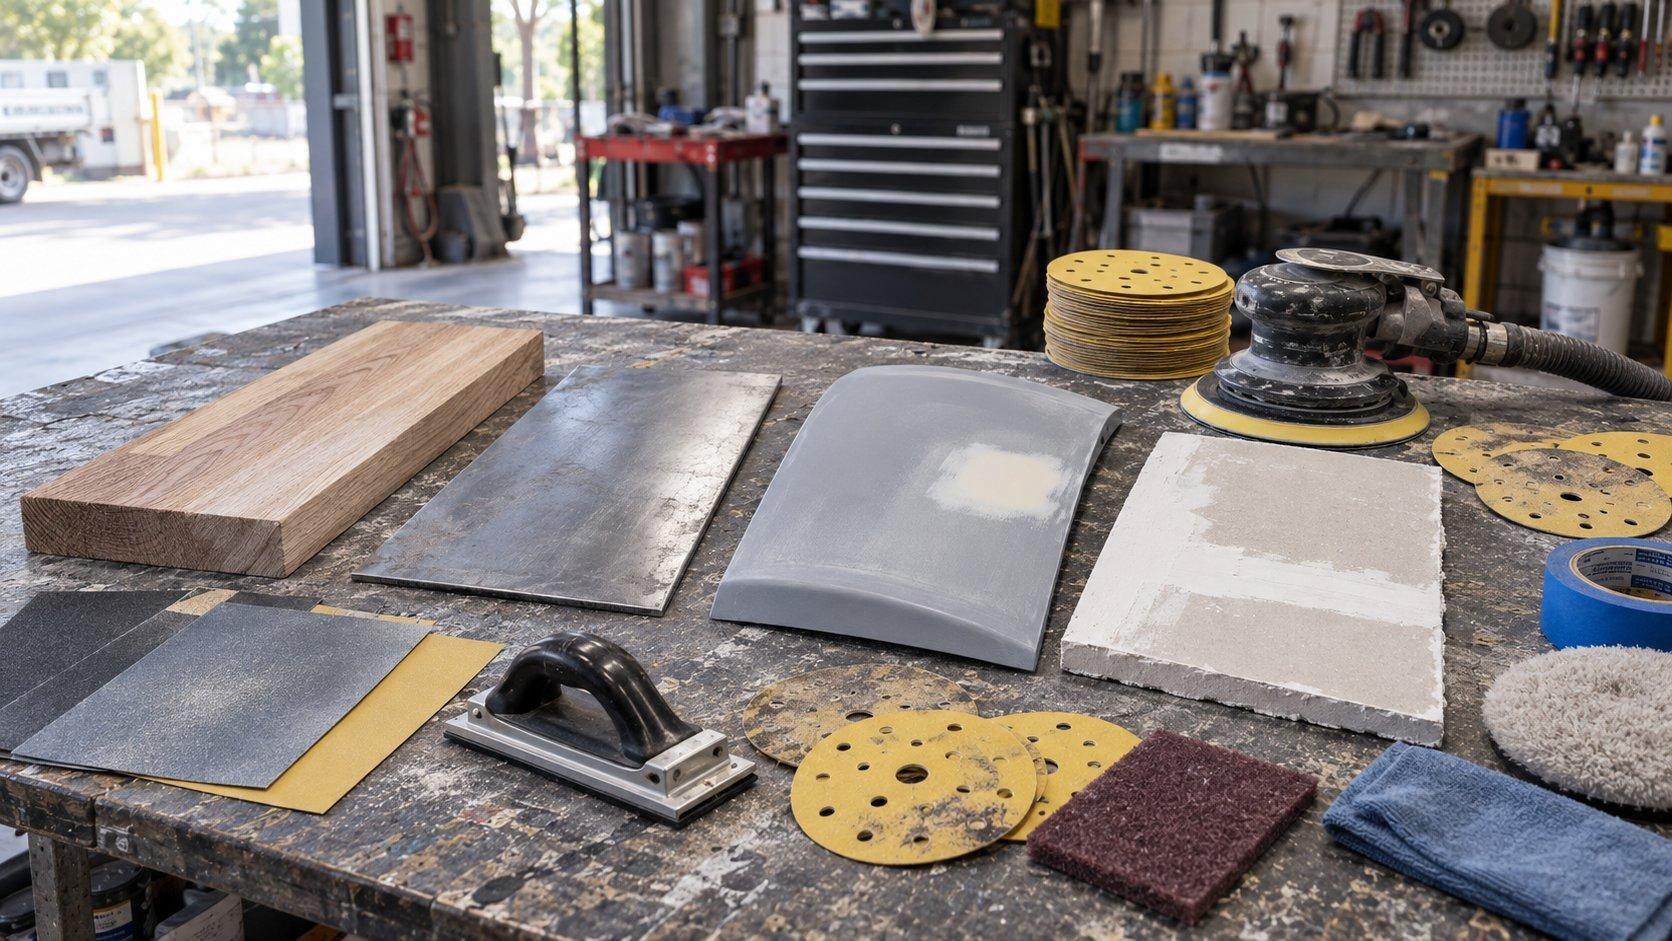
For a cabinet shop regularly preparing MDF doors, a good starting setup is a 150mm random orbital sander with dust extraction, compatible ceramic sanding discs and a separate hand-sanding kit for the edges.
Why separate the work? Because a cabinet door has several different surfaces. The flat face can be sanded efficiently by machine, but that same machine can remove too much material from a narrow edge or shaped profile.
For flat MDF faces and primer
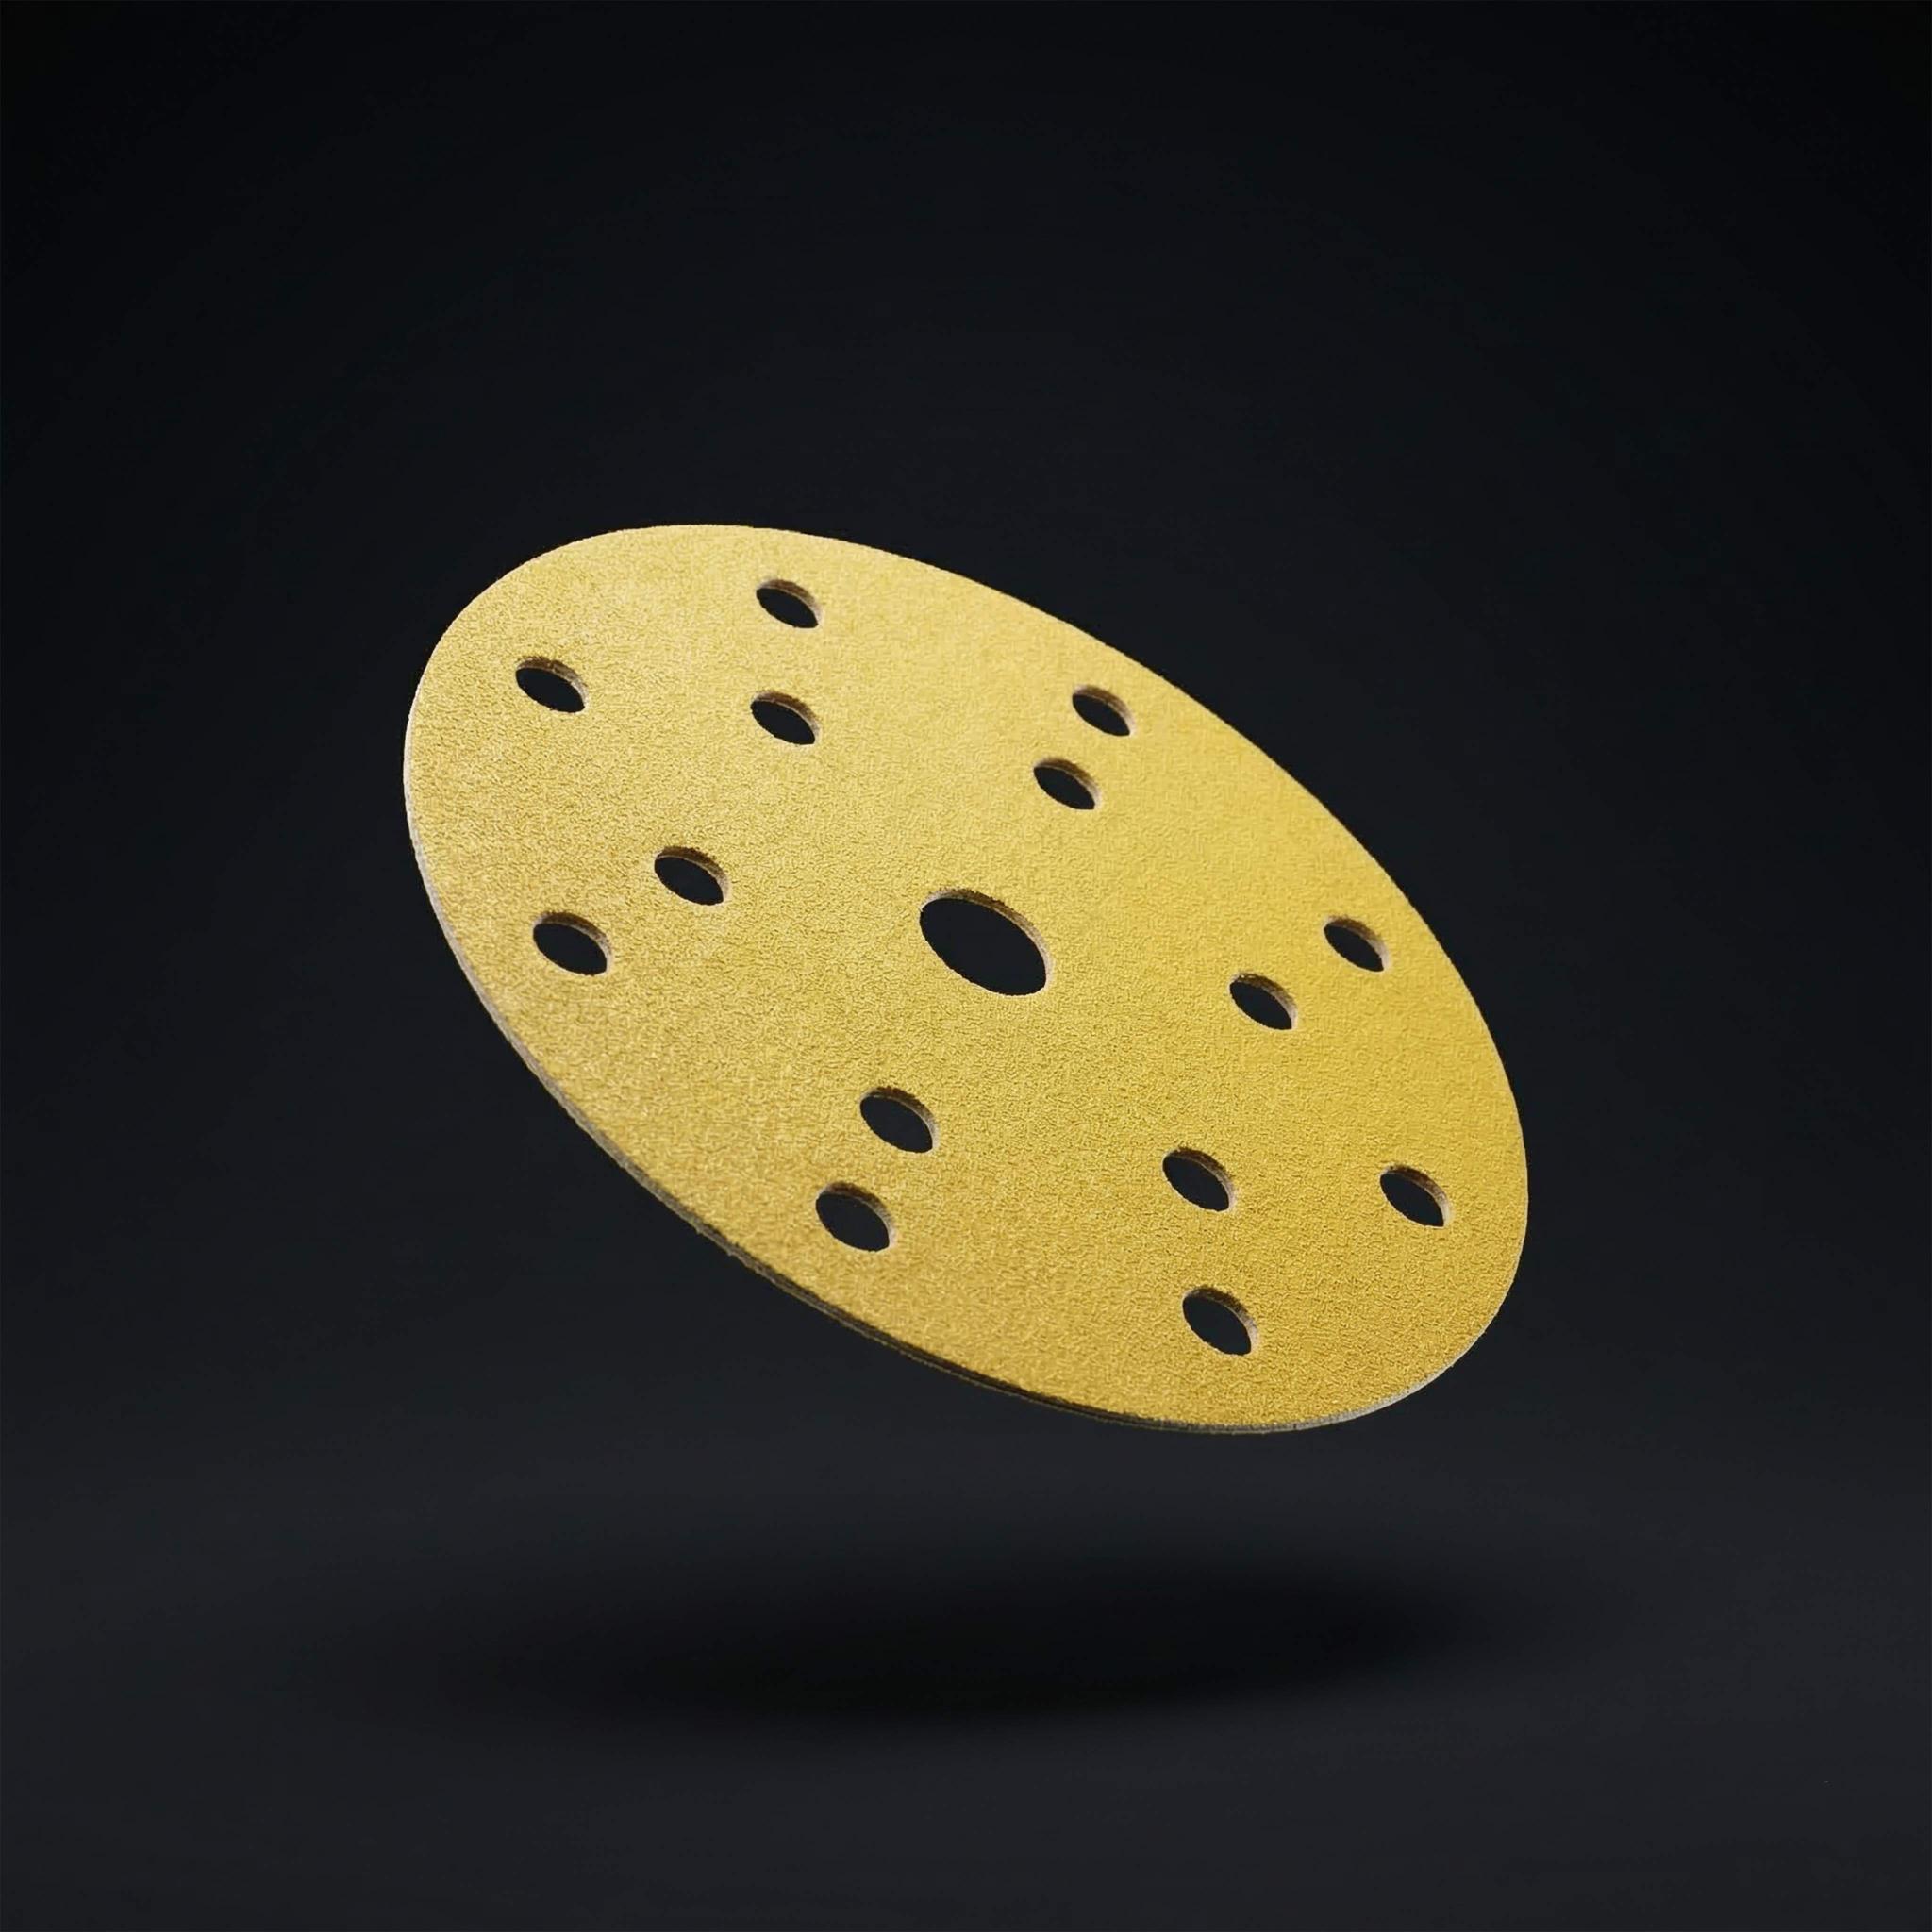
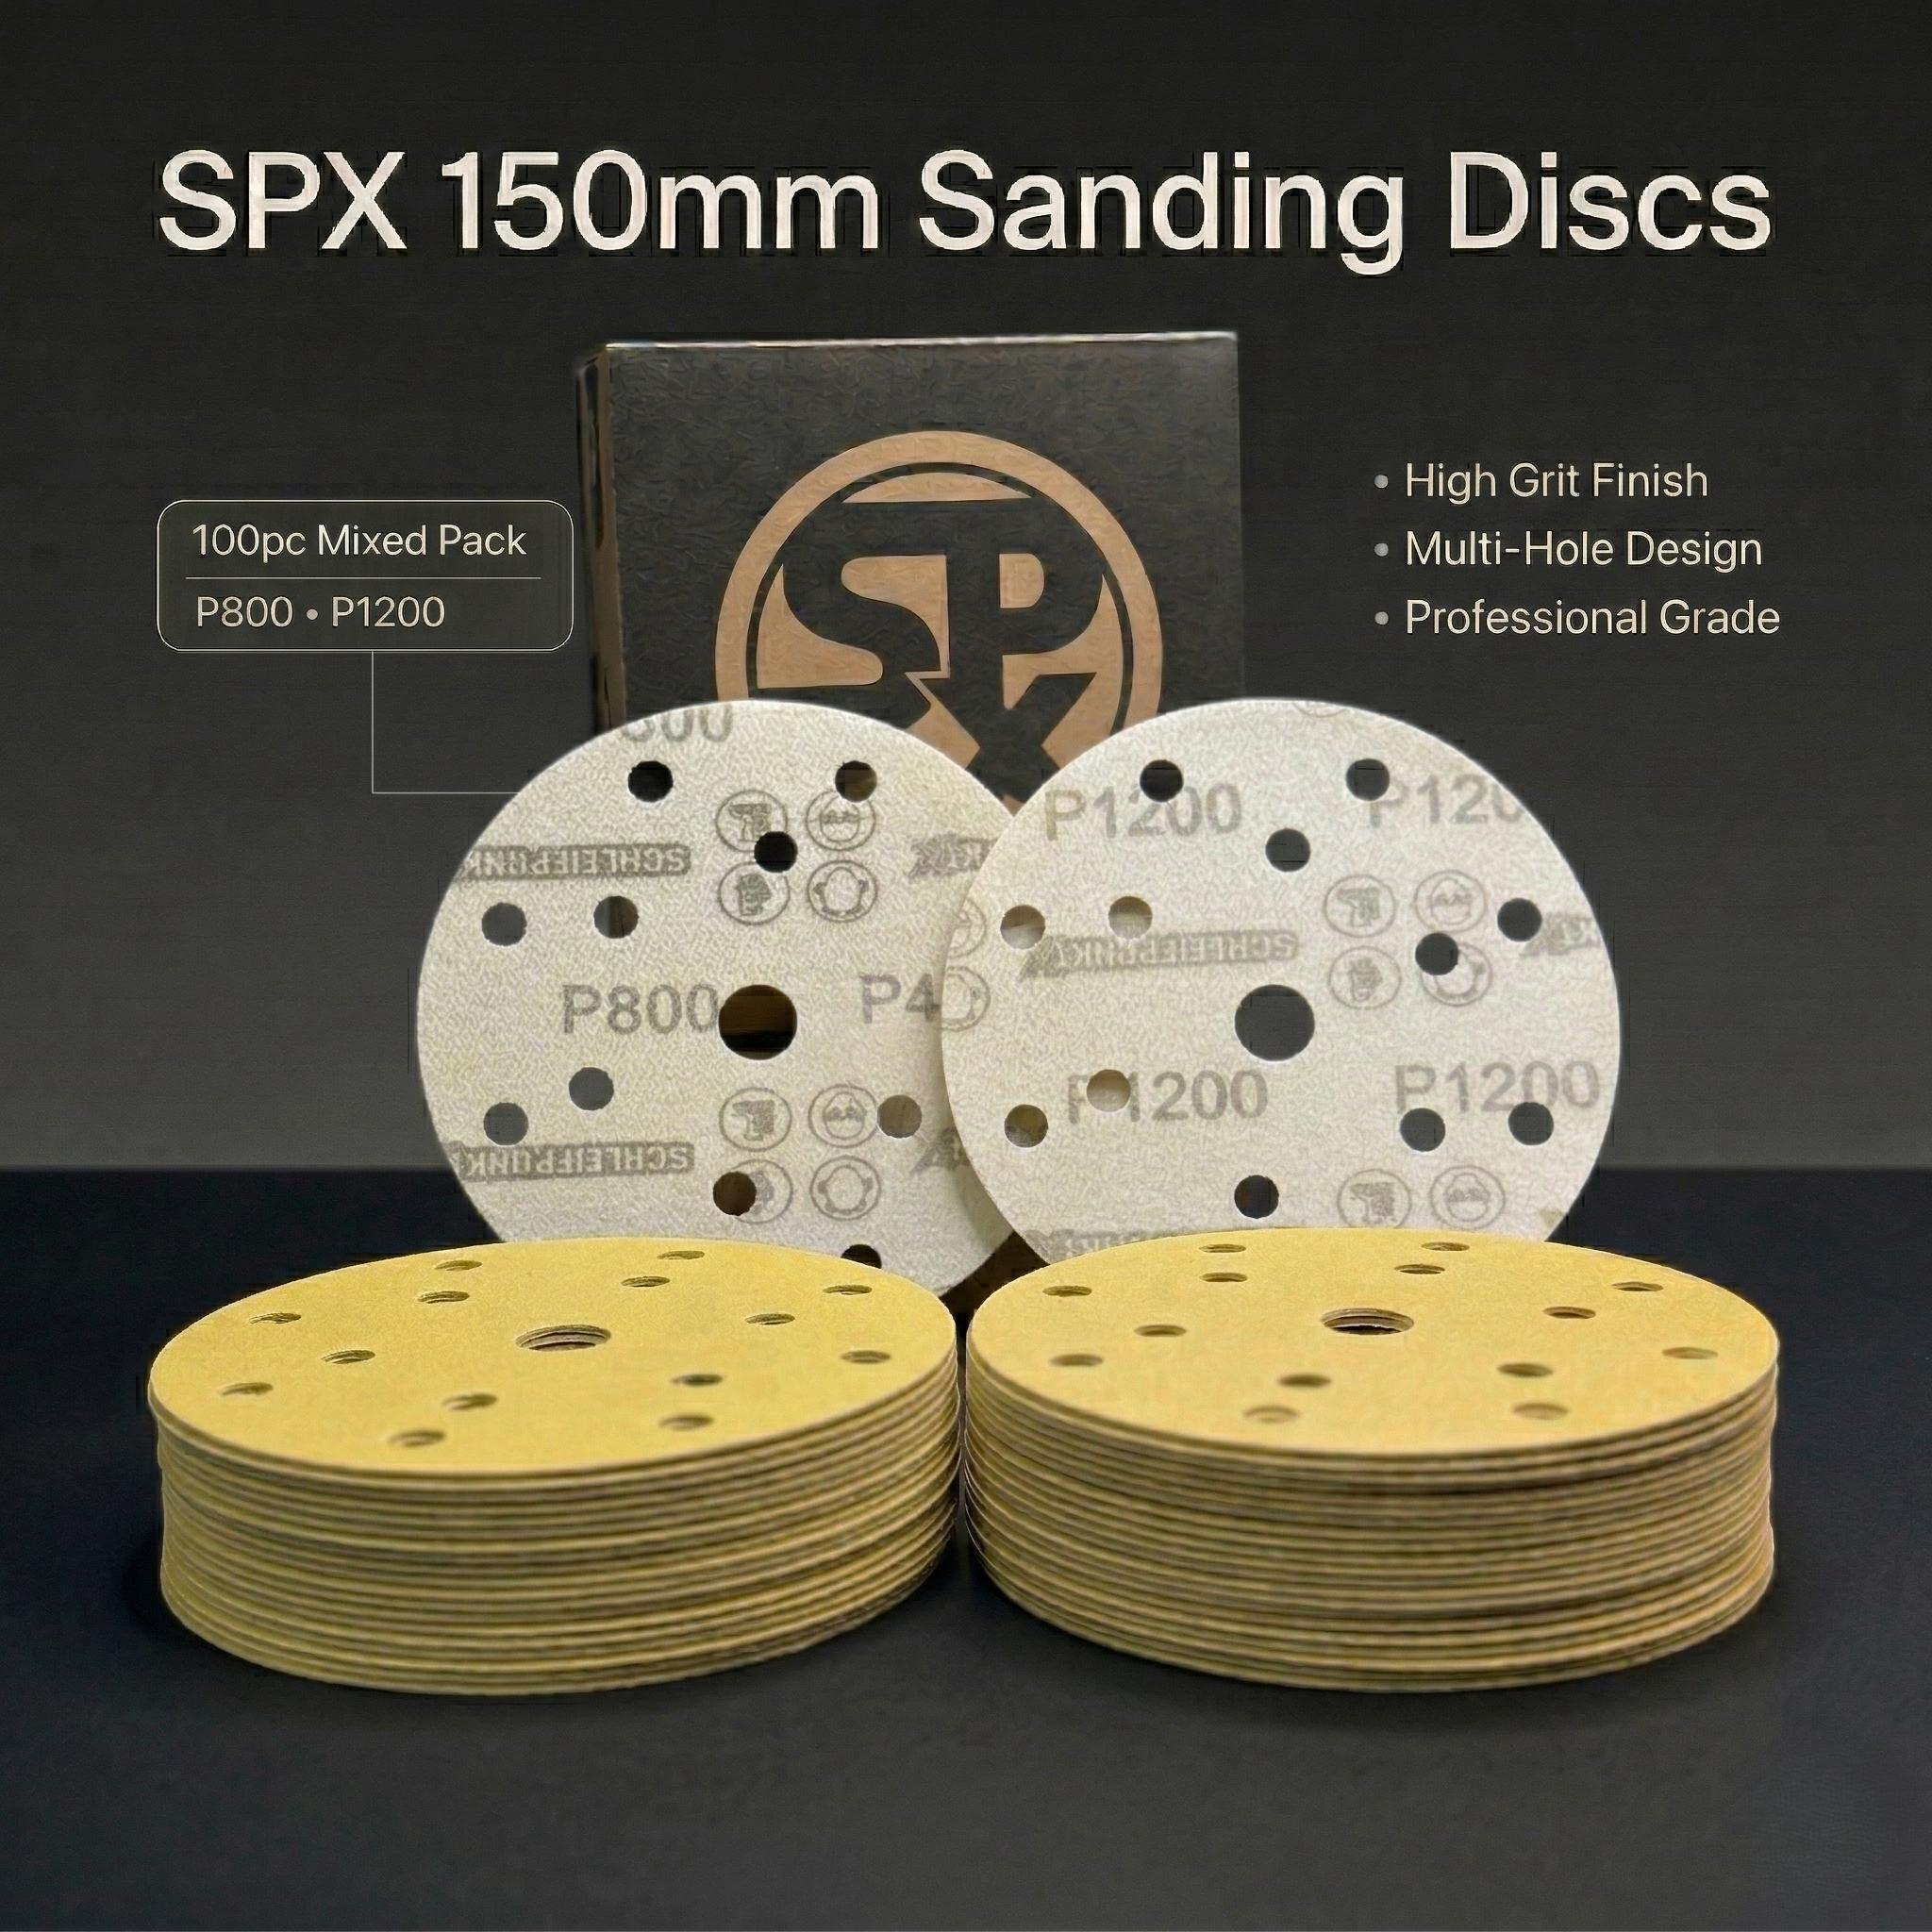
SPX 150mm ceramic sanding discs are available across useful preparation and finishing grits, including P120, P180, P240, P320 and P400. Their 15-hole extraction layout is designed for compatible sanding systems.
Use the grade that suits the surface and the next coating operation. P180 might be appropriate for light MDF preparation, while P320 may be specified for sanding certain cured primers.
See the SPX 150mm ceramic disc range.
For MDF cut edges and routed profiles
Keep sanding sheets, a firm block and flexible abrasives within reach. They're usually easier to control on narrow edges, finger pulls, grooves and internal corners.
A powered sander saves time on a broad surface. It doesn't automatically produce a better edge.
What Grit Sandpaper Should You Use on MDF Before 2 Pack Paint?
The correct grit depends on whether you're sanding the factory face or a machined edge. Treating both as the same material is where a lot of extra preparation begins.
Sanding flat MDF cabinet door faces
Good-quality paint-grade MDF often arrives with smooth factory-sanded faces. If they're clean and undamaged, they may need very little sanding before the specified sealer or primer.
Where preparation is required, P180–P240 is a useful starting range, subject to the coating manufacturer's instructions.
Use light, even passes. Keep the machine moving and check that the surface is flat before moving to a finer disc. Don't start with P80 simply because it's already on the sander.
Sanding cut MDF edges and routed profiles
Cut MDF behaves differently. Sawing and routing expose fibres that are more porous than the factory face. A painted edge can still look rough even when the adjacent door face appears perfectly smooth.
For an ordinary sawn edge, P120 followed by P180 is a sensible preparation sequence where needed. If the edge is already well machined, you may be able to start finer.
Use a supported sanding block for straight edges. Work carefully around profiles so you remove loose fibres without changing the shape of the door.
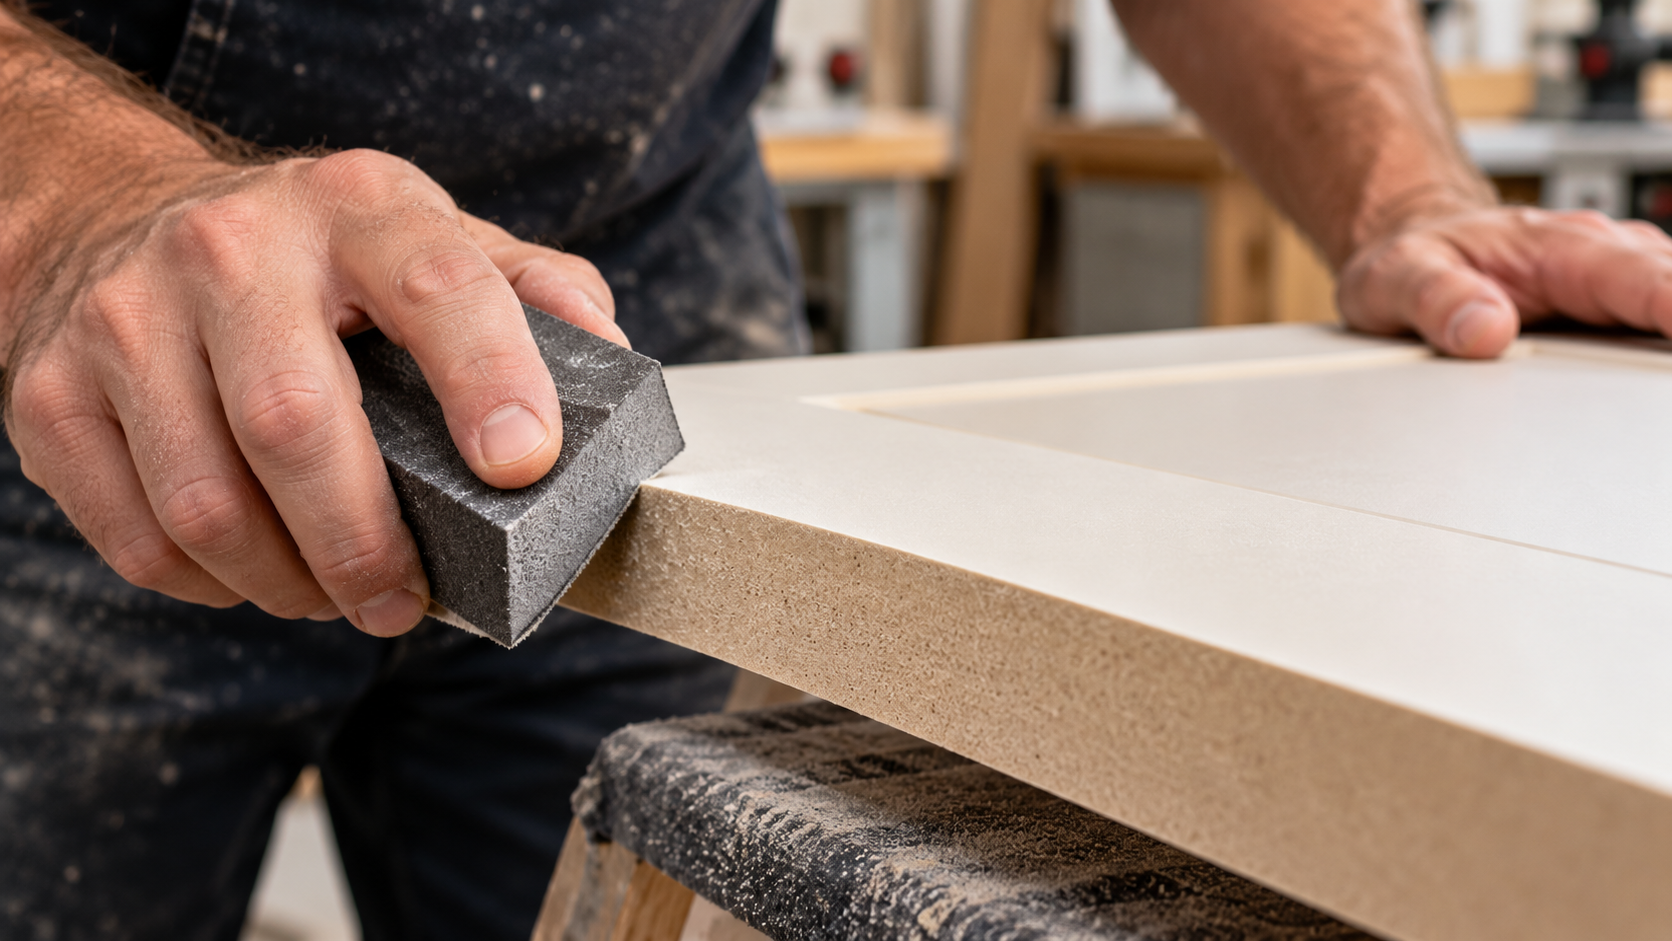
Why MDF edges need sealing before 2K painting
Unsealed MDF edges tend to absorb more coating. That can leave an uneven texture after the first coat, even when the face looks good.
Once the edge is properly prepared, apply an appropriate MDF edge sealer or timber sealer that is approved for the following primer and topcoat system. Allow it to dry or cure as directed, then refine the surface if the product instructions call for sanding.
Check the edges under angled light before moving on. A slightly furry edge at the primer stage often remains noticeable when the finished door catches the light.
For more general abrasive selection, see the SPX sandpaper grit chart.
MDF to 2K Paint: A Step-by-Step Sanding Sequence
A repeatable sanding process makes a difference when a workshop is preparing a full kitchen rather than one sample door.
The sequence below is a planning guide. Your selected paint system determines the approved materials, preparation grades, drying times and recoat requirements.
Stage 1: Prepare the bare MDF
- Inspect every door face for machining marks, damage and contamination.
- Make any necessary repairs using products compatible with the coating system.
- Sand the factory faces only as much as needed, commonly around P180–P240 where appropriate.
- Use a suitable dust-extracted sander and keep the backing pad flat.
- Remove dust using an appropriate extraction and cleaning method before coating.
There's no benefit in spending extra time making bare MDF unnecessarily fine if your selected sealer or primer requires a different surface preparation.
Stage 2: Sand and seal the cut edges
Refine saw-cut and routed edges with a block or suitable flexible abrasive. Remove loose fibres, but preserve the profile.
Apply the specified compatible edge sealer or sealing system. Once ready for sanding, check for raised fibres and uneven areas. You may need another sealing and preparation cycle on especially porous edges, depending on the material and product instructions.
The goal is a consistent surface, not simply a high grit number.
Stage 3: Sand cured 2K primer
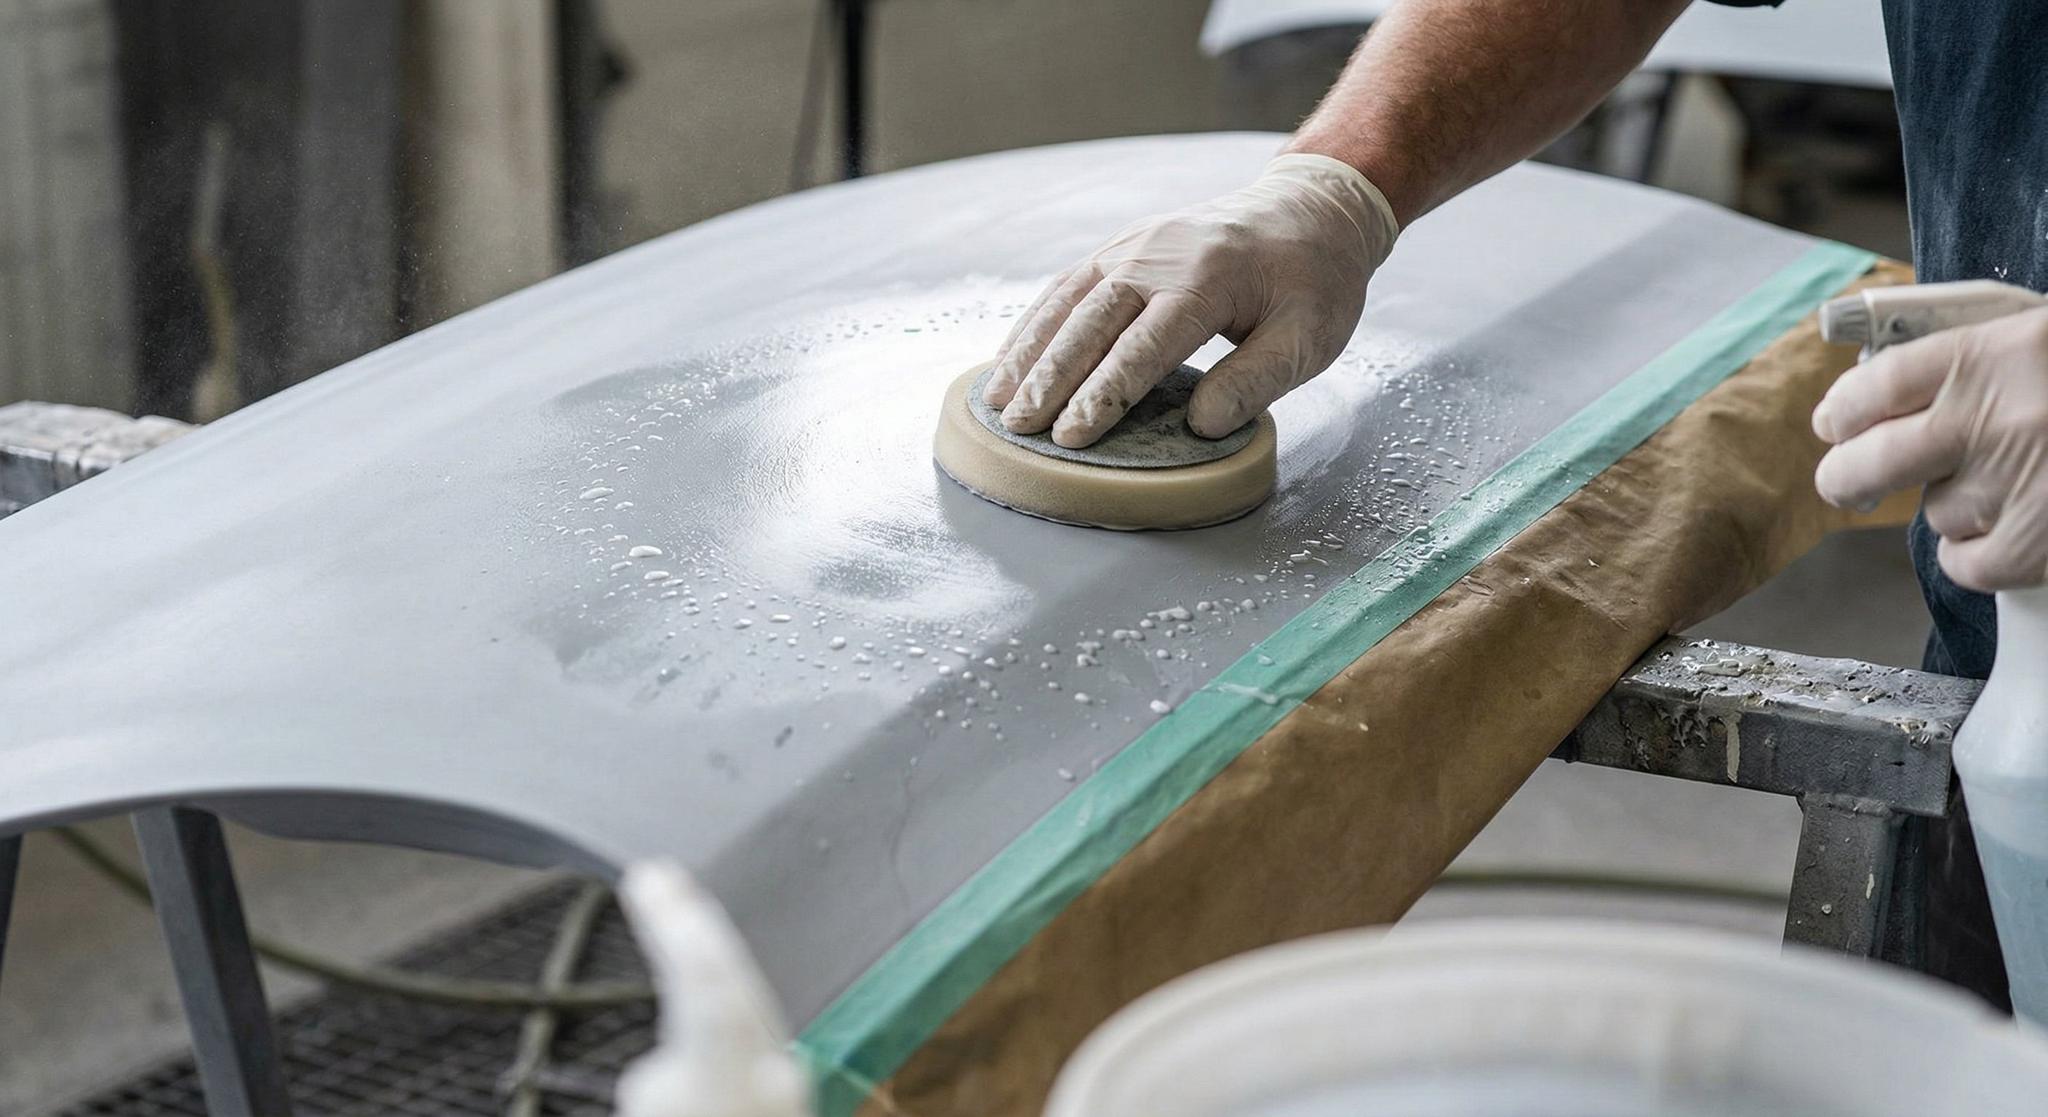
After applying primer according to its TDS, allow it to reach the specified sanding condition. Then inspect the whole door for texture, dust nibs, low spots and imperfections.
This is where finer sanding discs become useful. In suitable systems, P240–P400 covers a range of primer preparation work, but the specified grade must come from the selected primer and topcoat instructions.
As one real example, Concept Paints' 2K Timber Primer White (4:1) technical data sheet specifies sanding with P240–P320 Frecut before the finish coat. That instruction applies to that product, not every 2-pack primer.
Use a block where flatness needs checking and a compatible fine disc for broader surfaces. Avoid concentrating the machine on corners and raised sections where primer film thickness can be lower.
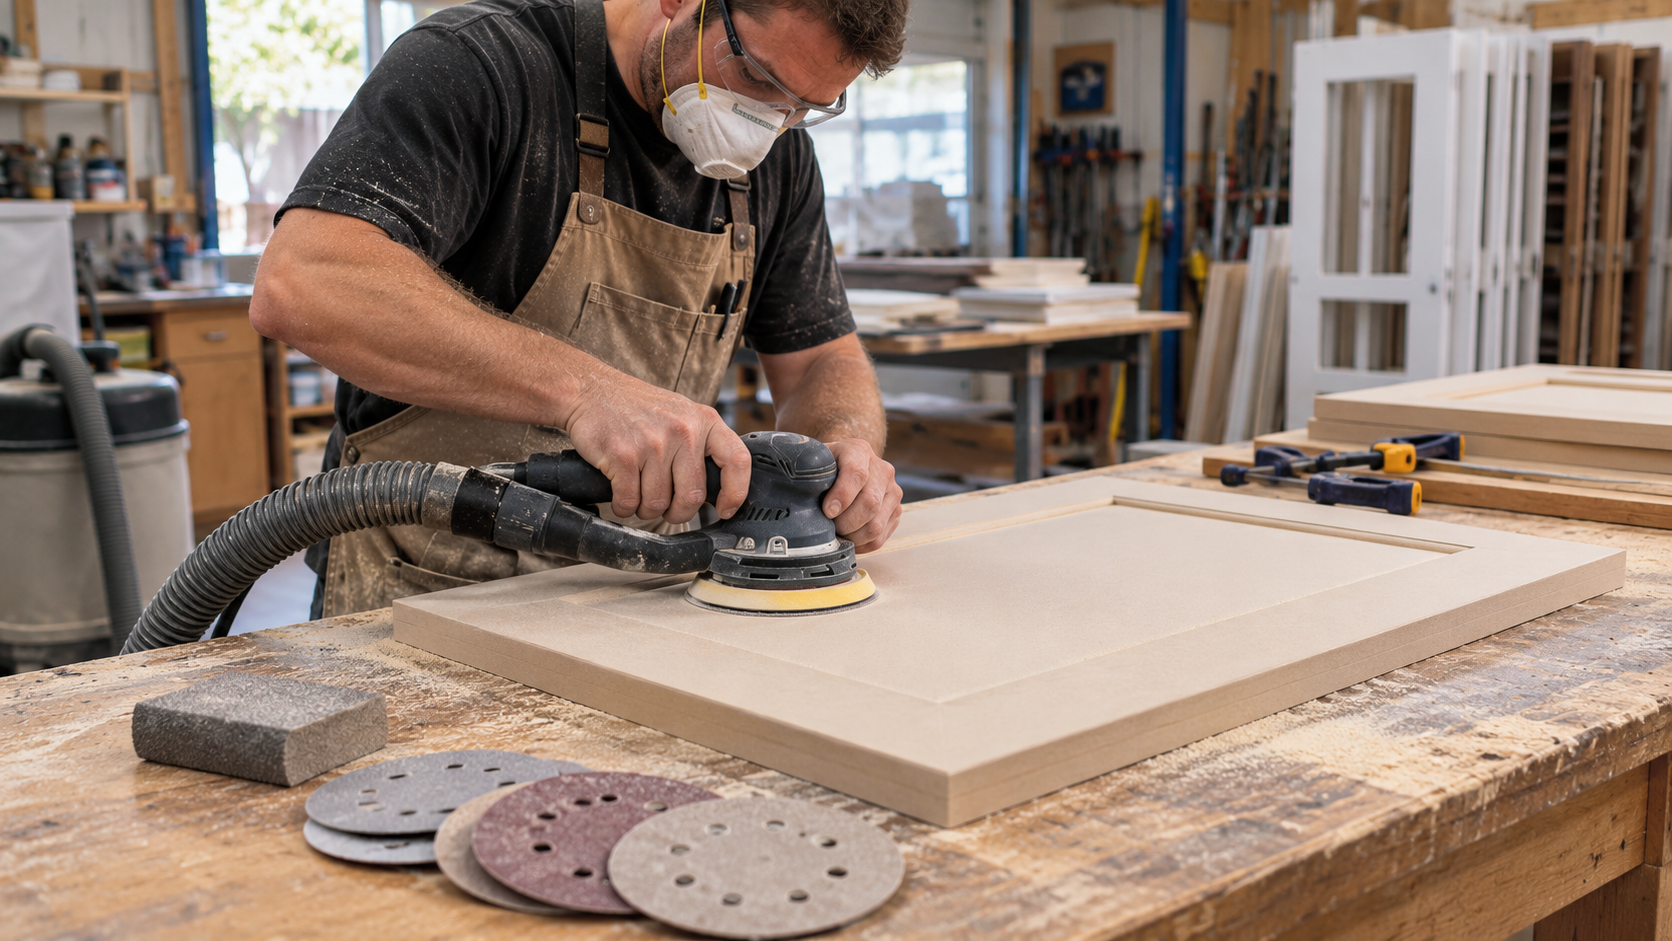
Stage 4: Sand between 2K topcoats only when required
Don't assume every coat of 2-pack paint needs sanding before the next one.
Some coating systems permit recoating within a defined window without sanding. Others require surface preparation once that window has passed, or before a later finishing operation.
If sanding is required, follow the topcoat manufacturer's stated grit, cure period and cleaning instructions. Remove dust nibs carefully rather than aggressively resanding the entire surface without a reason.
Quick workshop sequence
| Stage | Typical abrasive | What to check before moving on |
|---|---|---|
| Bare MDF face | P180–P240 if required | No obvious scratches, damage or contamination |
| Cut MDF edge | P120–P180 | Loose fibres removed; edge remains straight |
| Sealer refinement | Sealer TDS | Even absorption and sound sealed surface |
| 2K primer | Primer TDS; P240–P320 in one cited system | Consistent finish without primer breakthrough |
| 2K topcoat | Topcoat TDS, if sanding is required | Correct recoat condition and clean surface |
Ceramic vs Aluminium Oxide vs Film-Backed Sanding Discs
These terms get mixed together, but they don't all describe the same thing.
Ceramic and aluminium oxide describe abrasive grains. Film describes the backing material that carries the abrasive. A film-backed disc can use aluminium oxide or another abrasive mineral.
Ceramic sanding discs
Ceramic abrasives are a strong option for workshops with repeated sanding tasks. Suitable engineered ceramic grains can maintain cutting performance as they wear, helping reduce the need to replace discs during demanding preparation work.
SPX ceramic discs suit cabinet-making operations where the selected grit and abrasive construction are appropriate for MDF, primer or other coatings.
Aluminium oxide sanding discs
Aluminium oxide is a versatile abrasive used across timber, paint preparation and many general sanding jobs.
It's worth considering for routine sanding and lighter workloads, especially when the abrasive gives a suitable scratch pattern at a sensible cost. Don't judge a disc solely by its grain name; coating, backing, dust extraction and manufacturing quality also matter.
Film-backed sanding discs
Film backing provides a stable, tear-resistant base and is commonly used for controlled finishing. Depending on the product, that can help deliver a consistent scratch on cured coatings and other prepared surfaces.
Film-backed doesn't automatically mean finer, and ceramic doesn't automatically mean more suitable. Compare products at the same grit and use them on the materials they were designed to sand.
| Abrasive type | Main consideration | Cabinet-making application |
|---|---|---|
| Ceramic grain | Cut retention and wear performance | Repeated machine preparation and suitable primer sanding |
| Aluminium oxide grain | Versatility and product cost | General MDF and coating preparation |
| Film backing | Backing stability and scratch consistency | Controlled fine finishing with an appropriate abrasive |
For a workshop running through multiple cabinet doors every day, compare the cost of usable sanding work, not only the packet price. A disc that keeps cutting properly may reduce changeovers. The only fair comparison is between compatible abrasives doing the same job.
125mm vs 150mm Sanding Discs for Cabinet Makers
If most of your work involves large, flat MDF cabinet doors, a 150mm sanding system is a practical choice. The larger pad covers more area per pass and is commonly used in professional preparation workshops.
A 125mm sander can offer better access on smaller parts, narrow panels or jobs where the larger machine feels awkward.
Neither diameter guarantees a better painted finish. Operator technique, pad design, abrasive grade and dust extraction all matter.
Check your sanding pad before ordering
SPX 150mm ceramic discs use a 15-hole extraction layout. Make sure your backing pad and machine are compatible with the disc's diameter, hole configuration and attachment system.
A 150mm disc with the wrong extraction pattern may prevent the sanding system from collecting dust as intended.
Browse the SPX sanding disc range to compare suitable sizes and formats.
How to Sand Cabinet Doors Without Rounding Edges or Damaging Profiles
Sharp cabinet edges and neatly routed details don't leave much room for mistakes.
On a flat door, keep the sander level and avoid tipping the pad over the edge. Even brief, repeated pressure in the wrong spot can change the edge or cut through a thin primer film.
Use a firm block for straight edges
A suitable firm sanding block supports the abrasive evenly and makes it easier to preserve straight lines. It's particularly useful on square MDF edges and narrow sections.
Use flexible abrasives for routed profiles
Finger pulls, decorative profiles and internal curves need a different approach. Flexible sanding sheets or sponge rolls can follow the profile with less risk of aggressive localised cutting.
Don't force a hard block into a curve or use excessive finger pressure on unsupported abrasive paper. The aim is to refine the shape you've already machined, not create a new one.
See SPX sanding rolls and sponge rolls, sanding sheets and sanding blocks for hand-preparation options.
Common 2K Cabinet Sanding Problems and How to Avoid Them
Raised MDF fibres
Likely cause: Exposed fibres on cut or routed edges, insufficient sealing or unsuitable coating preparation.
What to do: Refine the affected edge, use the specified compatible sealing system and check the surface before primer or topcoat application.
Visible sanding scratches
Likely cause: Starting too coarse, skipping necessary refinement steps, contamination under the disc or using an unsuitable final grit.
What to do: Identify the remaining scratch pattern and remove it with an appropriate intermediate abrasive before finishing at the grade required by the coating system.
Sanding through the primer
Likely cause: Excess pressure, aggressive grit, excessive sanding on corners or insufficient coating film build.
What to do: Stop and follow the primer manufacturer's repair and recoating instructions. Avoid applying the next coat over an inadequately prepared breakthrough.
Dust nibs in the painted surface
Likely cause: Airborne contamination, inadequate cleaning or dust entering the finishing area.
What to do: Improve extraction and housekeeping, clean the surface as specified and use the permitted defect-correction procedure after the coating is ready.
Sanding discs clogging too quickly
Likely cause: Poor dust extraction, unsuitable abrasive selection, excess pressure or sanding a coating before it has reached the required condition.
What to do: Check the extraction holes and vacuum system, verify the coating's sanding time, reduce unnecessary pressure and replace loaded discs.
What Sanding Discs and Accessories Should Cabinet Makers Buy?
For a cabinet-making workshop preparing MDF doors for 2K painting, build your abrasive stock around the stages you actually perform.
1. SPX 150mm Ceramic Sanding Discs
Best for: Flat MDF faces, general preparation and appropriate cured-primer sanding.
Available in individual grit options including P120, P180, P240, P320 and P400, these 15-hole hook-and-loop discs are a practical starting point for workshops operating compatible 150mm sanders.
View SPX 150mm Ceramic Sanding Discs – 120–1200 Grit
2. SPX 150mm Sanding Disc Mixed Packs
Best for: Workshops that need several preparation and finishing grits available without ordering separate boxes of every grade.
The mixed low-grit pack includes P80, P120, P180 and P240, while the medium/finish pack includes P320, P400, P500 and P600. For routine cabinet preparation, select the pack containing the grades your approved coating sequence actually requires.
Explore SPX 150mm Mixed Sanding Disc Packs
3. Sanding Rolls and Sponge Rolls
Best for: Routed MDF profiles, finger pulls, curved edges and cut-to-length hand sanding.
Flexible abrasives provide better access to detailed sections that are difficult or unsafe to approach with a full-size machine pad.
4. Sanding Sheets and Hand Blocks
Best for: Straight MDF edges, controlled primer correction, corners and smaller components.
Keep suitable sheets and blocks at the sanding bench. They give the operator direct control when preserving the shape of a cabinet edge matters more than speed.
Browse SPX Sanding Sheets and Sanding Blocks.
A practical workshop stock list
| Item | Workshop role | Buying priority |
|---|---|---|
| 150mm P180 discs | Suitable bare MDF preparation | Core stock where specified |
| 150mm P240 discs | Selected preparation and primer work | Core stock where specified |
| 150mm P320 discs | Fine cured-primer refinement | Core stock where specified |
| P400 and finer discs | Coating-specific fine preparation | According to paint system |
| Sanding sheets and firm blocks | Cut edges and straight profiles | Essential hand-prep accessories |
| Sponge or flexible abrasive rolls | Routed profiles and curves | Useful for detailed cabinet work |
If you're ordering abrasives by the carton for a cabinet shop or spray-finishing operation, request SPX wholesale and trade supply information to discuss repeat orders and suitable product options.
Frequently Asked Questions About 2K Cabinet Sanding
What grit sandpaper should I use on MDF before 2 pack painting?
P180–P240 can be a useful starting range for light preparation of smooth MDF faces, where sanding is required. Cut edges commonly need controlled preparation around P120–P180 before an appropriate sealer. Always follow the coating-system instructions.
What grit should I use to sand 2K primer before painting?
There is no single grit for every 2K primer. Some systems specify P240–P320, while others require a different preparation grade. Check the technical data sheet for the primer and the finish coat being applied.
Can you use ceramic sanding discs on MDF cabinets?
Yes. Suitable ceramic sanding discs can be used for MDF preparation and some cured-primer sanding operations. Choose the correct grade, use light controlled pressure and match the disc to a compatible sander and extraction system.
Should you sand between coats of 2 pack paint?
Only when the coating manufacturer's instructions require or permit sanding. Some 2K systems allow recoating within a specified time without sanding. If the recoat window has passed or defects need correction, follow the manufacturer's preparation and repair requirements.
Are 125mm or 150mm sanding discs better for cabinet making?
For large, flat MDF doors, 150mm discs are often more productive. A 125mm sander can be useful on smaller parts and tighter areas. Always match the disc diameter, extraction-hole pattern and attachment method to your sander.
Shop Sanding Discs for Cabinet Painting at SPX Abrasives
A clean 2K cabinet finish depends on the preparation underneath it. Choose the abrasive for the surface, work through the necessary refinement stages and keep your edges under control. Most importantly, let the selected coating system determine the final sanding requirements.
SPX Abrasives supplies sanding discs, sanding sheets, abrasive rolls and hand-sanding accessories for Australian trade workshops, with product options suited to repeat preparation work.
Setting up or restocking your cabinet sanding system?
Shop Trade-Quality 150mm Ceramic Sanding Discs
Explore Wholesale and Trade Supply
Related SPX Guides and Products
Featured Products From This Article
Quick picks already referenced in this guide.