Why Do Sanding Discs Clog? 9 Causes Panel Shops Should Check Before Blaming the Disc
SPX AbrasivesPublished 13 May 2026Updated 15 June 202612 min read
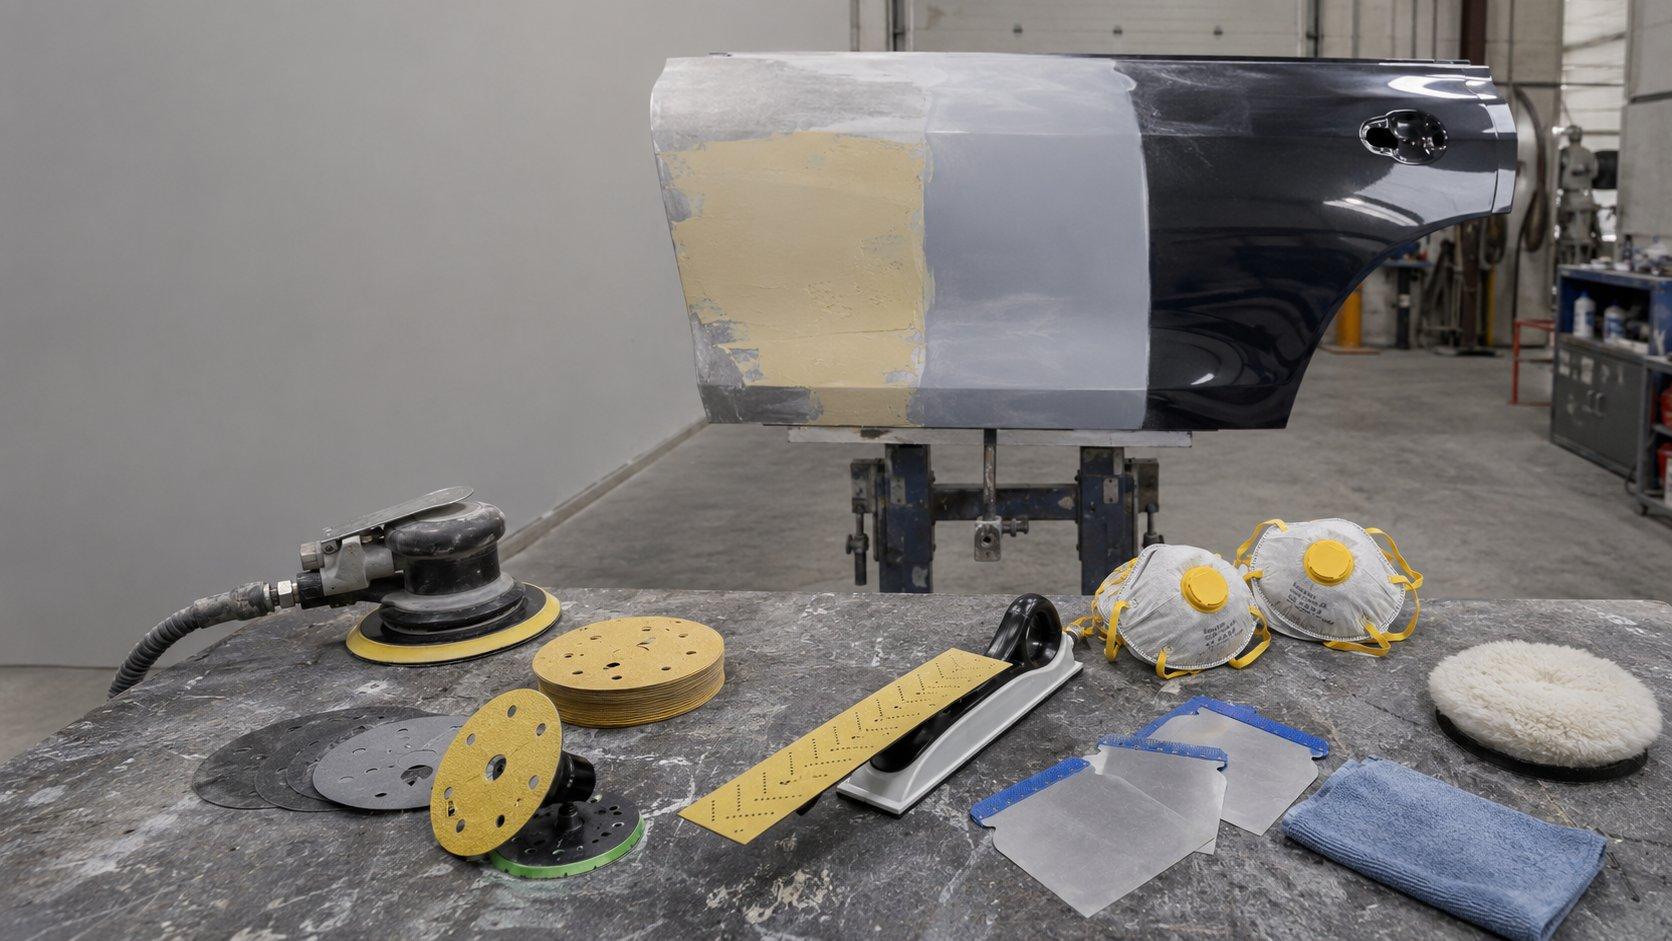
Panel shop sanding guide
Why Do Sanding Discs Clog? 9 Causes Panel Shops Should Check Before Blaming the Disc
A loaded disc is usually a symptom. The real cause can be filler cure, extraction, grit choice, pad condition or pressure.
Sanding discs usually clog because dust is not leaving the surface fast enough. In panel-shop work, the most common causes are soft body filler, weak dust extraction, mismatched hole patterns, worn backing pads, too much pressure, the wrong grit, or a disc that loses cut too early.
Before you change brands, check the basics: is the bog cured, is the grit coarse enough, is the vacuum actually pulling, do the holes line up, is the backing pad flat, and is the tech leaning on the sander? Most clogging problems come from two or three of those issues stacking together.
If a sanding disc loads up straight away, look at the job before the packet. Soft filler, a blocked hose or a 15-hole disc on the wrong pad can make a good abrasive behave badly. On the other hand, if your setup is right and the disc still dies early, the abrasive may not be holding its cut under trade use.
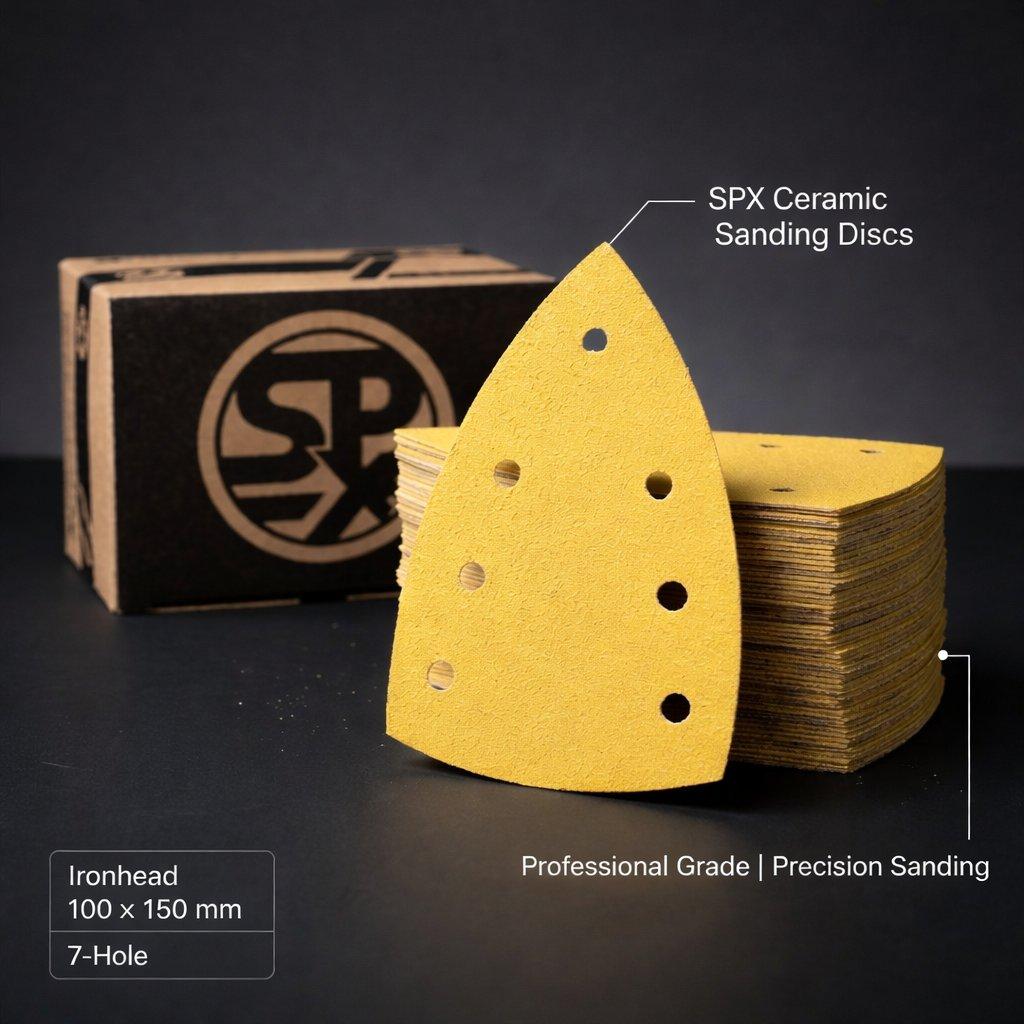
For filler-heavy work, many shops get better value from ceramic sanding discs because the grain keeps cutting longer under load. For cleaner prep, a matched 15-hole sanding disc setup helps pull dust away from the sanding face instead of letting it pack into the grain.
Sanding disc clogging symptoms: what to check first
Symptom
Likely cause
What to check first
Disc loads instantly on filler
Filler is too soft, grit is too fine, or dust is not clearing
Cure time, P60-P80 grit, vacuum flow and hole alignment
Disc stops cutting halfway through the repair
Dull grain, too much pressure, or cheap abrasive wearing flat
Pressure, sander speed, ceramic option and disc changes per job
Dust sits on the panel while sanding
Weak extraction, blocked hose, wrong pad or sealed holes
Vacuum, hose, pad ports and disc-to-pad fitment
Pigtails appear in primer or paint prep
Loaded disc, grit contamination, dirty surface or worn pad
Clean between stages, replace disc, inspect backing pad
Scratch pattern looks random or patchy
Worn pad, uneven pressure, wrong interface pad or skipping grits
Backing pad flatness, interface pad, DA speed and grit progression
9 causes of sanding disc clogging
1. Body filler is not cured properly
Soft filler is a disc killer. If the filler is still gummy, the disc does not cut clean dust away from the surface. It smears. That sticky material packs into the abrasive grain and blocks the disc before it has done any real work.
On the job, this often shows up as a disc that loads around the centre first, then goes smooth and shiny. The tech presses harder, the panel gets warmer, and the disc gets worse. Let the filler cure properly before shaping, especially in cold weather or on thicker repairs.
2. The grit is too fine for the stage
If you start too fine on filler, you make dust faster than the disc can clear it. For initial filler shaping, panel shops commonly start around P60-P80, then refine through P120-P180 before primer work. Jumping straight to a fine grit feels controlled, but it can make the disc skate and load.
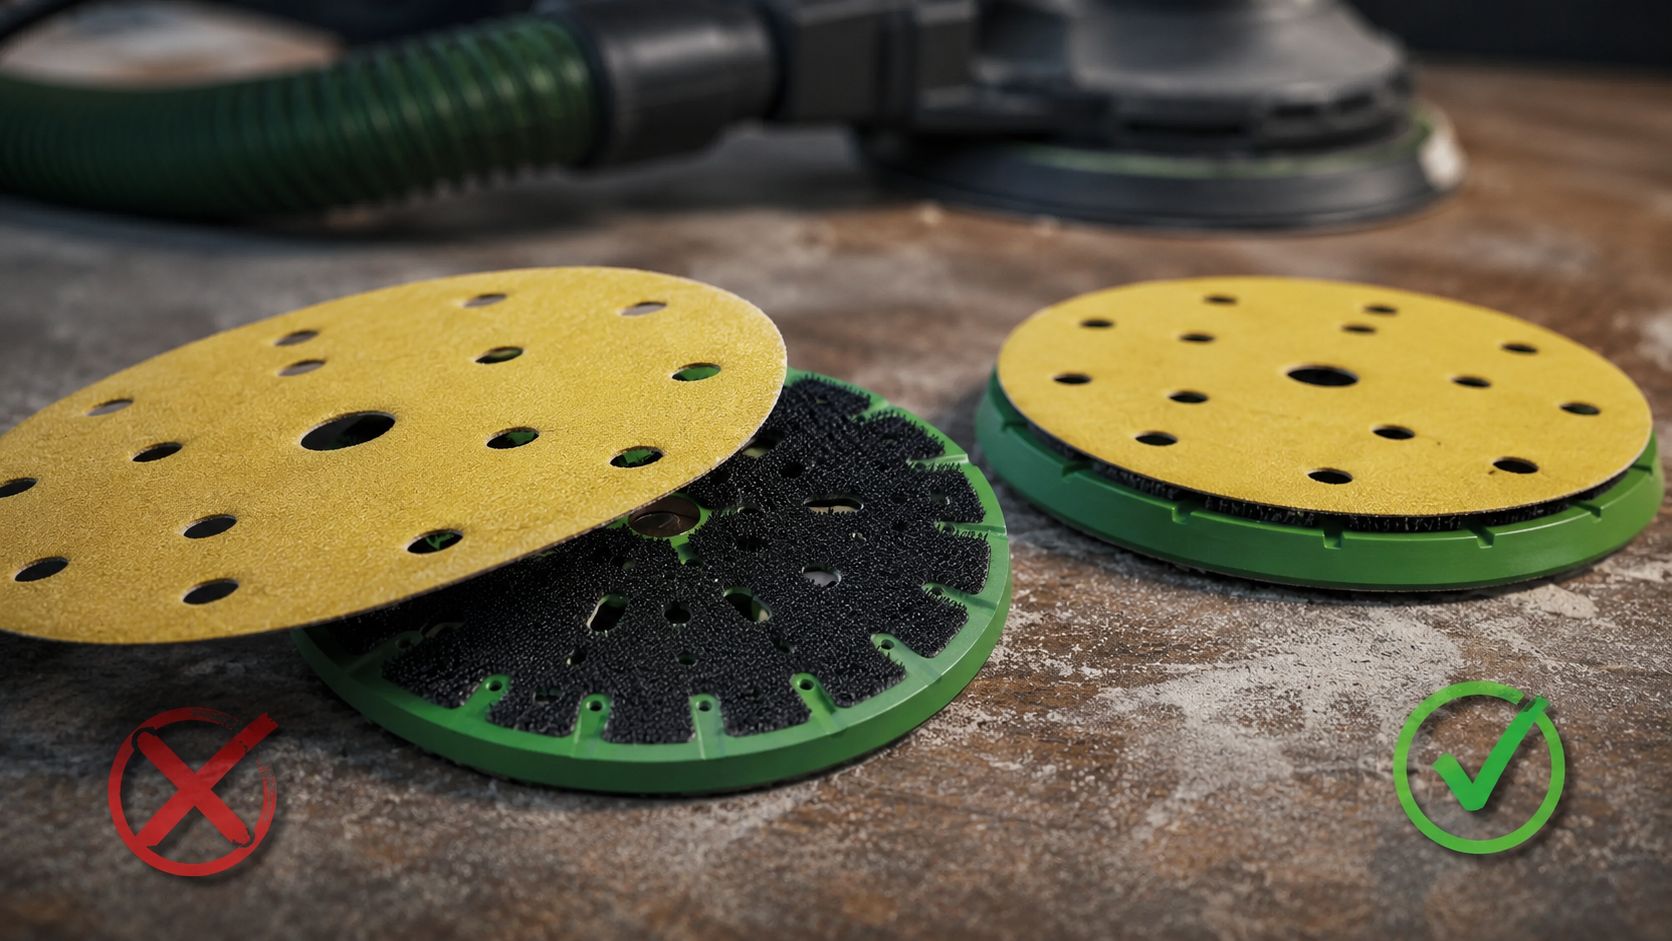
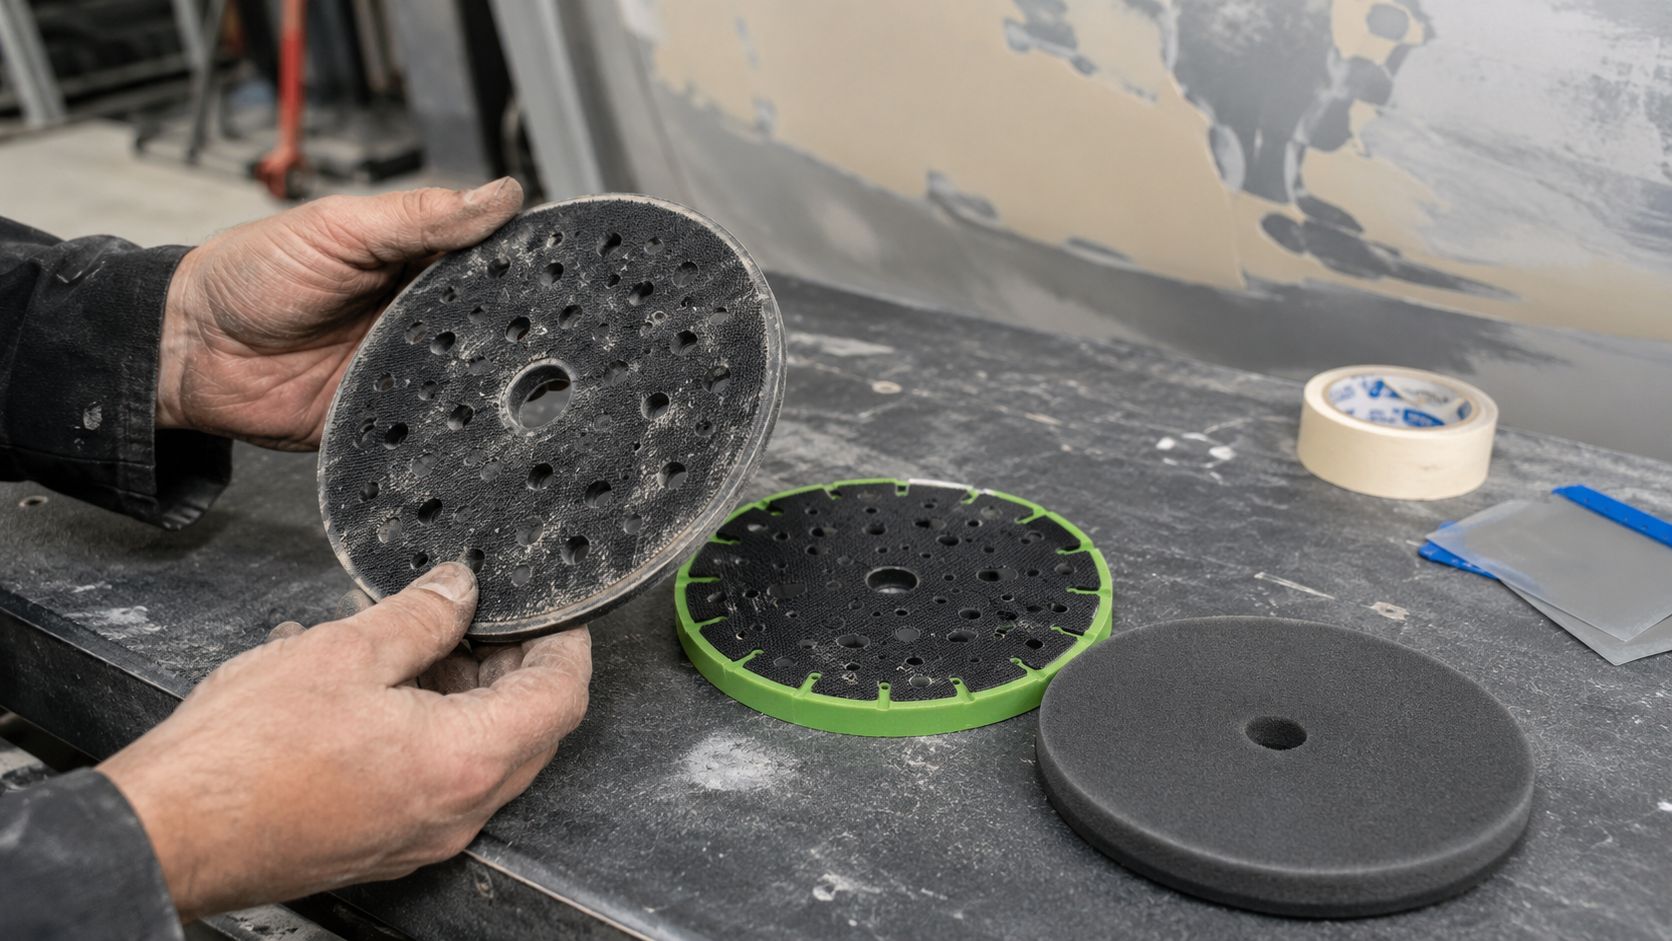
3. The hole pattern does not match the backing pad
This is one of the easiest mistakes to miss. A 150mm disc can be the right diameter and still be the wrong setup. If the disc holes do not line up with the pad ports, the vacuum cannot pull dust through the sanding face properly.
A matched 15-hole sanding disc setup works because the holes in the disc, backing pad and extraction path all talk to each other. If one part of that system is wrong, dust sits on the panel and loads the abrasive.
Wrong hole alignment can make dust extraction look connected while doing very little at the sanding face.
4. The vacuum is weak or blocked
A dust extractor does not help much if the hose is half-blocked, the filter is packed, or the connection at the sander leaks. The sander may sound normal while the disc is doing all the dust management by itself.
Check the boring things first: hose kinks, dust bag or filter condition, loose cuffs, clogged ports in the backing pad, and adapters that do not seal properly. A blocked hose can make a premium disc behave like a cheap one.
5. The backing pad is worn
A tired pad creates uneven contact. The outside edge may bite while the centre floats, or the centre may heat up while the edge barely works. Either way, the disc stops cutting evenly and dust starts packing into the loaded zones.
Inspect the hook-and-loop face, edge shape and flatness. If the hooks are dusty and flattened, the disc can move under load. If the pad is rounded off or distorted, the scratch pattern follows. For curved panels or fine prep, a proper interface pad can help spread pressure without forcing the abrasive to dig in.
Pad wear is easy to blame on the disc because the marks only show up after sanding.
6. The operator is leaning too hard
Pressing harder rarely fixes a slow disc. It usually creates heat, flattens the abrasive, smears soft material and pushes dust deeper into the grain. The DA sander should do the cutting. The operator guides it.
Heavy pressure also hides other problems. A tech may lean on the sander because the grit is wrong, the disc is dull, or the vacuum is weak. Fix the setup and pressure often drops by itself.
7. The disc has lost cut
A loaded disc and a dull disc can feel similar, but they are not the same. A loaded disc has material packed into the grain. A dull disc has abrasive grain that no longer cuts aggressively enough for the stage.
That matters in filler-heavy shops. If you are constantly changing discs because they stop cutting, compare disc life rather than packet price. The right ceramic disc can be the better buy when it keeps the job moving and reduces changeovers.
8. Dust is trapped by poor workflow
Pigtails often come from contamination, not mystery. A coarse particle left on the surface can get trapped under the disc and draw a curly scratch across the panel. The same thing happens when a loaded disc keeps rubbing debris back into the work.
Clean between grit steps. Do not carry filler dust into primer sanding. Do not keep using a disc after it has picked up lumps. On finer prep, that small bit of grit can show up later under colour or clear.
9. Cheap discs are creating false economy
Cheap discs are not expensive at the counter. They get expensive when a tech uses more of them, slows down, reworks scratches, or hands poor prep to the spray painter.
If the setup is right and the discs still load, shed grain, stop cutting early or leave inconsistent scratches, the abrasive is the problem. That is where it pays to compare cost per repair, not cost per disc. SPX covers this in more detail in why cheap sanding discs cost panel shops more than the box price suggests.
The 30-second vacuum test
Before blaming the disc, run this quick check. It is simple, but it catches a lot of workshop problems.
Remove the sanding disc and inspect the backing pad holes.
Turn on the extractor and feel for suction at the pad face.
Check the hose cuff, adapter and sander connection for leaks.
Tap or clean the extractor filter if suction feels weak.
Fit a new disc and make sure the holes line up with the pad.
Sand a small cured filler area for 20-30 seconds and check whether dust is leaving the face.
If dust is not moving through the pad, the disc is being asked to carry the whole load.
10-minute panel-shop clogging checklist
Use this when discs are loading up across more than one job. It keeps the diagnosis practical and stops the conversation turning into guesswork.
Check
Pass / fail sign
Fix
Filler cure
Disc loads instantly or filler smears
Allow proper cure before sanding; check mix and temperature
Grit selection
Fine grit skates over heavy filler
Start coarser, then refine through the sequence
Vacuum flow
Dust sits on the panel
Clear hose, filter, cuff and extractor connection
Hole alignment
Pad ports are partly covered
Match disc hole pattern to pad pattern
Backing pad
Pad face is rounded, dirty or uneven
Replace pad or add the correct interface pad
Sander speed
Surface heats up or scratches look aggressive
Adjust speed for the stage and material
Operator pressure
Disc heats, smears or wears in one zone
Let the abrasive cut; keep pressure light and even
Disc condition
Disc is glazed, loaded or no longer cutting
Replace it before it causes rework
Cleaning between grits
Pigtails or random scratches appear
Clean the surface before moving finer
Disc use per job
Usage changes wildly between techs
Track disc changes and compare setup, pressure and grit sequence
When to upgrade to ceramic or 15-hole discs
Upgrade when the problem repeats after the setup is right. If the filler is cured, the grit is correct, the pad is flat and the vacuum pulls properly, poor disc life usually points back to the abrasive.
Choose ceramic discs when cut retention matters
For busy panel shops, ceramic makes sense when discs are used across filler shaping, primer sanding and repeated prep work. Start with the 150mm sanding discs range if you want one DA size across the workshop, then move to ceramic sanding discs when the issue is cut rate and disc life.
Choose 15-hole discs when dust control is the bottleneck
If dust sits on the panel or loads the disc even with a good abrasive, check the extraction setup. A proper 15-hole sanding disc system can help when the disc, backing pad and extractor are matched.
Use trade supply when the problem is consistency
Some shops do not have a sanding problem. They have a stocking problem. Different brands, mixed grits, old pads and random disc packs create inconsistent results from one bay to the next. If your team needs repeatable supply, apply for a wholesale account and standardise the core grits, pads and disc formats you use every week.
A simple workshop test before you change systems
If you want proof inside your own shop, run a small test on cured filler. Keep it basic. Same panel, same sander, same operator, same time.
Sand cured filler for three minutes with a standard low-cost disc.
Sand the same type of area for three minutes with an SPX ceramic disc.
Repeat with good extraction.
Repeat with poor extraction or a blocked port, if safe to simulate without creating an airborne dust issue.
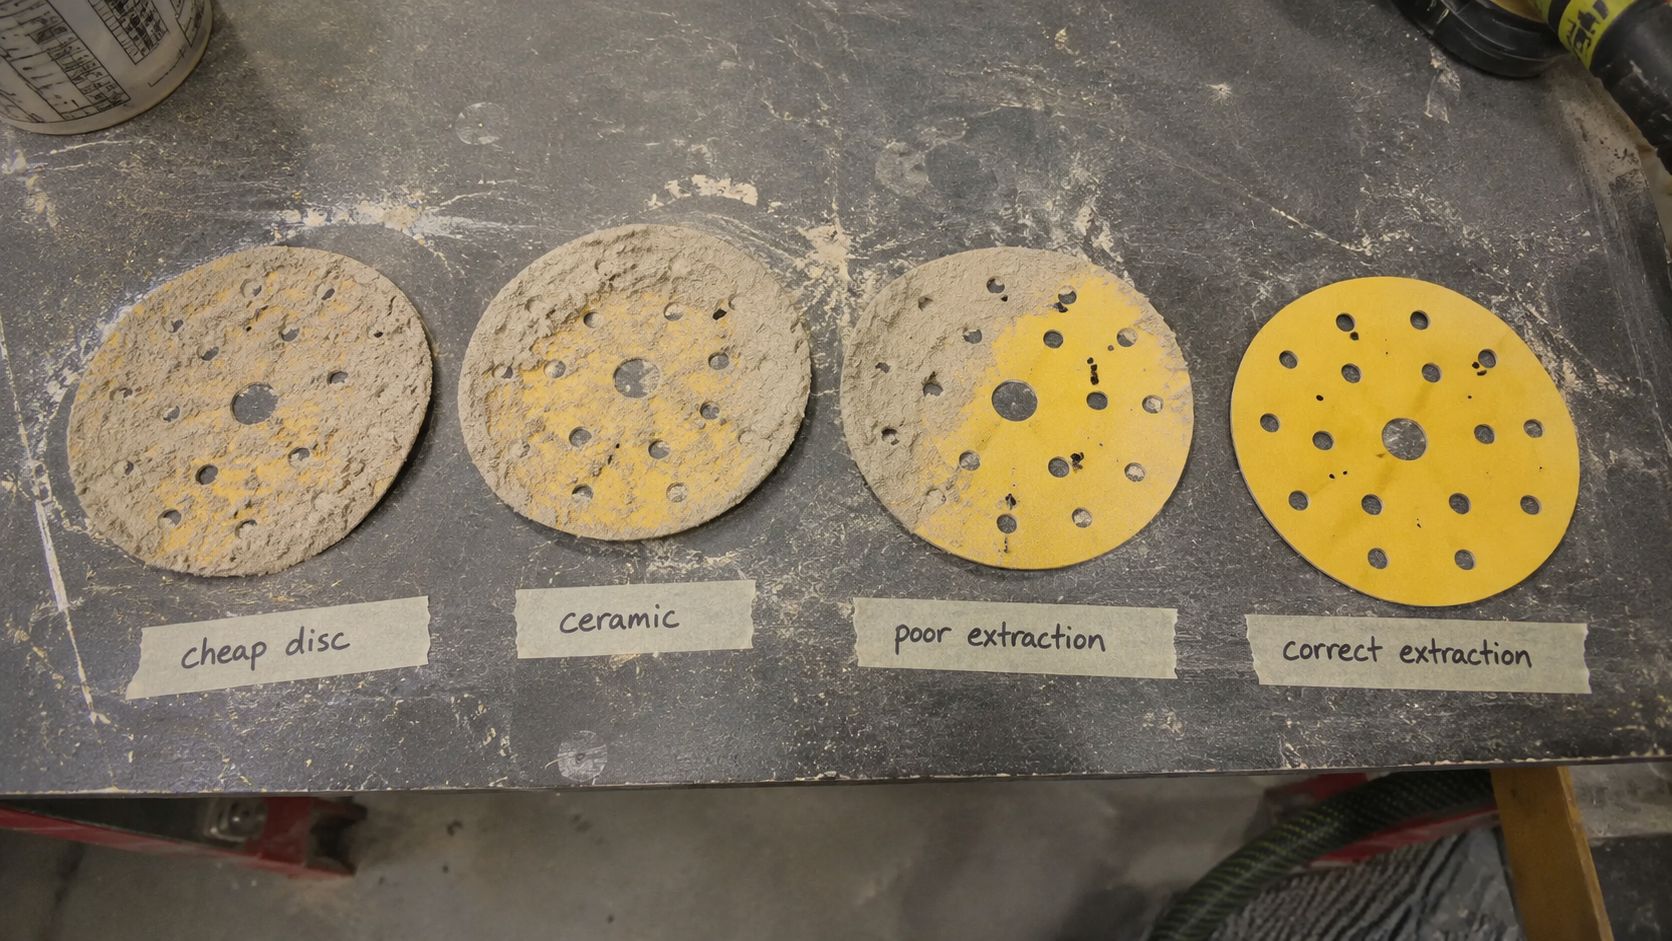
Photograph each disc and record disc loading, dust left on the panel, scratch consistency and whether the disc still cuts.
Photographing discs after the same sanding time gives your team real evidence, not workshop opinions.
Setup
Visible clogging
Dust left on panel
Still cutting?
Scratch consistency
Cheap aluminium oxide disc
Record after test
Record after test
Yes / no
Even / patchy
SPX ceramic disc
Record after test
Record after test
Yes / no
Even / patchy
SPX ceramic disc with poor extraction
Record after test
Record after test
Yes / no
Even / patchy
SPX ceramic disc with correct extraction
Record after test
Record after test
Yes / no
Even / patchy
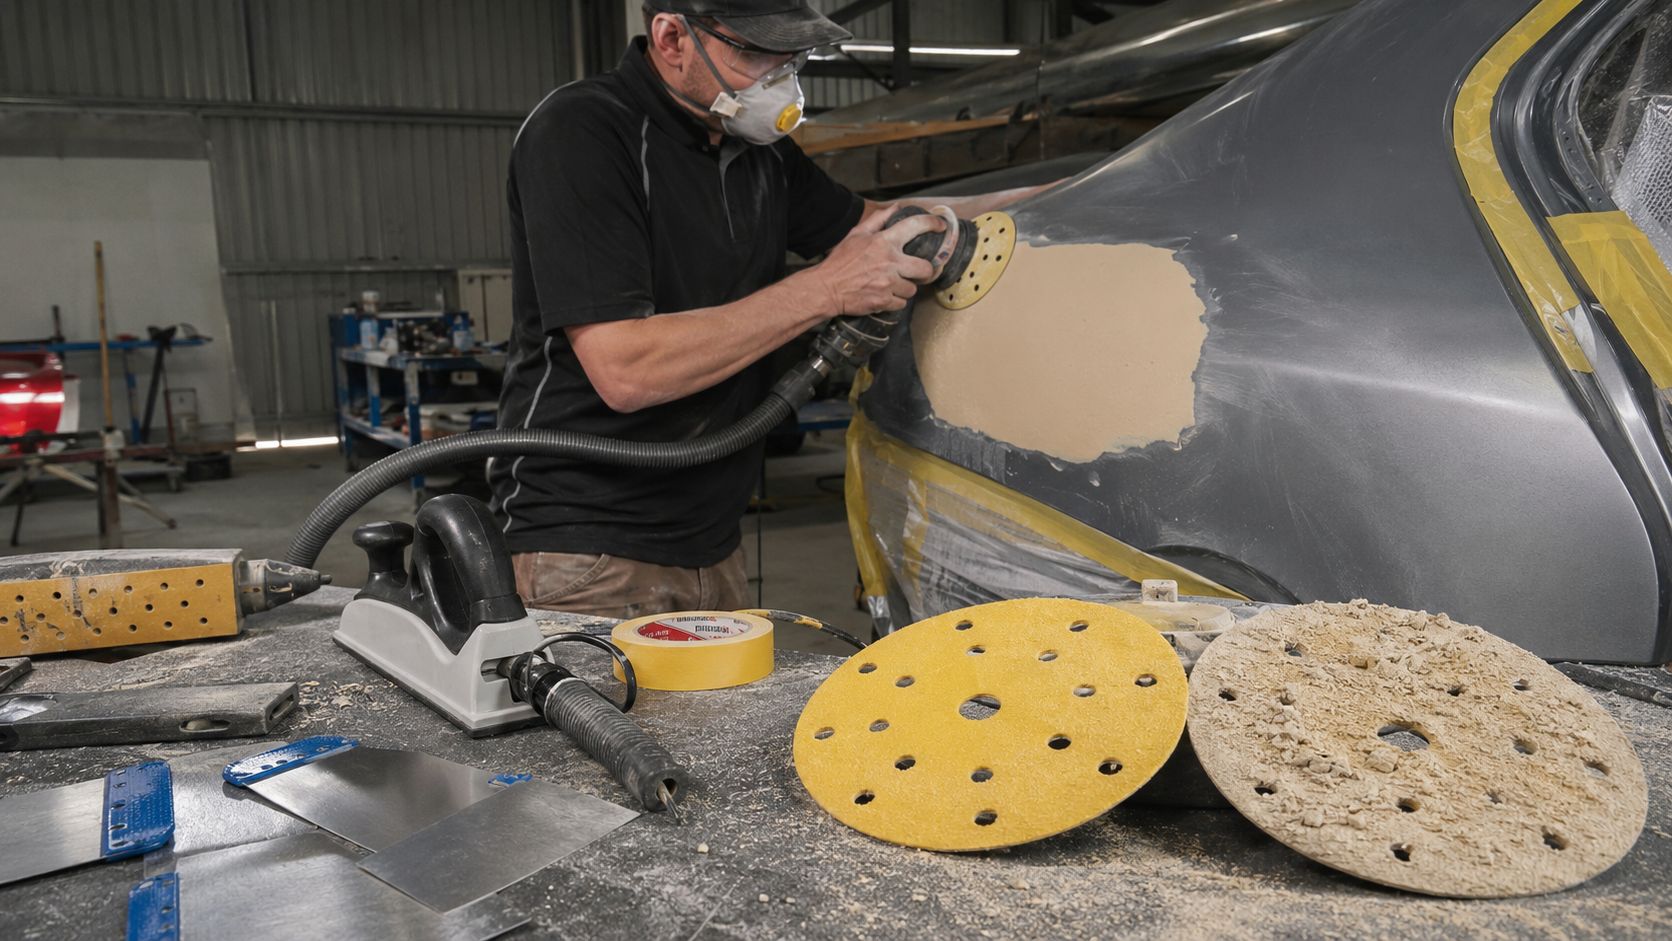
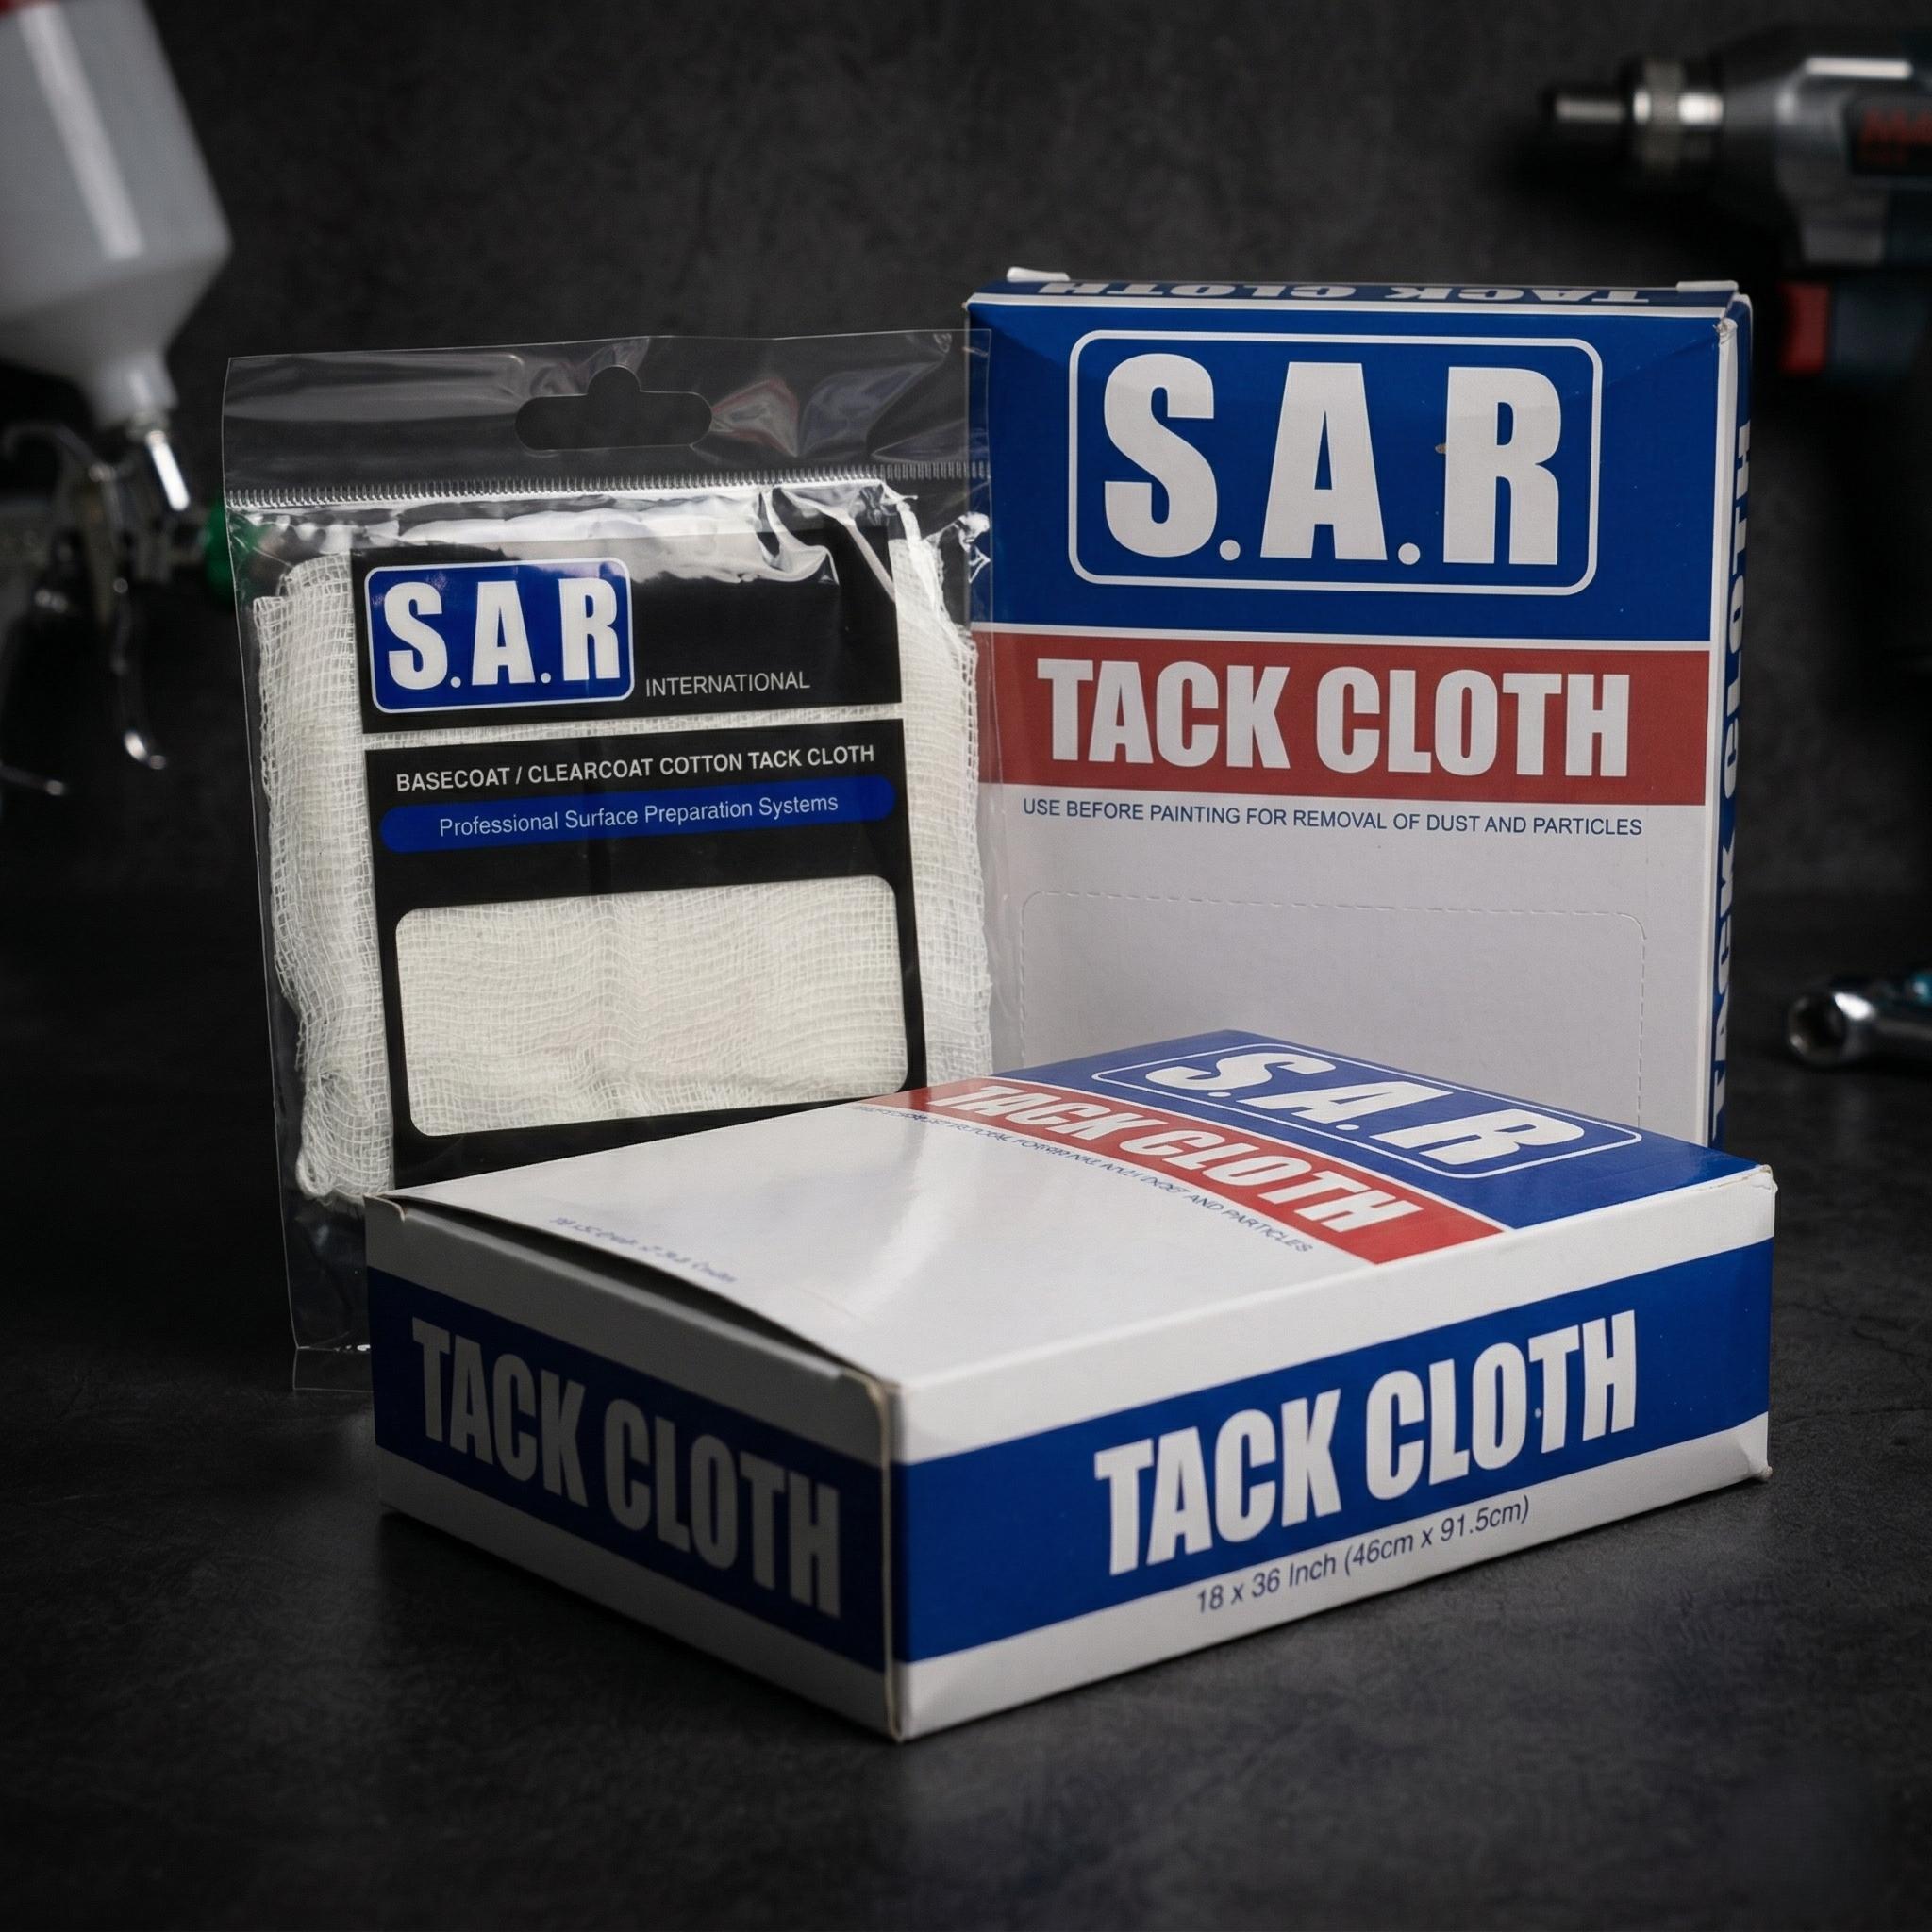
Dust, pigtails and PPE
Disc clogging is not only a productivity issue. More dust on the panel usually means more dust around the worker and the bay. Extraction should be treated as part of the sanding system, not as an optional accessory.
For dusty prep work, make sure the team is using suitable respiratory protection for the job. A P2 mask can be relevant for sanding dust, but it must fit properly and suit the hazard. For more detail, read the SPX P2 dust mask guide for Australian trades.
Recommended next steps
If discs are clogging across the workshop, do not jump straight to a new packet. Check the system in this order:
Confirm filler cure and grit choice.
Check extraction flow and hole alignment.
Inspect the backing pad and interface pad.
Reduce pressure and check DA speed.
Compare disc life on the same job with a ceramic option.
Sanding discs clog on body filler when the filler is too soft, the grit is too fine, the operator uses too much pressure, or dust is not being pulled away from the surface. Let the filler cure, start with the right coarse grit, and make sure extraction is working at the pad face.
How do I stop sandpaper loading up?
Use the right grit for the stage, keep the sander moving, reduce pressure, clean between grit steps, and use dust extraction that actually lines up with the disc holes. Replace discs before they become glazed or packed with debris.
Are ceramic sanding discs better for clogging?
Ceramic discs are usually better when the problem is cut retention and disc life under trade use. They do not fix uncured filler or a blocked vacuum hose, but they can hold their cut longer than basic discs when the setup is right.
Do 15-hole sanding discs reduce dust?
Yes, when the disc, backing pad, sander and extractor are matched. The 15-hole pattern helps pull dust through the sanding face instead of leaving it on the panel, which can reduce disc loading and improve visibility.
Can poor extraction cause pigtails?
Yes. Poor extraction lets dust and grit sit between the abrasive and the panel. Once debris is trapped under the disc, the DA motion can drag it into curly pigtail scratches that show up during primer, colour or clear-coat prep.
Should I use a harder or softer backing pad?
Use the pad that suits the stage. Harder pads help with flatter cutting and heavier shaping. Softer interface pads help on curves, edges and finer prep where pressure needs to be spread more gently. A worn pad is the wrong answer either way.
If dust pickup is what sent you here, these guides compare 15-hole extraction against net systems and other brands so you can match discs to your sander and pad.
Hard vs Medium vs Soft Backing Pads: Which 150mm DA Pad for Filler, Primer, Curves and Paint Prep?
Not sure which 150mm DA backing pad to run on bog, primer, curves or paint prep? This practical guide breaks down hard, medium, soft and interface pads for real panel-shop work.
.png&w=2048&q=75)
.png)