
Automotive Refinishing Guide
Hard vs Medium vs Soft Backing Pads: Which 150mm DA Pad for Filler, Primer, Curves and Paint Prep?
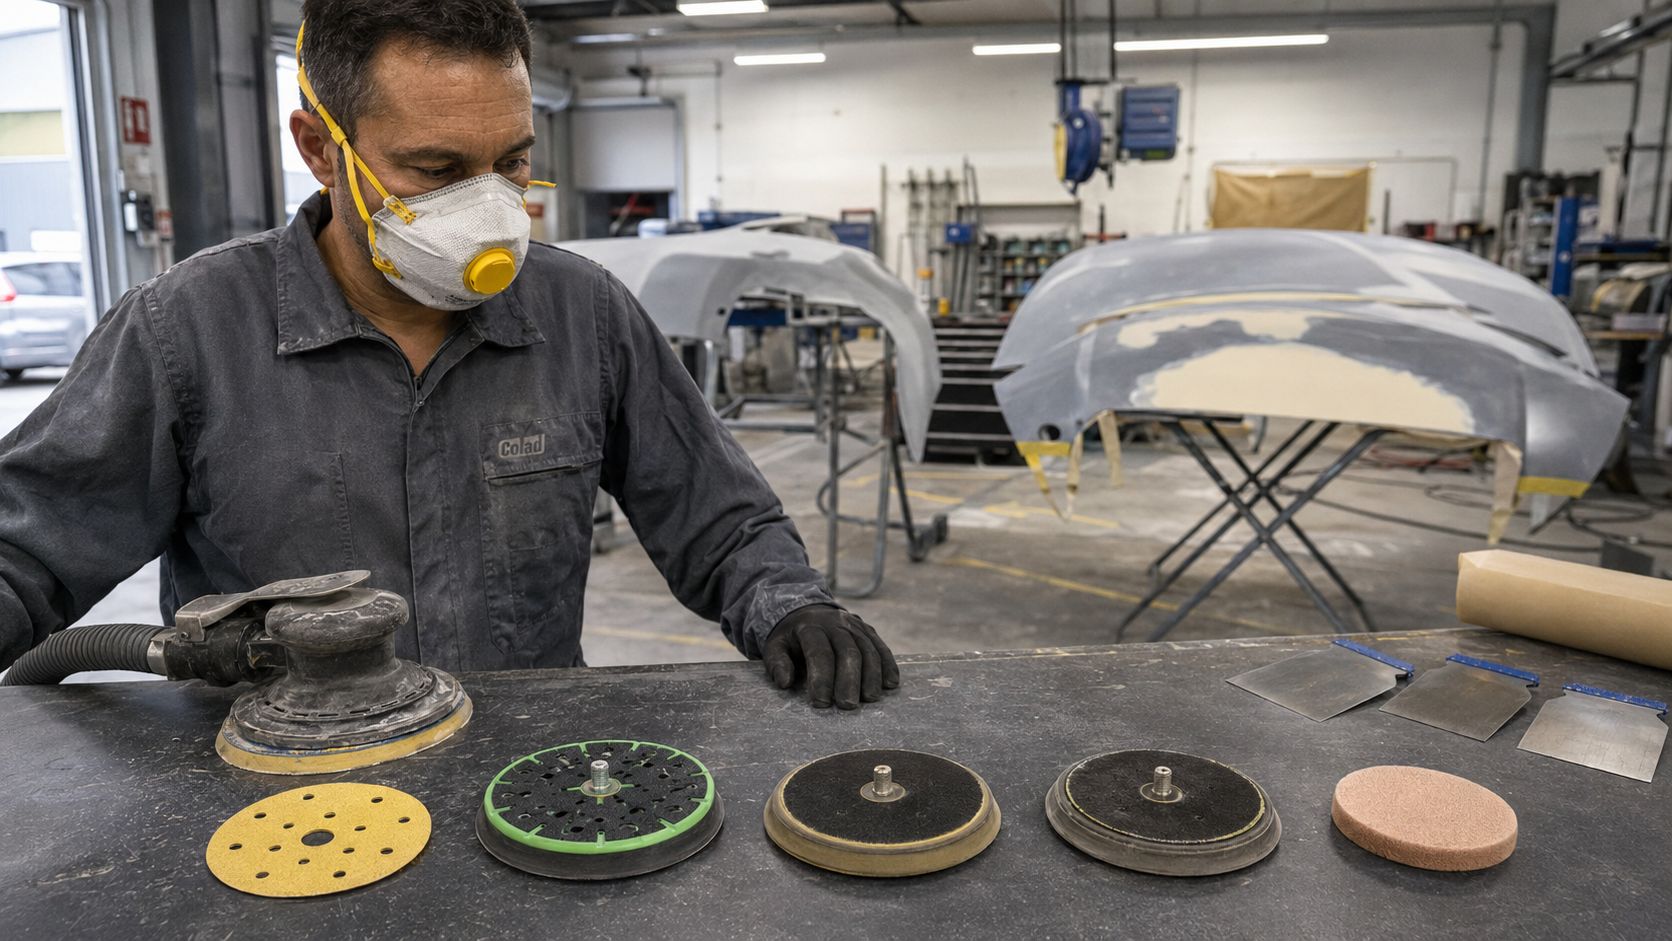
If you are running a 150mm DA in a panel shop, here is the short version. Use a hard pad when the repair needs levelling, a medium pad for most primer and prep work, and a soft setup or interface pad when the panel shape matters more than raw cut. Get that choice wrong and you can flatten a crown, chase pigtails, chew an edge or leave filler looking fine until the primer tells the truth.
This guide is built for collision-repair work, not generic sanding advice. We are looking at bog, primer, curved panels, blend areas, paint prep, pad wear and the finish problems that show up when the setup is wrong.
Key takeaways
- Use a hard 150mm backing pad for flat filler shaping and levelling.
- Use a medium 150mm backing pad for most primer sanding and general prep.
- Use a soft pad or interface pad for curves, bumper covers, blend areas and finer paint prep.
- If the scratch pattern changes suddenly, check pad wear, disc fitment and dust extraction before blaming the abrasive.
- Do not use a soft setup too early on filler. It can follow the wave instead of levelling it.
Quick answer
Most shops do not need a complicated answer here. The hard pad is for levelling. The medium pad is the daily all-rounder. The soft setup is for following shape and protecting curves.
| Job | Best 150mm DA setup | Typical grit zone | Why it works |
|---|---|---|---|
| Flat filler shaping | Hard backing pad | P80-P120 | Keeps the disc flatter so it knocks down high spots instead of following waves. |
| Filler refinement and flatter featheredge work | Hard or medium backing pad | P120-P180 | Hard works best on flatter repairs. Medium is safer once shape is close or the panel has more crown. |
| General primer surfacer sanding | Medium backing pad | P240-P600 | Gives you the best balance of cut, control and conformity for everyday panel work. |
| Curved panels, bumper covers and blend areas | Soft backing pad or medium pad plus interface pad | P400-P800 | Lets the disc follow the panel instead of flattening the shape or biting hard on edges. |
| Fine paint prep and delicate contours | Soft pad or interface setup | P800 and finer | Smoother contact, lower edge aggression and better control over shape. |
Need to standardise pads across the shop? Browse 150mm backing pads and interface pads and build a simple system around flat work, general primer work and curved-panel prep.
150mm fitment and compatibility check
Before you blame the pad density, check the fitment. A 150mm backing pad should be matched with a 150mm disc. The hole pattern needs to line up as closely as possible for dust extraction, and the pad needs to suit the machine thread or mounting setup you are actually running.
Do not assume diameter alone means compatibility. A 150mm or 6-inch disc can still perform badly if the hook-and-loop face is tired, the hole layout is mismatched, or the backing plate does not suit the sander properly.
- Disc size: 150mm / 6-inch matched to a 150mm pad
- Attachment: hook-and-loop in good condition
- Hole layout: align as closely as possible for extraction
- Mounting: confirm the pad or base plate suits your machine
- System choice: use a base plate for the main setup, then add an interface pad when the shape calls for more cushioning
Dust extraction and hole pattern: why pad fitment affects finish quality
Poor hole alignment does not just make the shop dustier. It can load the disc faster, build more heat, make the scratch pattern less consistent and shorten abrasive life. When the pad and disc are working as a system, extraction stays more even and the abrasive keeps cutting more cleanly.
That matters in primer and paint prep because loaded discs and heat make defects harder to read. If the panel starts marking up oddly, do not just swap grit and hope for the best. Check the hole pattern, the pad face and the extraction path first.
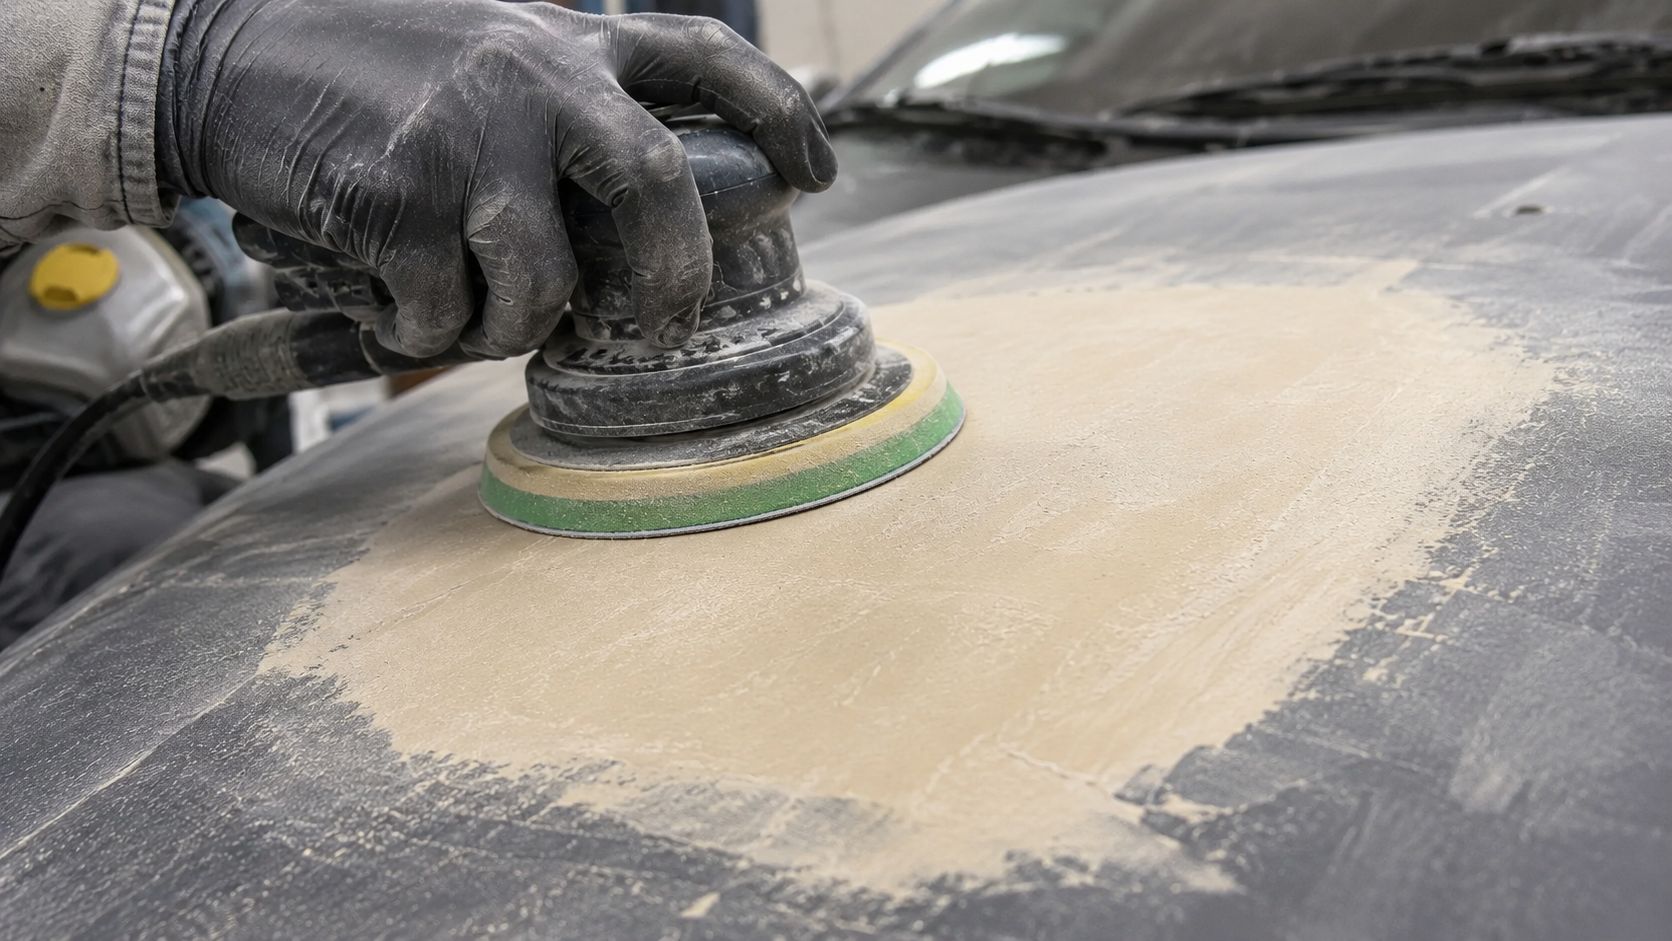
What the backing pad actually changes
The disc cuts. The backing pad controls how that disc meets the panel.
A harder pad keeps the abrasive face flatter against the repair. That helps when you want to level filler or keep a flatter primed section honest. A softer pad flexes more and follows the contour underneath it. That is what you want on bumper covers, crowned guards, softer blend areas and any section where a rigid pad will flatten the shape or cut too hard on an edge.
The thing is, the wrong pad can undo a perfectly good grit choice. You can have the right disc on the machine and still get the wrong result because the pad is too rigid, too soft or too worn out for the stage of the job.
Hard vs medium vs soft backing pad comparison
| Pad type | Feel | Best use | Avoid on | Main risk |
|---|---|---|---|---|
| Hard | Rigid and flat | Filler levelling, flatter featheredge work, flat primer correction | Curves, crowned panels, delicate edges | Flat spots and edge bite |
| Medium | Balanced | Primer sanding, general prep, everyday 150mm DA work | Heavy filler levelling and tighter contours at each extreme | Not aggressive enough or not soft enough for the job |
| Soft | Flexible | Curves, blend prep, fine finishing, bumper work | Early filler shaping and levelling | Waves and poor levelling |
| Interface pad | Added cushion | Curves, edges, late-stage prep, edge protection | Heavy levelling and aggressive shaping | Reduced cut |
Hard vs medium vs soft backing pads
Hard backing pad
Use a hard pad when the repair needs levelling. On flat filler work, that is exactly what you want. The pad stays firm, the abrasive bridges over lows more effectively, and the high spots show themselves faster.
- Best for: flat filler shaping, straighter repairs, flatter primer work where truth matters more than softness
- Usually strongest in: coarser to mid grits
- What it does well: keeps the repair flatter and cuts cleanly on firm surfaces
- Limitation: too rigid for crowned panels, tighter curves and delicate edges
- Common mistake: using it on a shaped panel and creating a flat spot you then have to chase later
Medium backing pad
The medium pad is the best all-rounder for most panel shops. It still cuts properly, but it gives you enough compliance to cope with normal panel shape. That makes it the safe default for primer surfacer sanding, general prep and repaired panels that are no longer in the rough-shaping stage.
- Best for: general primer sanding, normal panel prep, mild crown and day-to-day 150mm DA work
- Usually strongest in: mid grit and prep ranges
- What it does well: balances cut and conformity without swinging too hard either way
- Limitation: not as flat and aggressive as a hard pad, not as forgiving on curves as a soft or interface setup
- Common mistake: asking it to do heavy levelling on soft filler when a hard pad would be cleaner and faster
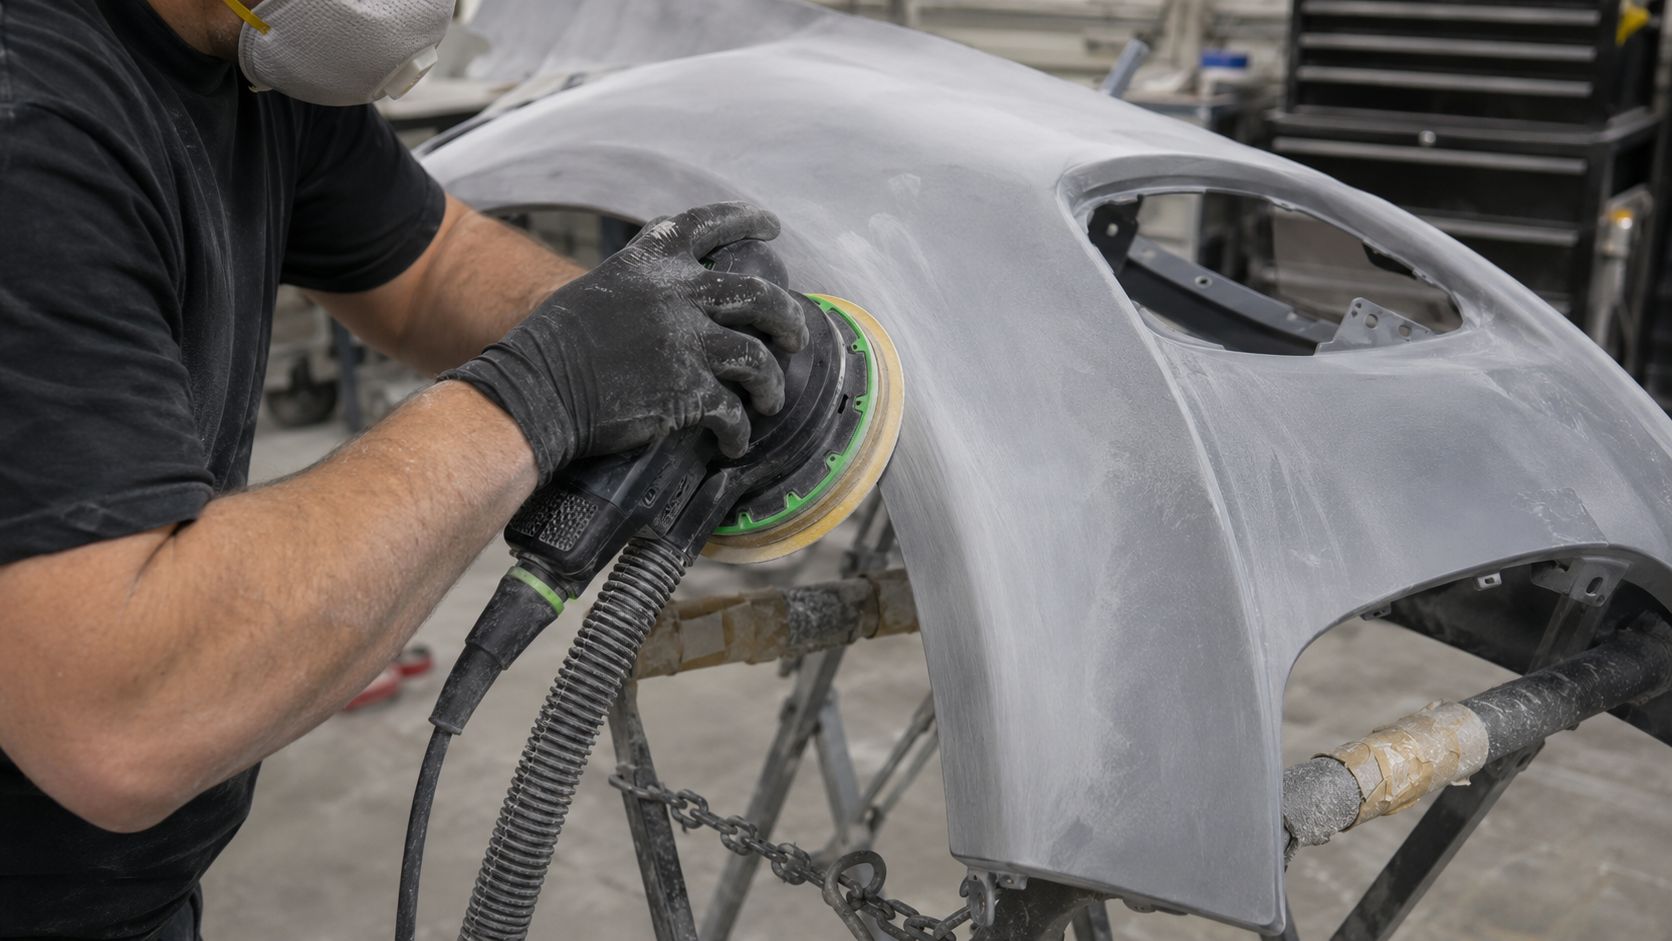
Soft backing pad
Soft pads are about following shape. They let the abrasive flex more across crowns, radii and moulded sections, which is exactly what you want later in the workflow or on more delicate contours from the start.
- Best for: bumper covers, tighter curves, blend prep, finer finishing and delicate paint prep
- Usually strongest in: finer grits and finishing stages
- What it does well: reduces edge aggression and tracks panel shape more naturally
- Limitation: poor levelling ability on filler and flatter repairs that still need to be straightened
- Common mistake: using it too early on a filler repair and leaving the job wavy under primer
What the wrong pad looks like on the panel
This is where backing-pad choice becomes obvious. You usually see the mistake on the job before you realise what caused it.
Hard pad on a crowned guard
The repair starts looking flatter through the middle than the rest of the panel. Guide coat disappears too quickly on the crown and the shape stops flowing properly.
Soft pad on fresh filler
The filler sands easily enough, but the job never really levels. It can look acceptable in dust, then show waves as soon as primer, guide coat or topcoat goes on.
Medium pad without interface on a curved bumper cover
You can end up with uneven contact, sharper edge action and more effort trying to keep the disc from biting on tighter shape changes.
Worn pad on primer prep
The scratch pattern starts looking random. The disc may walk on the face, leave odd marks or behave differently from one side of the pad to the other. At that point, the abrasive is not the only thing worth checking.
When to use an interface pad
An interface pad sits between the backing pad and the disc. It adds cushion to the setup without forcing you to swap the whole backing plate. In workshop terms, it is the easiest way to calm the machine down when the shape starts working against you.
On a 150mm DA, an interface pad is most useful when the repair is already fairly close and you want smoother contact, better conformity and less edge bite. It makes sense on bumper covers, curved guards, blend panels and finer prep stages where a firm setup starts doing more harm than good.
- Use it when: the panel is curved, crowned, delicate or already close to final shape
- Skip it when: the repair still needs levelling and you need the abrasive to stay flatter and more aggressive
- Main limitation: it reduces aggression. It does not give you more cut.
Recommended DA speed, pressure and grit by pad setup
These are starting points, not hard rules. Different machines, abrasives and panel shapes will shift the sweet spot. Start here, then adjust based on how the disc is cutting and how clean the scratch pattern looks.
| Stage | Pad | Typical grit | DA speed | Pressure | Watch-out |
|---|---|---|---|---|---|
| Flat filler shaping | Hard | P80-P120 | Medium-high | Light to moderate | Do not chase curves with a hard pad. |
| Featheredge work | Hard or medium | P80-P180 | Medium | Light | Too much pressure makes the DA run rough and increases edge marks. |
| Primer refinement | Medium | P240-P500 | Medium | Light | Use guide coat so the panel tells the truth. |
| Blend prep | Soft or interface | P600-P800 | Low-medium | Very light | Be careful near edges and clear coat transitions. |
| Fine edge work | Soft or interface | P400-P600 | Low | Very light | If the machine starts digging, the setup is too aggressive. |
As a rule, let the DA float. Pushing harder does not usually make the job better. It stalls orbit, builds heat and makes finish problems more likely.
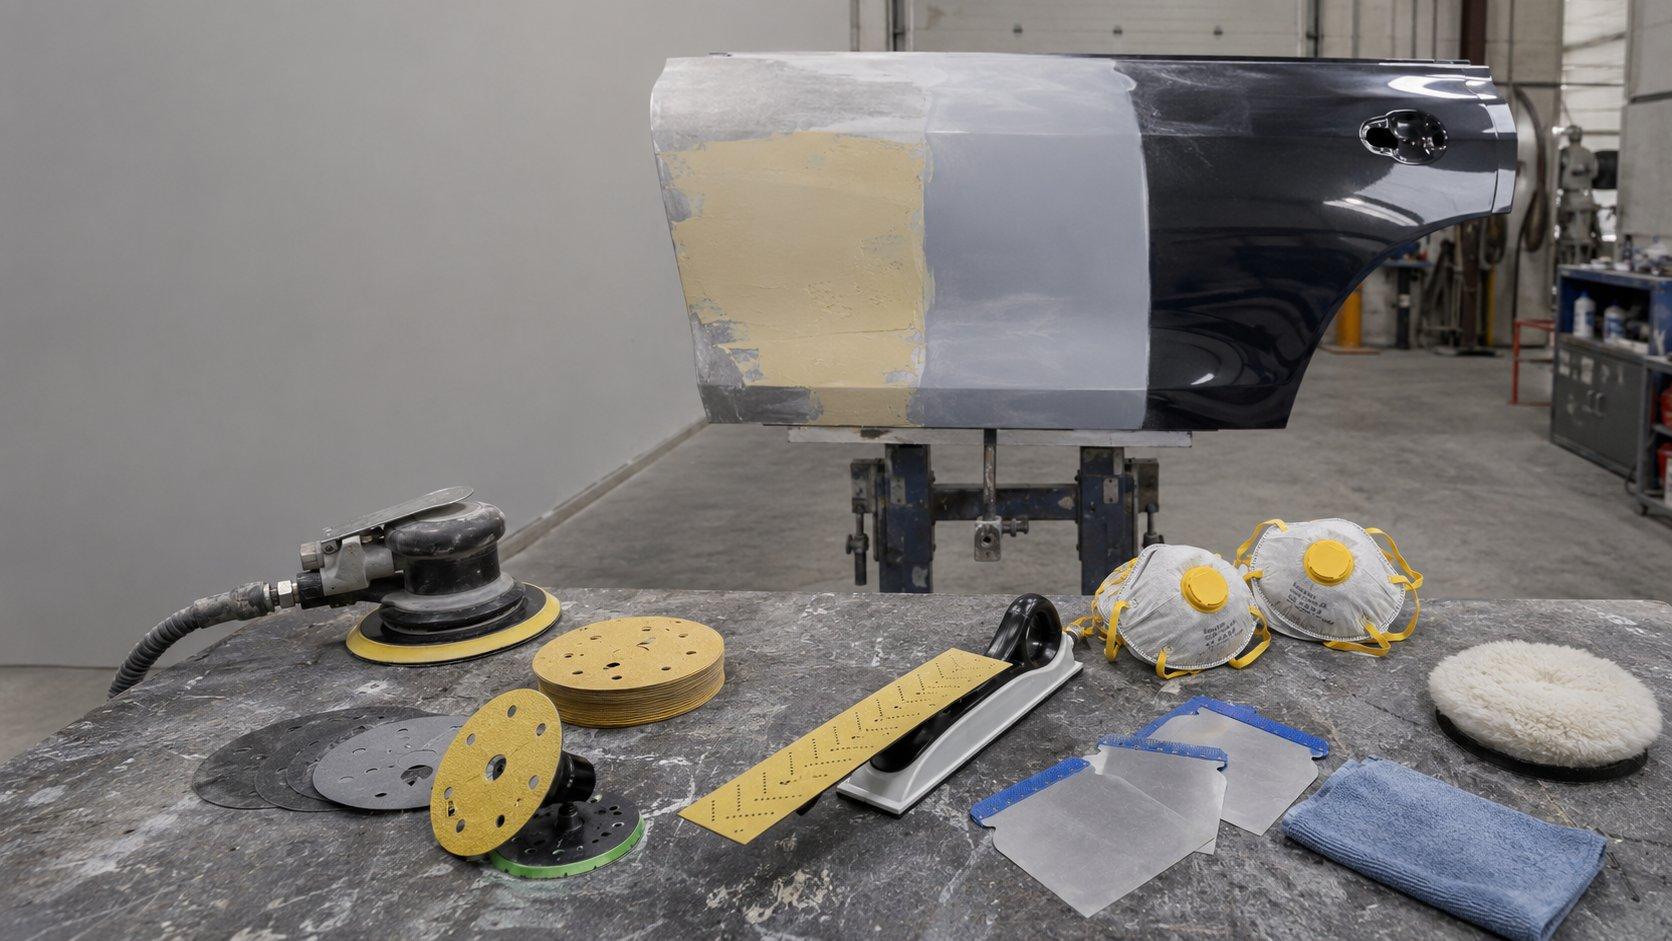
Example workflow: repaired door with filler, primer and blend prep
- Shape the filler first. If the repair is flat enough to level, start with a hard backing pad and the right coarse grit for the stage.
- Switch once the shape is close. Move to a medium pad when the repair no longer needs heavy levelling and the panel shape starts mattering more.
- Use guide coat before final primer refinement. It shows high spots, low spots and scratches you will miss in workshop dust.
- Use an interface pad on curved sections and blend edges. This helps stop the machine digging in or leaving a harsh transition.
- Blow dust off between stages. Loaded discs and leftover coarse dust can create scratches that look like abrasive failure.
- Inspect the scratch pattern before paint prep. If something changes suddenly, check the pad and fitment before changing the whole system.
7 backing pad mistakes that cause rework
- Using a soft pad too early on filler and following the waves instead of levelling them.
- Running a hard pad across a crown and flattening the panel shape.
- Skipping the interface pad on bumper curves or delicate blend edges.
- Ignoring pad wear until the disc starts walking or the scratch pattern goes odd.
- Mixing mismatched hole patterns and expecting clean extraction.
- Pressing harder instead of changing pad density or grit.
- Blaming the abrasive when the backing pad has collapsed or lost hook grip.
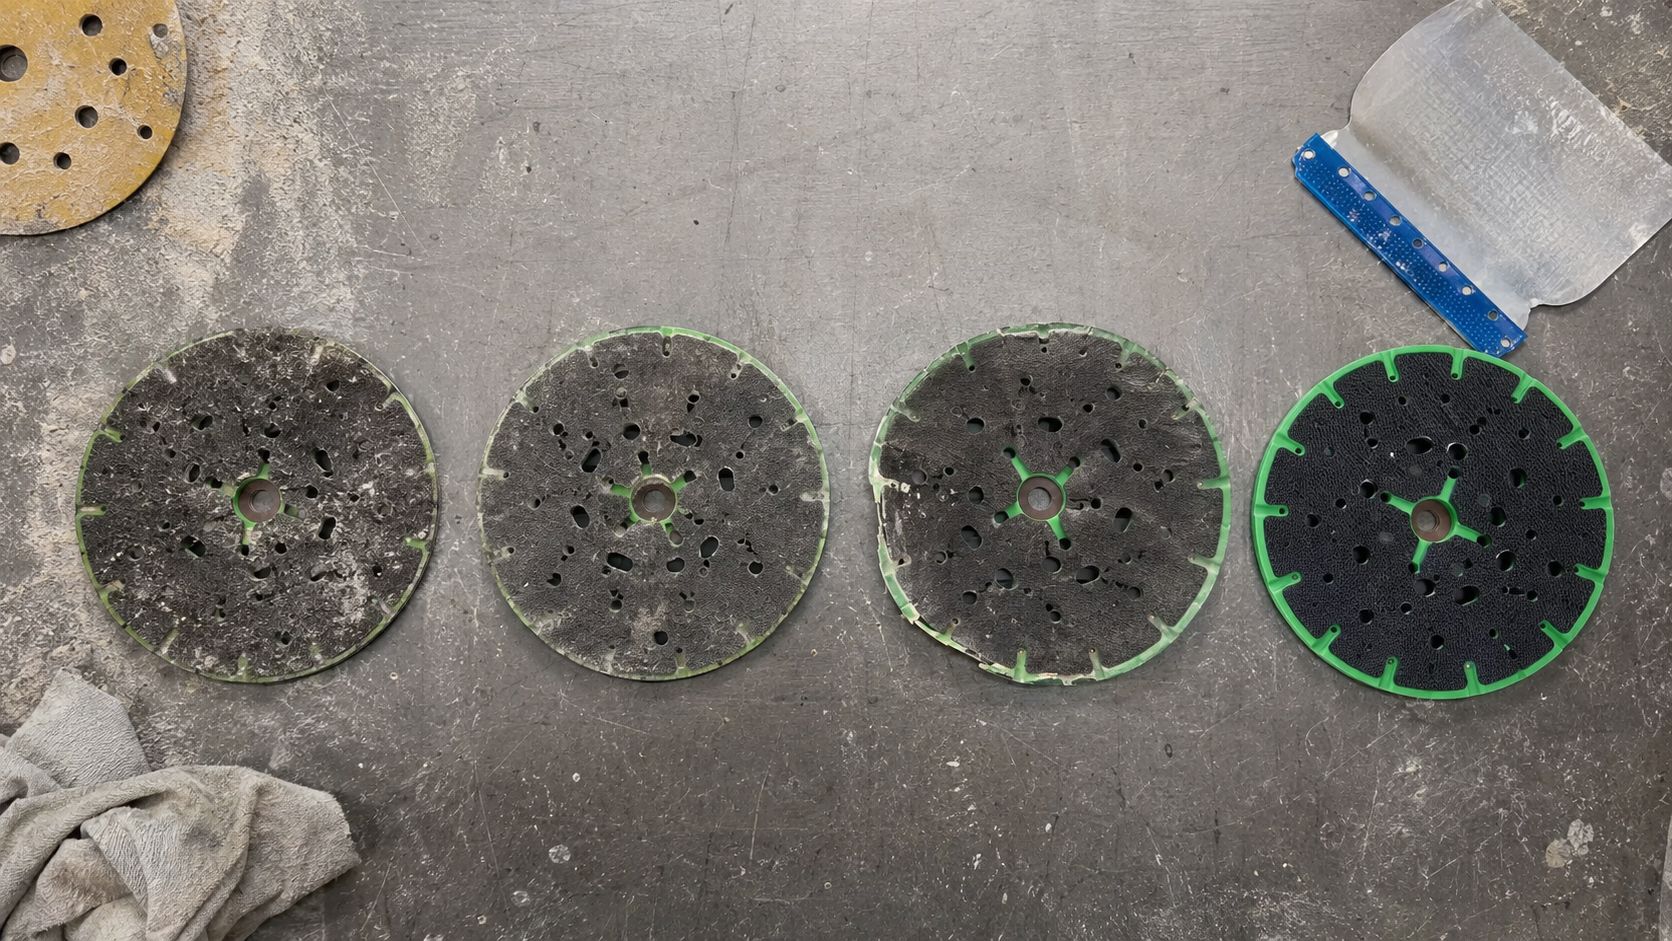
Signs the backing pad is worn out
Shops often replace discs quickly and run the backing pad too long. That gets expensive in a quiet way. The disc starts slipping, extraction gets patchy, the finish goes inconsistent and the abrasive cops the blame.
Often, the pad is the real problem.
- the hook-and-loop face has lost grip and discs start spinning, walking or lifting
- the foam has compressed unevenly and the pad no longer sits true
- the edge is curled, broken down or heat-damaged
- the machine suddenly feels rougher or less predictable with the same discs
- the scratch pattern goes odd even though your grit and pressure have not changed
Interface pads wear out too. Once they tear, compress permanently or develop flat spots, they stop cushioning evenly and start creating the very marks they were meant to prevent.
Symptom table: when the pad is the problem
| Symptom | Likely pad-related cause | What to check |
|---|---|---|
| Disc slipping or walking on the pad | Hook face worn out | Check grip strength, hook wear and heat damage on the backing face. |
| Pigtails showing up in primer or prep | Worn pad, dirty setup or wrong interface choice | Inspect pad flatness, disc fit, contamination and whether the setup suits the panel shape. |
| Flat spots on a crowned panel | Pad too hard for the shape | Move to a softer setup or add an interface pad. |
| Repair still looks wavy after sanding | Pad too soft during shaping | Go back to a harder pad and re-level the repair before moving on. |
| Edge cut-through or harsh ring marks | Setup too rigid, too much pressure or no interface where one was needed | Reduce pressure, protect the edge and switch to a softer setup for the contour. |
| Random or patchy scratch pattern | Pad worn, tilted or not sitting true | Check foam collapse, edge wear, machine stability and pad-to-disc fitment. |
FAQ
What backing pad should I use for filler sanding?
For flat filler shaping, start with a hard backing pad. It keeps the disc flatter and helps level the repair instead of tracing waves. Once the shape is close and the panel has more crown, a medium pad can make the next step safer.
Is a hard backing pad better for flat panels?
Usually, yes. A hard pad is better when the priority is flatness. That includes flatter filler repairs and some flatter primer work on bonnets, roofs and deck lids. It is not the best choice everywhere, especially on curved panels.
When should I use an interface pad?
Use an interface pad when the surface is curved, crowned or delicate enough that a firmer setup starts leaving flat spots, edge marks or cut-through. It is most useful in bumper work, finer primer prep and blend prep.
Does a worn backing pad cause pigtails?
It can. A worn or uneven backing pad can make the disc run poorly, especially in primer and pre-paint prep. If the scratch pattern suddenly turns random, inspect the pad before blaming the abrasive.
How often should I replace a backing pad?
There is no fixed calendar answer because shop workload, heat, pressure and dust extraction all affect pad life. Replace it when the hooks stop gripping properly, the foam loses shape or the pad starts affecting finish quality.
About the author
Brad has spent 20 years supplying abrasive systems to Australian panel shops. This guide is written for spray painters, panel beaters and trade buyers who want a 150mm DA setup that stays predictable through filler, primer and paint prep.
Featured Products From This Article
Quick picks already referenced in this guide.
SPX Interface 150mm x 10mm
SPX Interface Pad – 150 mm × 10 mm Enhanced control and smoother finishes for all SPX sanding discs. The SPX 150 mm × 10 mm Interface Pad...

.png&w=2048&q=75)