SPX Abrasives Logo
    Home
    Shop
    BlogAboutContact
    Sign In
    automotive sanding disc system

    Automotive Sanding System — The Right Disc at Every Stage

    This guide covers every stage of automotive refinishing from body filler to clear coat — with the correct grit range, disc type, and hole pattern for each step. Use it to build a stock list that covers your workshop's full repair sequence without gaps or over-stocking.

    Each stage is matched to an SPX product route so you can move from the guide directly into the right buying page without searching.
    See every repair stageJump to recommended setup
    Stage-by-stage grit guide150mm system-first guideCeramic vs standard by stageHole pattern per stage
    Workflow mapProof blockAll 6 repair stagesGrit progression tableHole patternsRecommended setup

    At-a-glance repair flow for a 150mm system

    Use this as the quick visual before the detailed stage notes below. The goal is to keep the repair sequence clear: ceramic where the work is heavy, then finer discs as the finish standard rises.

    Step 1

    Filler shaping

    P40–P80
    Ceramic
    Step 2

    Blocking

    P120–P180
    Ceramic
    Step 3

    Primer sanding

    P240–P320
    Ceramic or standard
    Step 4

    Guide coat flatting

    P400–P600
    Standard or film
    Step 5

    Pre-paint prep

    P800–P1200
    Film
    Step 6

    Clear coat flatting

    P1500–P3000
    Film or wet/dry

    Proof from the current 150mm system

    This page is strongest when it stays practical. The proof layer below keeps the guide anchored to first-party signals from the current 150mm products, plus one internal P320 case study that shows the cut-versus-finish balance buyers care about in mid-stage prep work.

    Approved reviews
    25

    Across the current products surfaced as part of this 150mm automotive system.

    Average rating
    4.8/5

    From approved reviews on matching 150mm product lines.

    Internal P320 case study

    In the SPX joinery paint shop, a 150mm SPX ceramic disc in P320 was run through black guide coat on Varen Legno 2K polyurethane supplied by Paint Holdings using a Festool ETC-5. Recorded sanding pass: 50 seconds.

    Why it matters

    P320 is the kind of stage where buyers want both cut speed and a controlled finish. That same balance shows up in automotive primer and guide-coat work.

    Important context

    This was not an automotive panel test. It is still useful first-party proof of how the SPX 150mm ceramic behaves when the stage demands both control and throughput.

    What this guide keeps aligned

    "Mrs would be happier If I lasted as long as these discs!"

    Tony • SPX 150mm Ceramic Sanding Discs - Cuts Faster, Lasts Longer | 15-Hole | 120–1200 Grit | 100 Pack

    • The system stays focused on 150mm automotive-relevant products, not Ironhead or accessory leakage
    • Coarse, primer, fine-prep, and wet-finish stages each map to a distinct disc choice
    • Hole-pattern fitment is treated separately from grit progression so buyers do not mix the two decisions
    • The guide routes into the 150mm, ceramic, 15-hole, and wholesale pages without becoming a category clone

    Every repair stage — grit, disc type, and technique

    Automotive refinishing follows a defined sequence. Running the wrong grit at any stage means extra passes, rework, or a visible scratch pattern under the topcoat. Use this section as your reference for each stage of the repair.

    Stage 1

    Body Filler & Heavy Correction

    Grit:P40–P80
    Disc type:Ceramic — essential
    Pattern:15-hole recommended
    • Shape filler while it is still slightly soft for faster cutting
    • P40–P60 for large or thick filler areas; P80 for normal repair size
    • Ceramic grain is critical here — standard discs glaze quickly under filler load
    • Long DA strokes across the repair rather than circles for even levelling
    Stage 2

    Blocking & Surface Levelling

    Grit:P120–P180
    Disc type:Ceramic — strongly recommended
    Pattern:15-hole recommended
    • Remove P80 scratches and level the filler surface before primer
    • P120 for heavier levelling; P180 to refine before moving to primer
    • Use a guide coat (dry spray or powder) to identify high and low spots
    • Ceramic holds up well through this stage — fewer changeovers on large repairs
    Stage 3

    Primer Surfacer Sanding

    Grit:P240–P320
    Disc type:Ceramic — recommended for volume use
    Pattern:15-hole recommended
    • Level high-build primer, remove texture, and prep for guide coat
    • P240 for heavier primer builds; P320 for finer levelling before guide coat
    • Dry sand or wet sand depending on the primer type and shop preference
    • This is the highest-volume sanding stage in most repair workflows
    Stage 4

    Guide Coat Removal & Final Primer Flatting

    Grit:P400–P600
    Disc type:Standard or film — ceramic optional
    Pattern:15-hole or 7-hole
    • Remove guide coat to confirm the surface is fully flat before topcoat
    • P400 for guide coat removal; P600 for final dry flatting before colour
    • The scratch left at this stage must disappear cleanly under base coat
    • Film discs are an option at P400+ for a more consistent scratch pattern
    Stage 5

    Pre-Paint & Blend Prep

    Grit:P800–P1200
    Disc type:Film disc or fine finishing disc
    Pattern:15-hole or 7-hole
    • Used for scuff sanding adjacent panels before blending clear coat
    • P800 for general pre-paint scuffing; P1200 for sensitive or light-coloured finishes
    • Wet sand or machine polish adjacent areas to match blend zone sheen
    • Control the scratch depth carefully — too coarse and the blend will show
    Stage 6

    Clear Coat Flatting & Denib Work

    Grit:P1500–P3000
    Disc type:Film disc or wet/dry paper
    Pattern:Hand sand or 15-hole at lower end
    • Flat overspray, runs, or nibs in cured clear coat before machine polishing
    • P1500–P2000 for flatting; P2500–P3000 for finer denib work
    • Wet sanding with lubrication gives the cleanest result at these grits
    • Work area must be clean — any contamination at this stage will scratch the clear

    Grit progression summary — full repair sequence

    A quick-reference table covering every stage from filler to clear coat. Use this to confirm your stock list covers the full sequence without gaps.

    Repair stage

    Body filler shaping

    Grit range

    P40–P80

    Disc type

    Ceramic

    Key objective

    Shape the repair quickly, establish the surface level before primer stages.

    Repair stage

    Blocking & levelling

    Grit range

    P120–P180

    Disc type

    Ceramic

    Key objective

    Remove coarse scratches, refine the surface before high-build primer.

    Repair stage

    Primer surfacer sanding

    Grit range

    P240–P320

    Disc type

    Ceramic (volume) / Standard

    Key objective

    Level primer, establish a flat surface, apply and read guide coat.

    Repair stage

    Guide coat & final primer

    Grit range

    P400–P600

    Disc type

    Standard or film

    Key objective

    Remove guide coat, final flatting before topcoat application.

    Repair stage

    Pre-paint & blend prep

    Grit range

    P800–P1200

    Disc type

    Film disc

    Key objective

    Scuff adjacent panels for blend, reduce gloss before clear coat.

    Repair stage

    Clear coat flatting & denib

    Grit range

    P1500–P3000

    Disc type

    Film / wet-dry

    Key objective

    Flat runs, nibs, and overspray in cured clear before machine polish.

    Repair stageGrit rangeDisc typeKey objective
    Body filler shapingP40–P80CeramicShape the repair quickly, establish the surface level before primer stages.
    Blocking & levellingP120–P180CeramicRemove coarse scratches, refine the surface before high-build primer.
    Primer surfacer sandingP240–P320Ceramic (volume) / StandardLevel primer, establish a flat surface, apply and read guide coat.
    Guide coat & final primerP400–P600Standard or filmRemove guide coat, final flatting before topcoat application.
    Pre-paint & blend prepP800–P1200

    Building a 150mm stock list for your panel shop

    Most workshops make the mistake of over-stocking fine grits and under-stocking coarse. The reality is that P80, P120, and P240 are the highest-consumption grits in most panel shop environments — filler and primer work accounts for the bulk of disc usage.

    A practical stock approach is to hold larger quantities of the coarse and mid tiers, and smaller quantities of the fine finishing grits. Ceramic grain on everything from P80 through P320 reduces overall disc consumption and gives operators more consistent performance through each stage.

    See the full 150mm grit selection guide →

    Recommended minimum stock list

    • P80 ceramic — filler shaping (highest volume)
    • P120 ceramic — blocking and levelling
    • P240 ceramic — primer surfacer sanding
    • P320 or P400 — guide coat and final primer
    • P600 — final pre-paint flatting
    • P800–P1200 — blend prep and pre-clear

    7-hole vs 15-hole vs multi-hole — panel shop guide

    Match your disc hole pattern to your backing pad. A mismatched pattern blocks extraction ports rather than opening them.

    Decision point

    7-hole

    Best fit for

    Festool Rotex RO 150, older DA sanders, and shops already standardised on 7-hole pads.

    Main advantage

    Widely stocked, proven in heavy automotive use, simple to reorder.

    Watch out for

    Not interchangeable with 15-hole pads — will block ports on a 15-hole system.

    Decision point

    15-hole

    Best fit for

    Fixed-pattern 150mm sanding setups already standardised on 15-hole pads.

    Main advantage

    Straightforward fitment and reorder logic when the workshop already runs 15-hole.

    Watch out for

    Must confirm pad pattern first — the benefit disappears entirely on a mismatched pad.

    Decision point

    Multi-hole

    Best fit for

    Mirka DEROS, mixed-machine workshops, and buyers needing one disc across multiple DA brands.

    Main advantage

    Broad compatibility — useful when a workshop runs multiple pad systems side by side.

    Watch out for

    Not optimised for any single pad — may underperform a well-matched 7 or 15-hole disc.

    Decision pointBest fit forMain advantageWatch out for
    7-holeFestool Rotex RO 150, older DA sanders, and shops already standardised on 7-hole pads.Widely stocked, proven in heavy automotive use, simple to reorder.Not interchangeable with 15-hole pads — will block ports on a 15-hole system.
    15-holeFixed-pattern 150mm sanding setups already standardised on 15-hole pads.Straightforward fitment and reorder logic when the workshop already runs 15-hole.Must confirm pad pattern first — the benefit disappears entirely on a mismatched pad.
    Multi-holeMirka DEROS, mixed-machine workshops, and buyers needing one disc across multiple DA brands.Broad compatibility — useful when a workshop runs multiple pad systems side by side.Not optimised for any single pad — may underperform a well-matched 7 or 15-hole disc.

    Ceramic vs standard — which stage needs which disc

    Ceramic grain earns its premium most clearly where the disc is under sustained load. At fine finishing stages, scratch control takes over as the priority.

    Body filler & primer stages (ceramic essential)

    P40–P320 work puts maximum load on the abrasive grain. Ceramic self-sharpening makes the biggest difference here — standard discs glaze out quickly on filler and dense primer, adding changeovers and inconsistency.

    Guide coat & fine prep (ceramic or standard)

    P400–P600 is lighter work. Ceramic still performs well but the self-sharpening advantage is less pronounced. Standard discs are usable at these grits in moderate-volume environments.

    Finishing stages (film disc preferred)

    P800 and above is about scratch pattern control, not cut speed. Film backing gives a more flexible, consistent finish on curved panels. Ceramic is available at these grits but the disc-type choice matters less than the grit accuracy.

    Cost-per-car — why the disc choice matters beyond price

    The useful way to compare abrasive cost is by repair stage or by car prepared, not by packet price alone. The most important stages to watch are usually P80 or P120 filler work and P240 or P320 primer work, because that is where disc changes and slowing cut rate become visible fastest.

    Track how many discs a technician uses to finish the same stage, whether the cut stays stable near the end of disc life, and whether the scratch pattern is still clean when the disc is close to being changed out. That gives you a much stronger benchmark than comparing packet prices in isolation.

    The SPX internal P320 case study above is useful here because it shows the kind of cut-versus-finish balance buyers are trying to measure. Once a workshop logs the same checkpoints across filler, primer, and guide-coat stages, the cost-per-car decision becomes easier to defend.

    What to measure when comparing disc costs

    • Disc changes per car — how often operators stop to swap
    • Consistent cut through the full disc life, not just the first pass
    • Scratch pattern uniformity — does a glazed disc leave uneven marks?
    • Time lost per changeover × daily changeovers × operators
    • Rework caused by inconsistent scratch depth near end of disc life

    Recommended SPX setup by decision point

    Use the page that matches your next buying question. Each one is built around a specific decision — size, material type, fitment, or supply structure — rather than a generic product listing.

    150mm sanding discs

    Start here when you need the complete grit range guide, hole pattern overview, and buying options for the 6-inch DA format.

    Ceramic sanding discs

    Use this when cut speed, disc life, and cost per job are the main comparisons. Includes ceramic vs standard and cost-per-job analysis.

    15-hole sanding discs

    Use this when sander compatibility and extraction fitment are the priority. Includes the sander compatibility table and dust extraction guide.

    Wholesale abrasives

    Use this when the question is about repeat supply, volume pricing, and setting up a trade account for the workshop.

    Build your system from real products

    Products matched to the SPX automotive system. The grid stays inside 150mm, stage-relevant products so the guide and the product block stay aligned.

    150mm pageCeramic page15-hole pageWholesale page
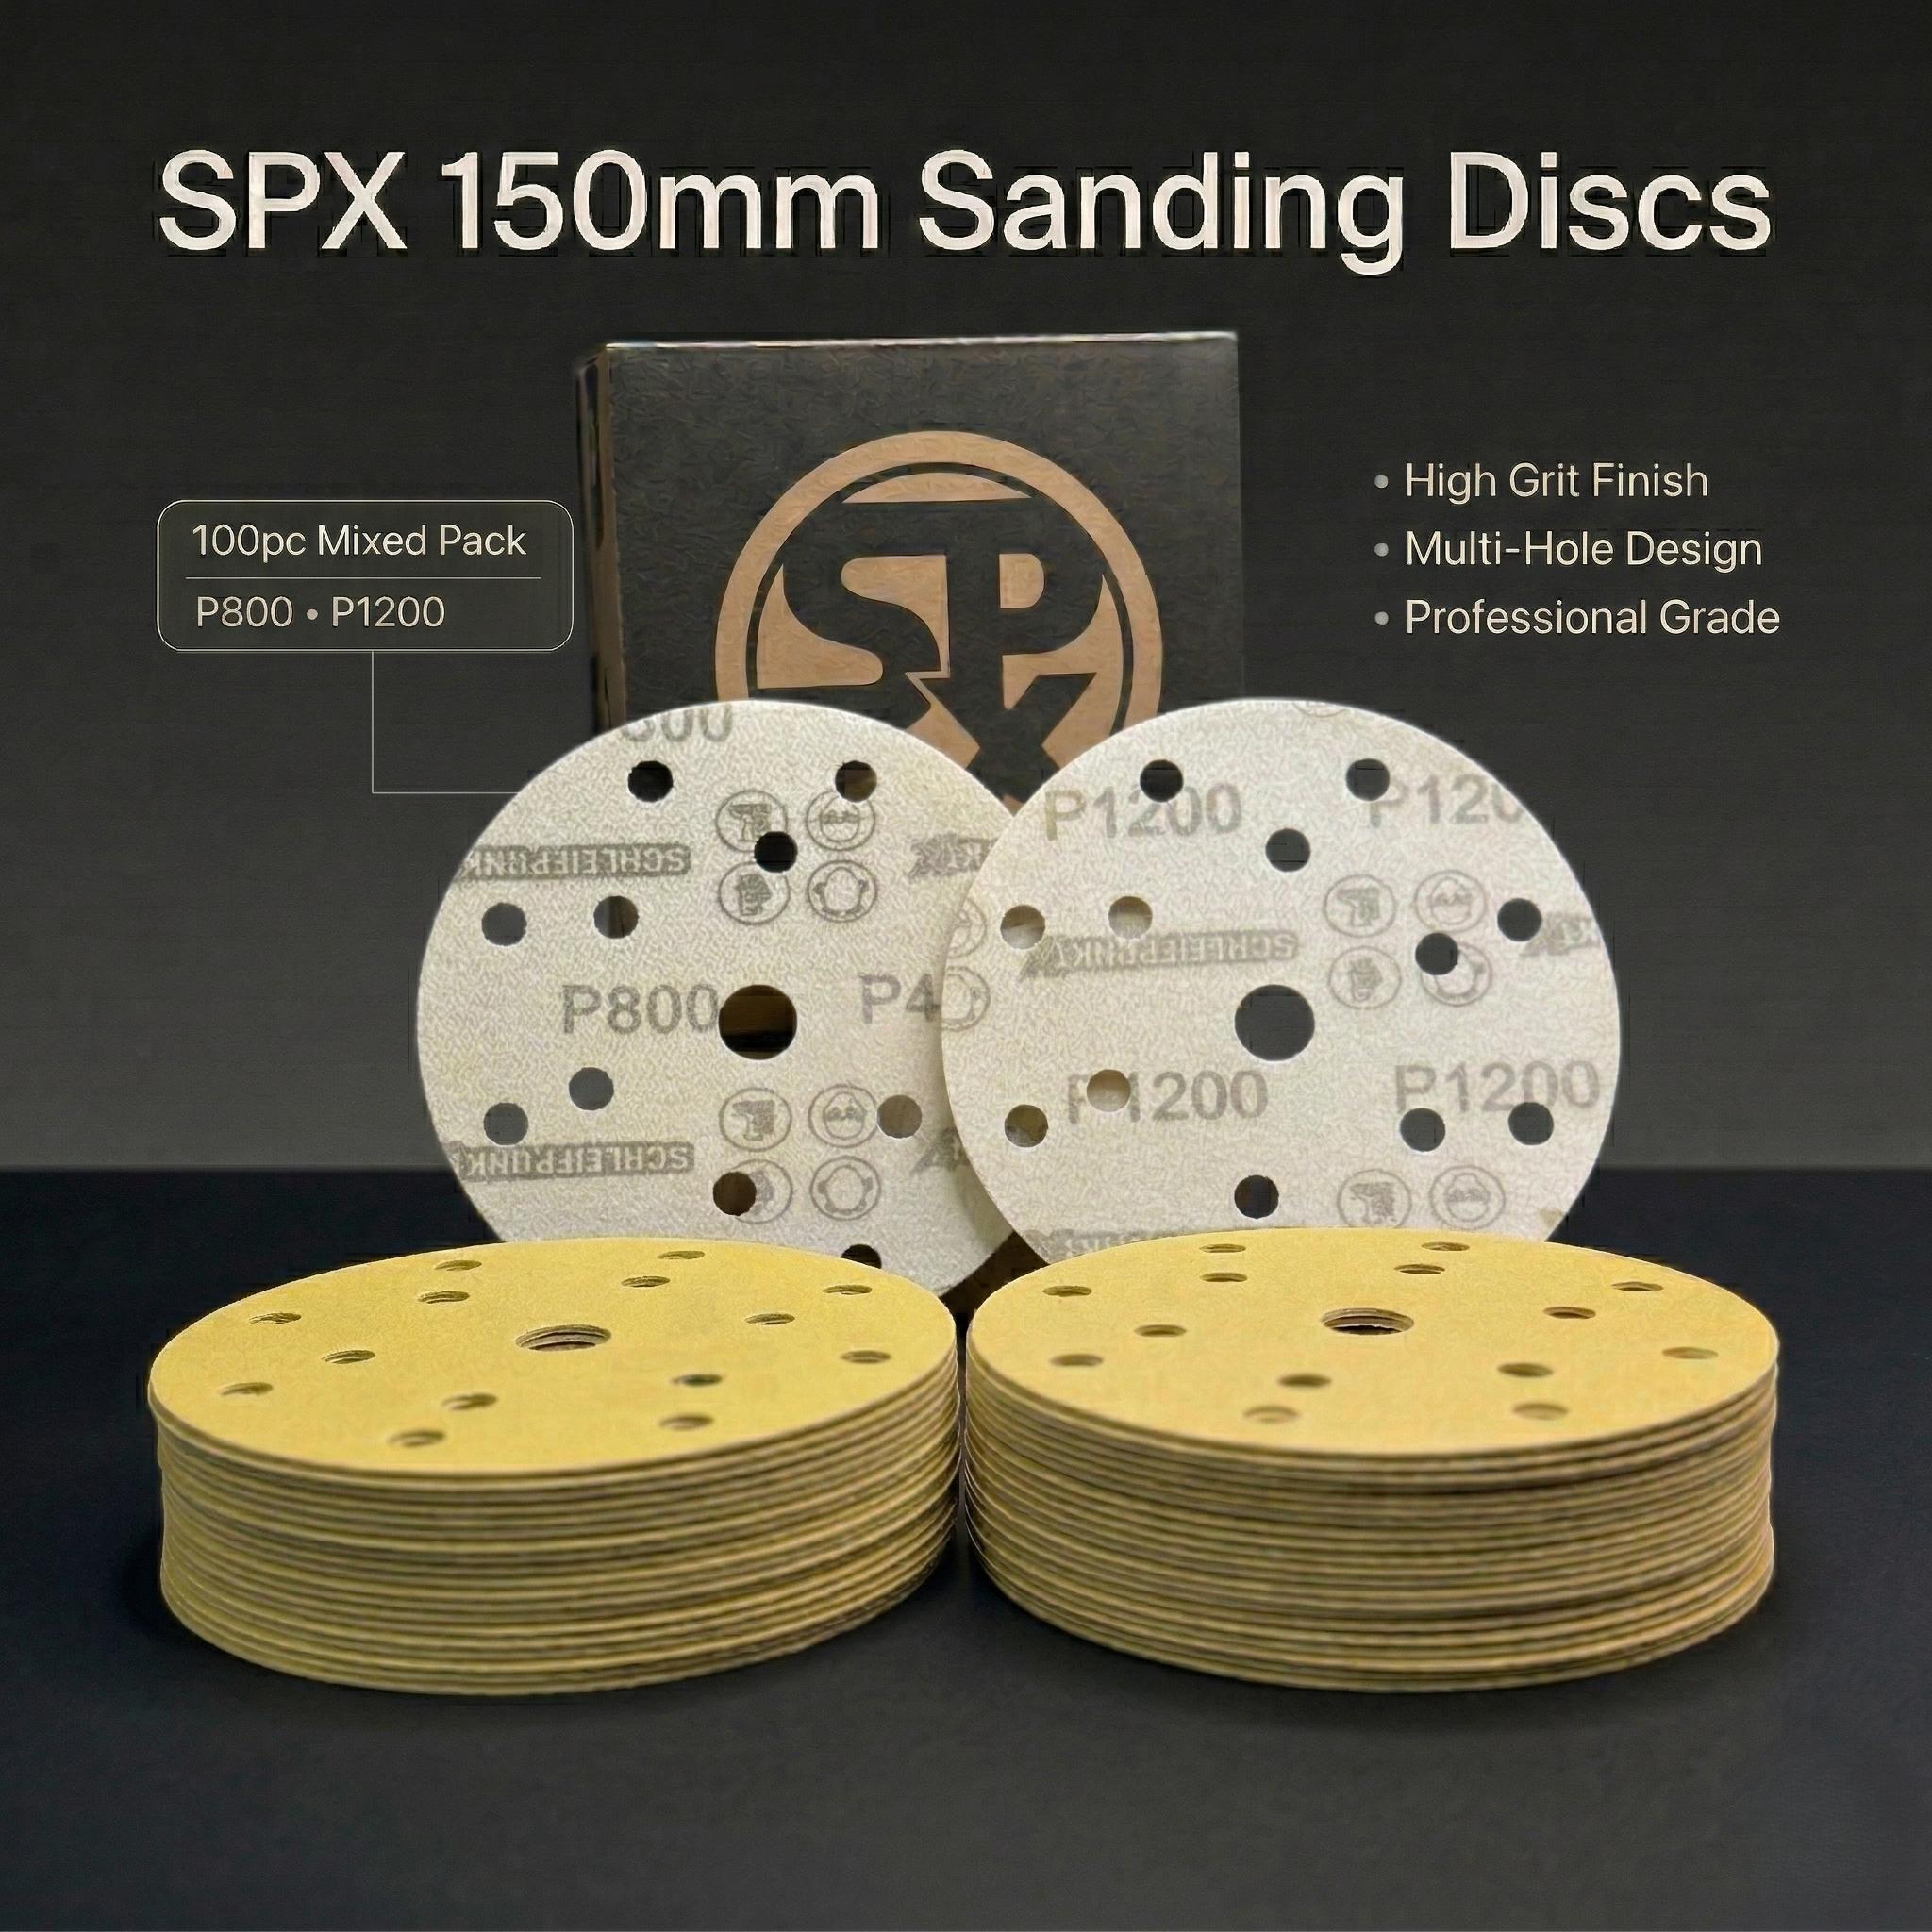
    SPX 150mm Sanding Disc – MIXED Packs (100pcs)
    DiscsIn stock

    SPX 150mm Sanding Disc – MIXED Packs (100pcs)

    Choose from Low, Medium or High Grit SPX 150mm Sanding Disc – Mixed Low Grit Pack (100pcs) Grits: 25 × P80, 25 × P120, 25 × P180, 25 × P240 Get the...

    $86.39
    GST included
    View product
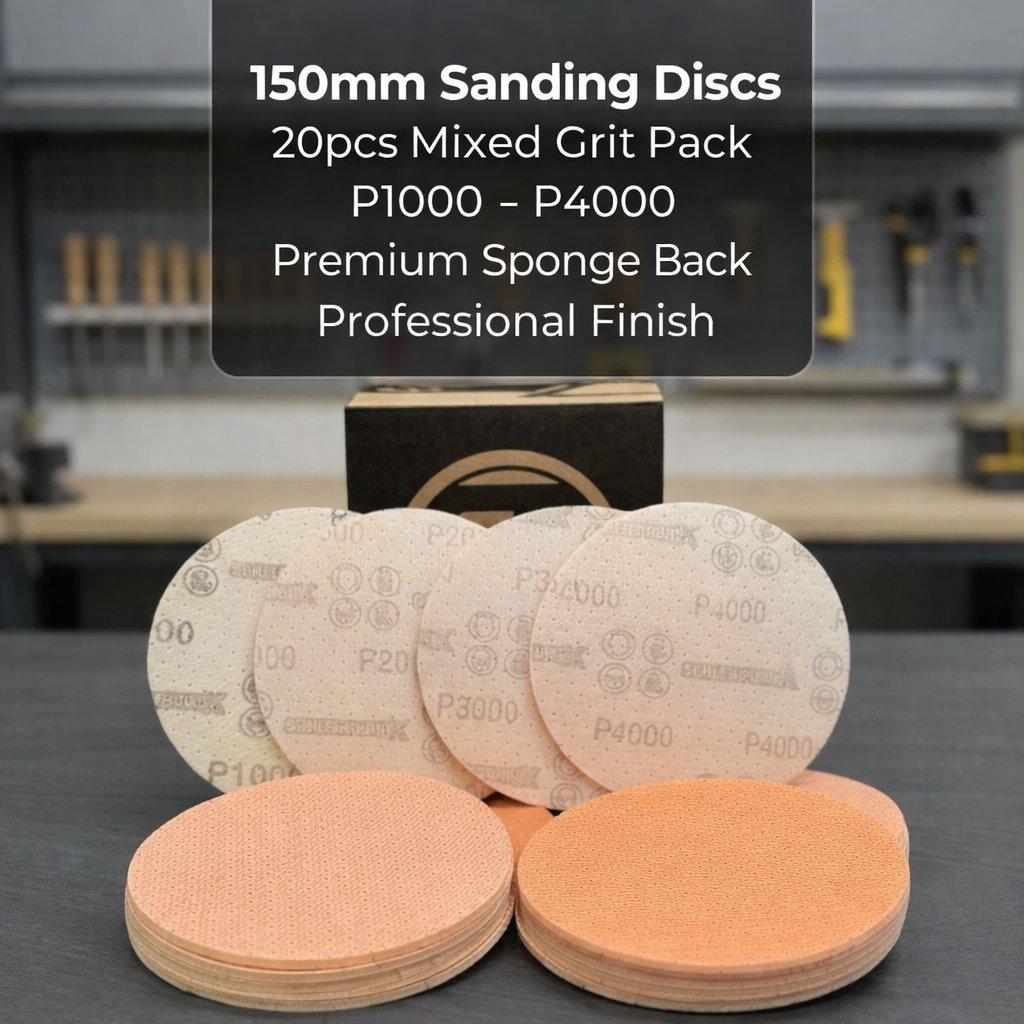
    Sanding Disc Sponge Back Orange Wet/Dry MIXED 150mm 20pcs
    DiscsIn stock

    Sanding Disc Sponge Back Orange Wet/Dry MIXED 150mm 20pcs

    SPX Sanding Disc – Sponge Back Orange (150 mm, Wet/Dry) Ultra-smooth finishing for colour sanding and fine surface refinement. The SPX Sponge Back...

    $88.11
    GST included
    View product
    SPX 150mm Ceramic Sanding Discs - Cuts Faster, Lasts Longer | 15-Hole | 120–1200 Grit | 100 Pack
    DiscsIn stock

    SPX 150mm Ceramic Sanding Discs - Cuts Faster, Lasts Longer | 15-Hole | 120–1200 Grit | 100 Pack

    Pros don’t have time for discs that die halfway through the job. Cheap sanding discs might look cheaper upfront, but on the job they cost you more...

    $78.54
    GST included
    View product
     SPX 150mm Ceramic Sanding Discs - Cuts Faster, Lasts Longer | 15-Hole | 60–80 Grit | 50 Pack
    DiscsIn stock

    SPX 150mm Ceramic Sanding Discs - Cuts Faster, Lasts Longer | 15-Hole | 60–80 Grit | 50 Pack

    You're not paying for discs. You're paying for every minute you waste changing them. Every worn-out disc is a break in your rhythm, machine off, di...

    $43.20
    GST included
    View product

    Continue into the product pages

    Each page below handles a specific part of the buying decision. Use this guide as the starting point, then follow the link that matches your next question.

    150mm sanding discs

    Full grit selection guide, hole patterns, and ceramic vs standard overview.

    Open page
    Ceramic sanding discs

    Performance page for buyers comparing cut speed, disc life, and cost per job.

    Open page
    15-hole sanding discs

    Dust extraction guide with sander compatibility table and stock plan.

    Open page
    Wholesale abrasives

    B2B route for workshops, panel shops, and trade buyers ordering at volume.

    Open page

    Automotive sanding disc system FAQ

    What grit discs should a panel shop keep in stock?+
    A practical panel shop stock list covers at minimum: P80 or P120 for filler work, P240 for primer levelling, P320–P400 for guide coat and fine primer prep, and P600 for final pre-paint flatting. Shops doing colour work or clear coat prep should also keep P800–P1500 on hand. Ceramic grain is recommended for P80–P400 in high-volume environments.
    Are ceramic discs worth it for primer sanding?+
    Yes, in most panel shop environments. If your operators are running P240–P400 for hours at a time across multiple cars, a ceramic disc that holds its cut longer and changes less frequently delivers a measurable reduction in both disc consumption and labour interruption. The economic case is clearest in the primer stage because it is the highest-volume sanding work in most repair workflows.
    What hole pattern is best for dust extraction in a panel shop?+
    There is no single best pattern for every machine. 15-hole remains a common fixed-format option in 150mm automotive setups, but some current systems use 7-hole pads, multi-hole pads, or net-style abrasives. The right answer is the one that matches the pad system already on your machine.
    What 150mm sanding discs suit automotive refinishing?+
    A 150mm system with ceramic discs in the coarse and mid stages is a practical starting point for many workshops because it keeps filler, blocking, and primer work inside one machine format. After that, the exact disc type depends on stage: film and wet/dry options become more relevant as the workflow moves into fine prep and clear coat flatting.
    What grit should I use on body filler?+
    P80 is the most common starting grit for body filler shaping — aggressive enough to shape quickly without leaving scratches too deep for the next stage. If the repair is large or the filler is applied heavily, start at P40 to P60 for the initial shaping pass, then step up to P80 or P120 before moving into primer prep. Ceramic grain is strongly recommended for filler work.
    What grit do I use before painting?+
    The grit used directly before painting depends on the system. For direct-to-metal primer: P150–P180 scuff. For high-build primer surfacer: P240–P400 flatting. For 2K primer before base/clear: P400–P600. For wet sanding before final colour: P800–P1200. The key is leaving a scratch pattern fine enough that it disappears under the coating system being applied on top.
    What grit do I use before clear coat?+
    For flatting primer before clear coat application, P400–P600 is standard. For re-flatting or repairing clear coat before polishing, P1500–P2000 wet sand is typical. For colour sanding cured clear coat as a finishing step, P2000–P3000 is used depending on the defect level before machine polishing.
    Can I use the same discs for filler work and primer sanding?+
    Technically yes, but it is not recommended. The coarse grits needed for filler work (P80–P120) leave scratch patterns too deep for good primer adhesion. Running P240+ for filler work wastes discs and slows you down. Using the right grit for each stage saves discs, improves results, and reduces rework.

    Stock the right discs for every stage of the repair

    Use the 150mm page for the full grit range, or open the wholesale route if you are setting up a repeat-order account for a panel shop or spray booth.

    Shop 150mm discsOpen wholesale account
    Schleifpunkt X Logo

    Premium precision-engineered abrasives for professionals. Designed to be dependable, scaled for trade.

    ABN 28 675 457 315

    MSDS Sheet

    Navigation

    HomeProductsWholesaleBlogAboutContact

    Contact

    Email

    info@spxabrasives.com.au

    Phone

    0433 739 831

    Location

    Melbourne, VIC

    Business Hours

    Monday - Friday8:00 AM - 4:00 PM
    Saturday - SundayClosed

    Serving Retail, Trade & Wholesale

    © 2026 SPX (Schleifpunkt X). All rights reserved.

    |Admin
    Made within Melbourne byOpenRoad Labs
    Film disc
    Scuff adjacent panels for blend, reduce gloss before clear coat.
    Clear coat flatting & denibP1500–P3000Film / wet-dryFlat runs, nibs, and overspray in cured clear before machine polish.