.jpg&w=2048&q=75)
How to Choose the Right Sanding Discs for Your Workshop (Panel, Wood, or Paint)
.jpg)
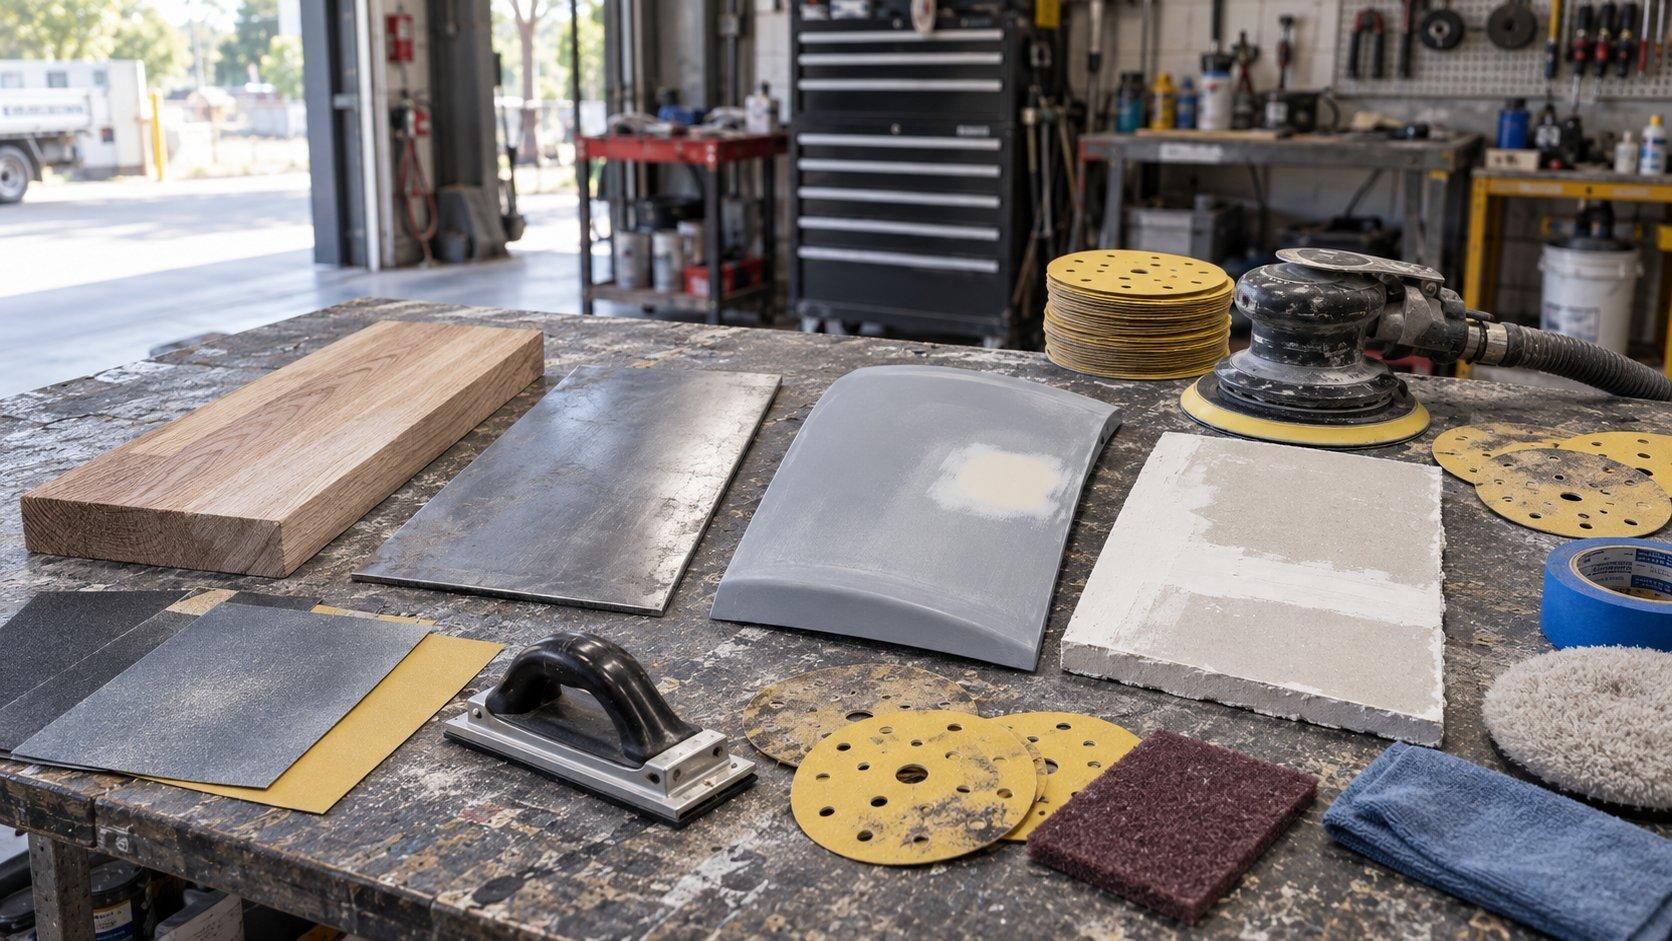
The right sanding disc does three jobs at once: it removes material at the speed you need, leaves a scratch pattern the next stage can handle, and stays consistent long enough that you are not wasting time swapping discs every few minutes. That is the whole game. Panel shops usually need fast cut and repeatable performance. Cabinet makers need finish quality and control. Spray painters need a fine, even scratch profile that does not come back to bite them under primer, base, or clear.
If you are trying to work out which sandpaper to use, start with the substrate, then the coating system, then the finish standard you are chasing. Do that in the right order and disc choice gets a lot easier.
Key takeaways
| Workshop type | What matters most | Best disc characteristics | Typical grit focus |
|---|---|---|---|
| Panel shops | Aggressive cut, cooler sanding, consistency across filler, primer, and old paint | Ceramic sanding discs, multi-hole extraction, strong backing | 60 to 320 for prep, 400 to 600 for primer refinement |
| Cabinet makers | Surface quality, grain control, low clogging, predictable finish | Clean-cut discs with good extraction and controlled progression | 80 to 220 for shaping and prep, 240 to 320 for finer work |
| Spray painters | Fine scratch profile, edge control, defect-free paint prep | Fine grit discs, interface pads, sponge-backed options for curves and denibbing | 320 to 600 before colour, 800 to 2000+ for refinement and correction |
Why the right sanding disc matters more than the cheapest disc
Abrasives are one of those consumables that look cheap until they start slowing down the whole job. A disc that dulls fast, loads up, or leaves a messy scratch pattern does not just waste a few dollars. It burns labour, forces rework, and drags the next process backwards.
That matters most in trade settings. In a busy panel shop, the wrong disc means more pressure on the sander, more heat in filler and primer, and more disc changes. In a cabinet shop, it means random deep scratches that show up after stain or clear. In paint prep, it means pigtails, edge burn-through, and topcoat defects that should never have made it to the booth.
The better question is not, “What is the cheapest sanding disc?” It is, “What disc gives this stage the best balance of cut, control, finish quality, and cost per job?”
Choose by workshop type first
Panel shops: aggressive cut and consistency
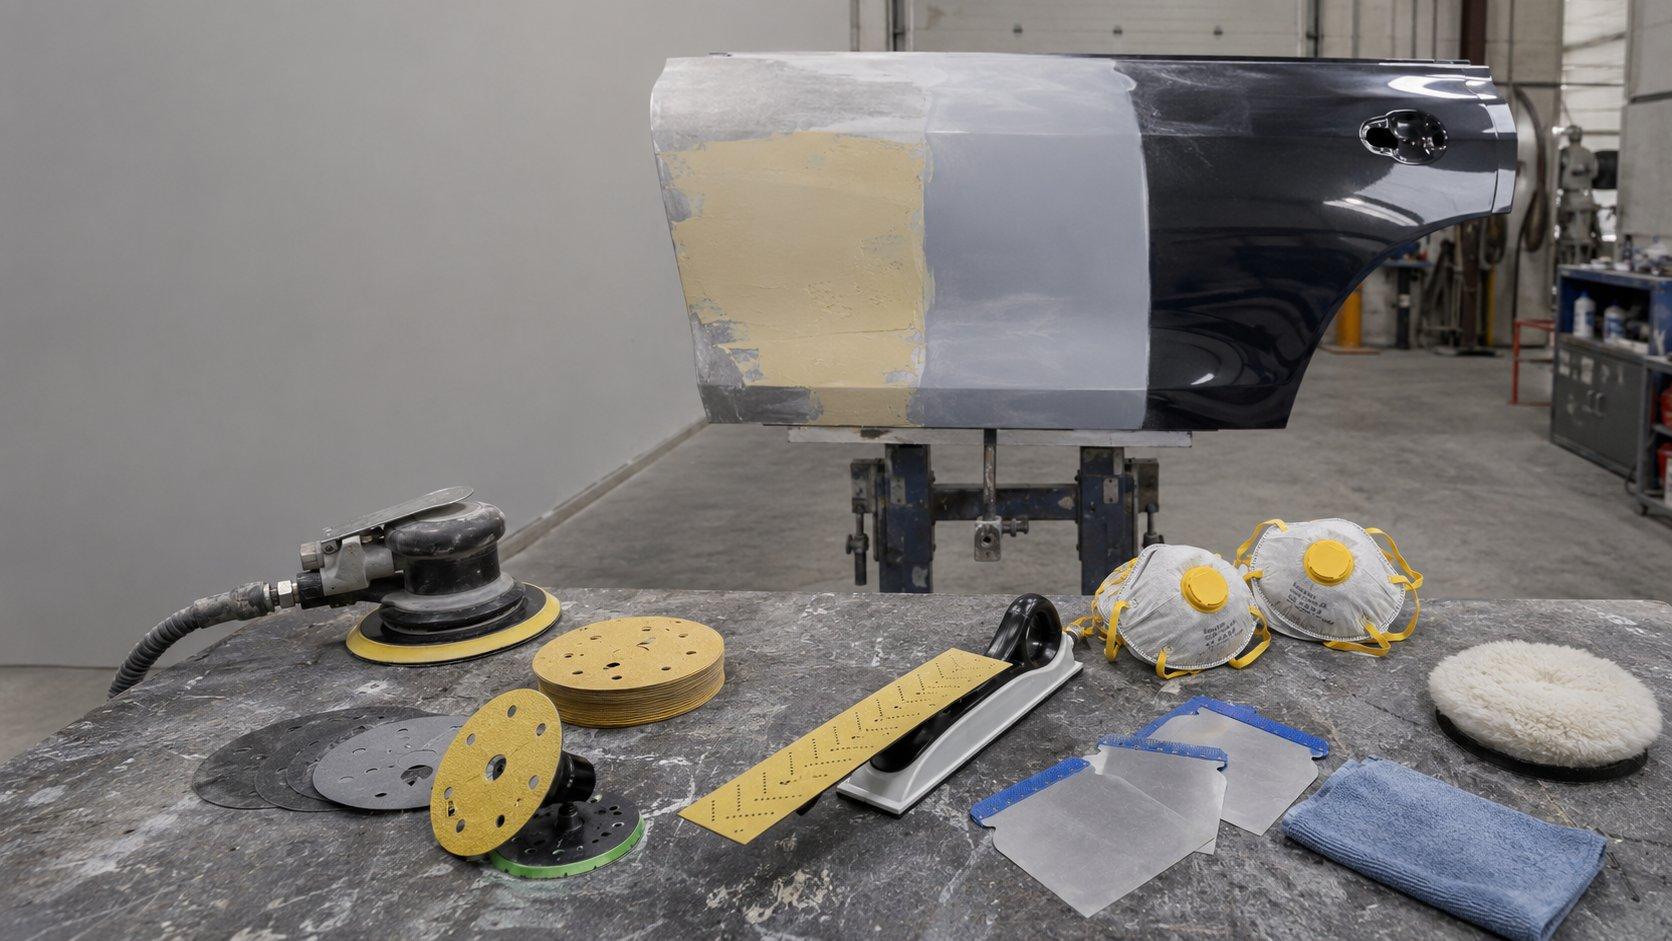
Automotive repair is brutal on abrasives. Body filler loads discs fast. Old paint can be stubborn. Edges get hot. Operators lean harder when a disc stops biting. That is where ceramic sanding discs make sense. They suit heavy shaping, filler knockdown, old paint removal, and production work where steady cut matters more than shelf price.
For most panel shops, the smartest setup is simple. Use ceramic for the hard removal stages, then step through finer grits with discipline. Do not ask one disc to do every job. Use coarse grits to shape, medium grits to refine, and fine grits to prepare primer or colour. That is how you keep repairs flat and scratch profiles predictable.
.jpg)
Trade call: If your workshop runs through a lot of automotive sanding discs, price per disc is the wrong metric. Look at cut speed, disc life, heat control, and how many extra passes your team is doing because the abrasive is fading halfway through the job.
Cabinet makers: finish quality and control
Woodworking is less forgiving than it looks. Timber telegraphs scratches. MDF loads cheap abrasives. Veneer punishes heavy hands. A cabinet maker usually needs a disc that stays controllable, extracts dust properly, and leaves a clean enough surface that the next grit is doing refinement, not repair.
That is why grit progression matters so much in wood. Jump too far and you spend the next stage chasing deep scratches. Stay too coarse for too long and you round edges, wash out detail, or leave cross-grain marks that show under stain. Go too fine too early and you waste time polishing a surface that still is not flat.
.jpg)
For cabinet shops, good sanding discs are about control more than aggression. If you are flattening joins, levelling filled areas, or prepping hardwood for clear finish, you want a disc that cuts cleanly without becoming grabby or clogging immediately. Dust extraction matters here too, because timber dust hides defects until the coating goes on.
Spray painters: fine scratch profile
Spray painters live and die by the scratch they leave behind. Too coarse and the scratch can print through primer or base. Too aggressive around edges and you burn through. Too inconsistent and metallics, clears, and high-gloss systems make the problem obvious.
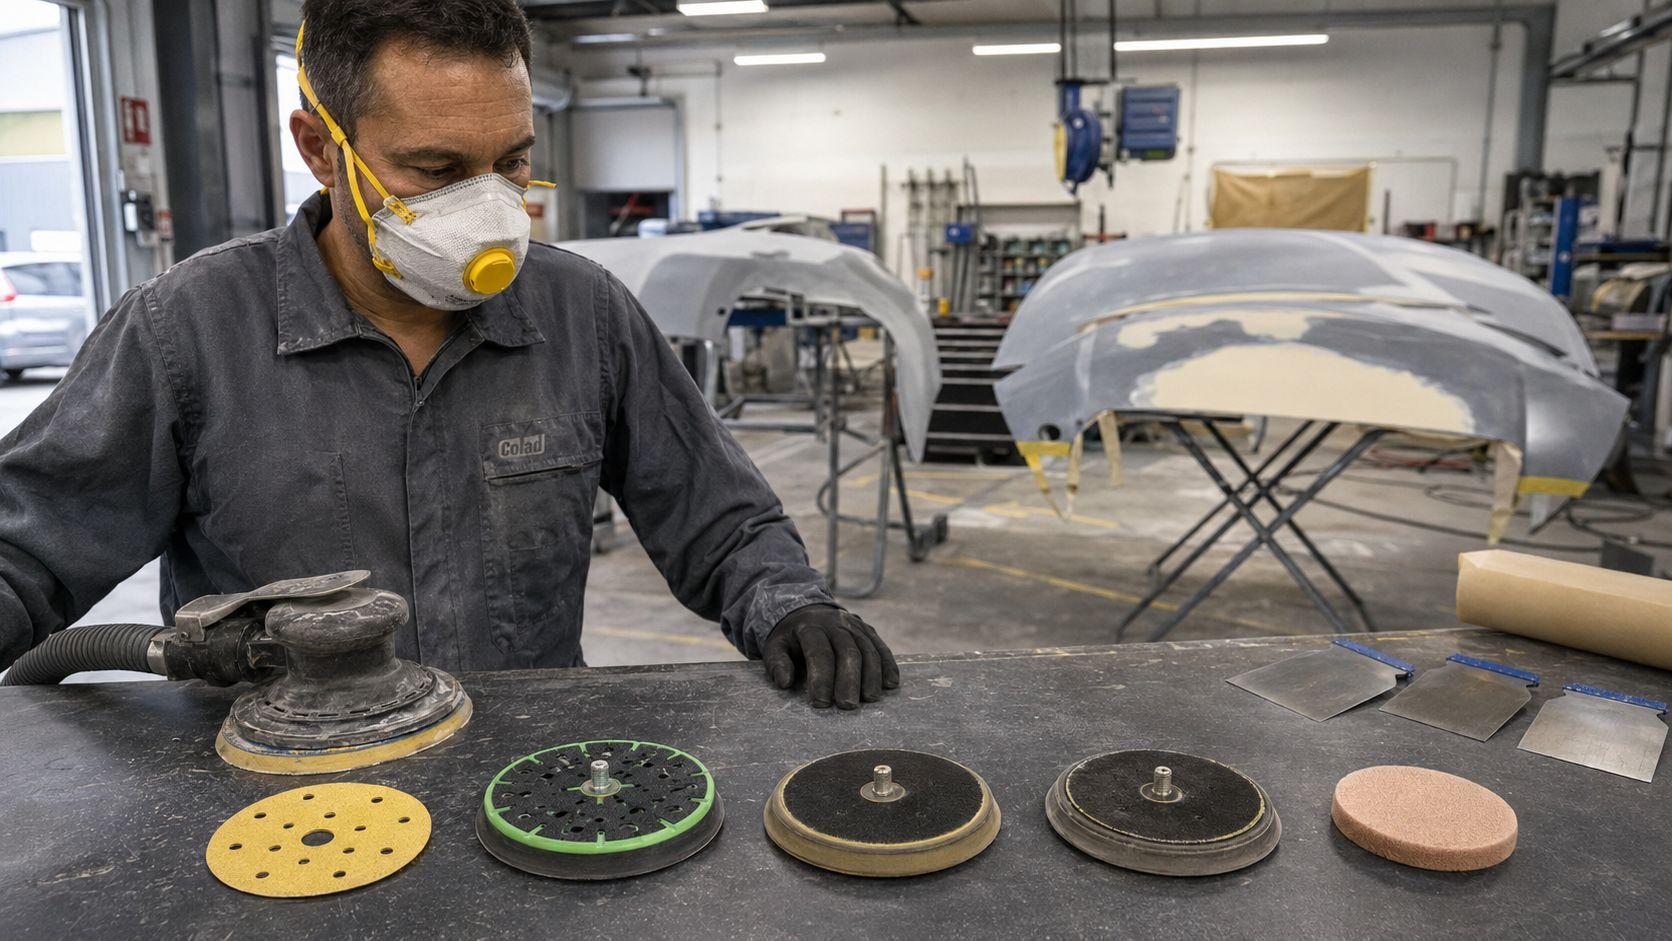
That is where finer grits, stable backing, interface pads, and soft-backed finishing abrasives come into their own. You are not trying to remove heaps of material at this point. You are refining the surface so the next coating stage sits down evenly and stays clean.
.jpg)
If you prep primer, blend edges, and remove small defects every day, finish quality has to outrank brute cutting speed. Fast is good. Predictable is better.
Choose by disc construction, not just grit
Ceramic sanding discs
Ceramic is the right call when the job is hard on the abrasive. Think body filler, old paint, heavy primer work, dense substrates, or high-throughput production. The value is not just faster stock removal. It is staying sharper for longer and keeping the cut more consistent as the job goes on.
That is why ceramic earns its keep in panel shops and busy prep areas. It handles punishment better. If you are leaning on a DA all day, a decent ceramic disc can save more in time and rework than it costs at the counter.
Backing, hole pattern, and dust extraction
Plenty of buyers focus on grit and ignore everything else. That is a mistake. Hole pattern, backing strength, and dust extraction all affect how the disc behaves. Better extraction keeps the face cleaner, reduces loading, helps the disc keep cutting, and makes defects easier to see as you work.
In wood and paint prep, that matters a lot. Less dust sitting between the abrasive and the surface means a cleaner scratch pattern and fewer random marks. In a panel shop, it also means less clogging on filler and primer.
Interface pads and soft-backed abrasives
Flat work and curved work are not the same job. A rigid setup is great for flattening filler and straightening broad surfaces. It is the wrong tool for tight contours, soft edges, and final denibbing. This is where an interface pad or a sponge-backed abrasive helps. It softens the contact patch, follows shape better, and lowers the chance of cutting through edges or leaving hard pressure marks.
| Disc feature | Best for | Why it helps | Watch-out |
|---|---|---|---|
| Ceramic grain | Heavy stock removal, filler shaping, old paint stripping | Fast cut and better life under hard use | Can be overkill for light final prep |
| Multi-hole extraction | Panel, wood, and paint prep | Less loading, cleaner cut, better visibility | Needs compatible backing pad and extraction setup |
| Strong film or stable backing | Consistent finishing work | More even scratch profile and cleaner feel | Wrong backing can feel too harsh on curves |
| Soft interface or sponge backing | Curves, blend areas, denibbing, fine finishing | Better conformity and edge control | Not ideal for flattening high spots fast |
Which sandpaper to use: grit guide by job
Grit choice should match the stage, not your mood. A coarse disc should shape. A medium disc should refine. A fine disc should prepare the next layer. Problems start when one grit is forced to do the work of three.
| Job stage | Typical grit range | Primary aim | Best fit |
|---|---|---|---|
| Heavy paint removal, rough shaping, hard filler work | 40 to 80 | Fast stock removal | Panel shops, rough timber levelling, hard-wearing substrates |
| Shape refinement and scratch removal | 120 to 180 | Remove deep coarse scratches and refine contour | Body filler, timber prep, general workshop use |
| Pre-primer or pre-sealer smoothing | 240 to 320 | Even surface and controlled scratch profile | Wood finish prep, filler feathering, paint prep stages |
| Primer refinement before colour | 400 to 600 | Fine, uniform scratch for coating adhesion and finish quality | Spray painters, refinishing, high-visibility surfaces |
| Fine denibbing and correction | 800 to 2000+ | Refinement, defect removal, wet sanding | Clear coat correction, delicate finishing work |
There is no universal magic grit. The right answer depends on whether you are stripping, shaping, refining, or finishing. That is why the phrase which sandpaper to use only makes sense when the stage is named as well.
Best setups for panel, wood, and paint
Best setup for panel shops
For filler shaping and heavy prep, start with coarse ceramic where speed matters. Then step to a medium grit to remove the heavy scratch and refine the repair. Finish with finer prep before primer. For large-volume prep teams, this is where SPX 150mm ceramic sanding discs in 60–80 grit and SPX 150mm ceramic sanding discs in finer grades fit naturally.
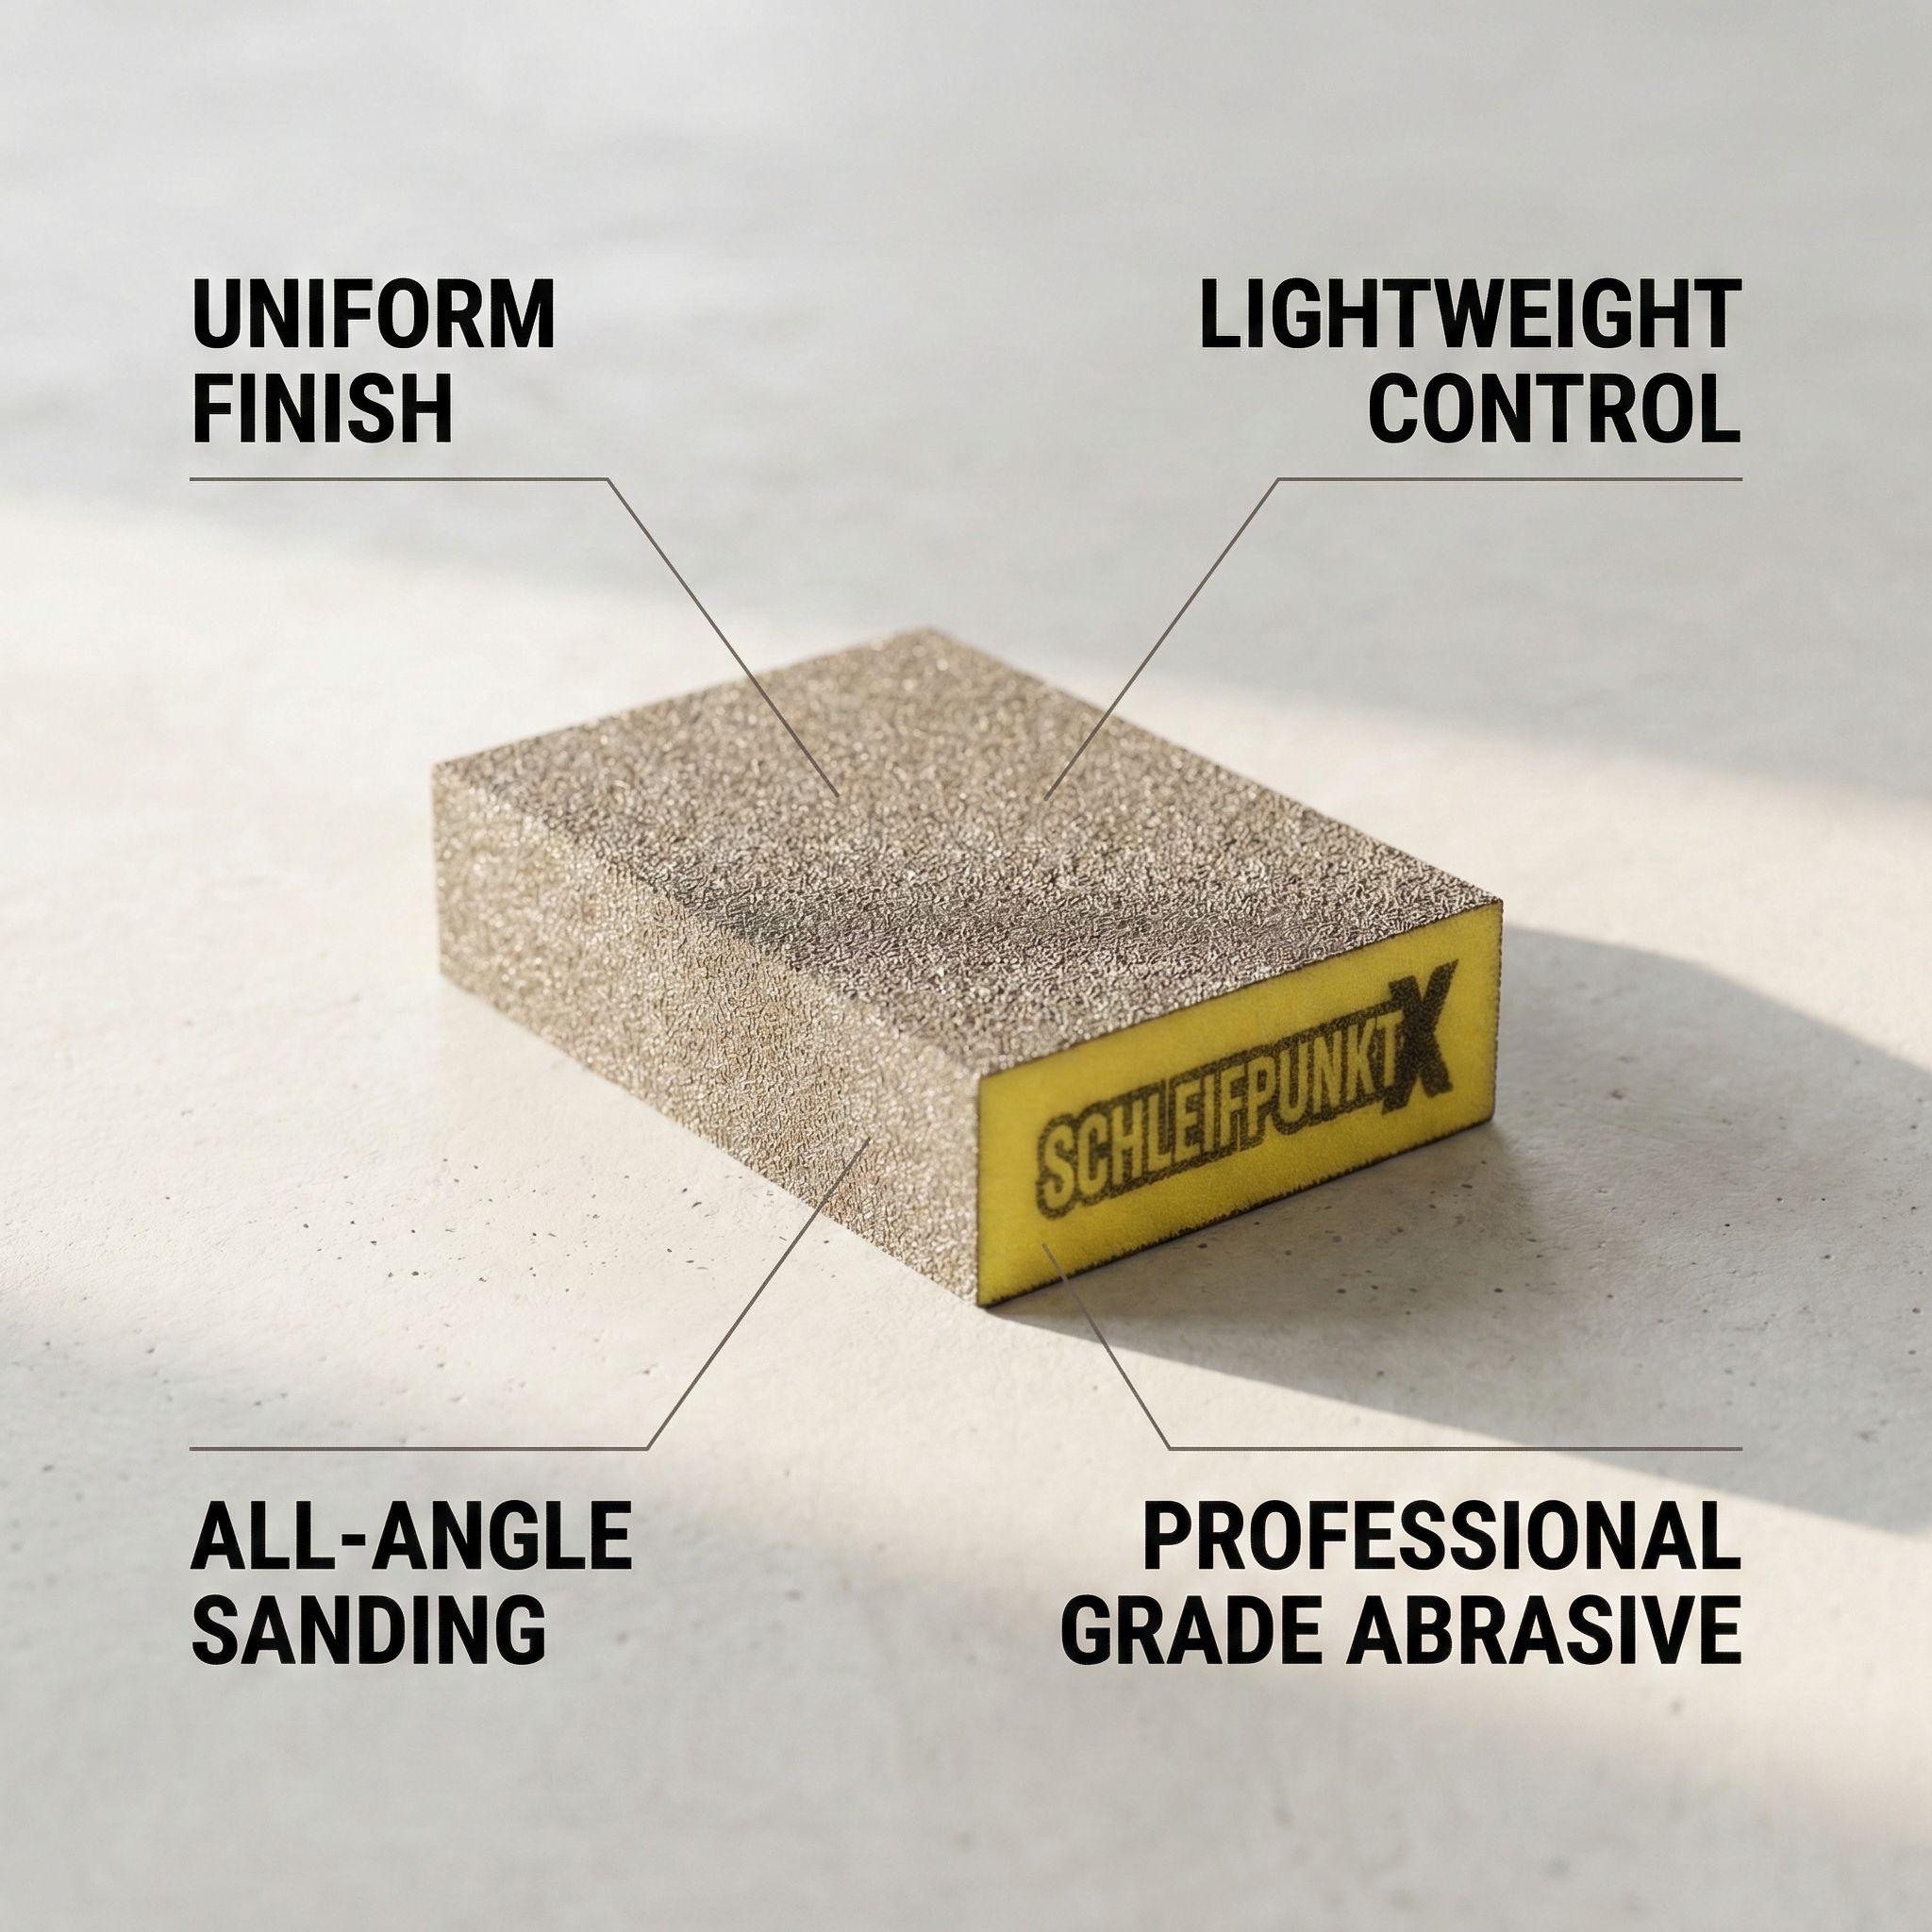
If you are hand blocking filler or chasing panel shape, pair machine sanding with a proper block. For that stage, a product such as the SPX 2-sided sanding block or SPX 4-sided sanding block helps keep repairs flatter and more honest.
Best setup for cabinet makers
Cabinet work usually rewards a steadier hand. Start only as coarse as the job actually needs. Move through the grits without jumping wildly, especially on hardwood, veneer, filler work, and faces that will be stained or cleared. For machine sanding, good extraction and a clean-cut disc matter as much as abrasive type. If the surface is profiled or slightly curved, an interface pad can help the disc follow shape without leaving hard pressure marks.
On MDF, sealers, and painted joinery, a controlled progression saves you from telegraphed scratches later. In other words, do not be fooled by a surface that looks smooth while it is still dusty. Wipe it down and you will find out fast whether the grit jump was too big.
Best setup for spray painters and paint prep
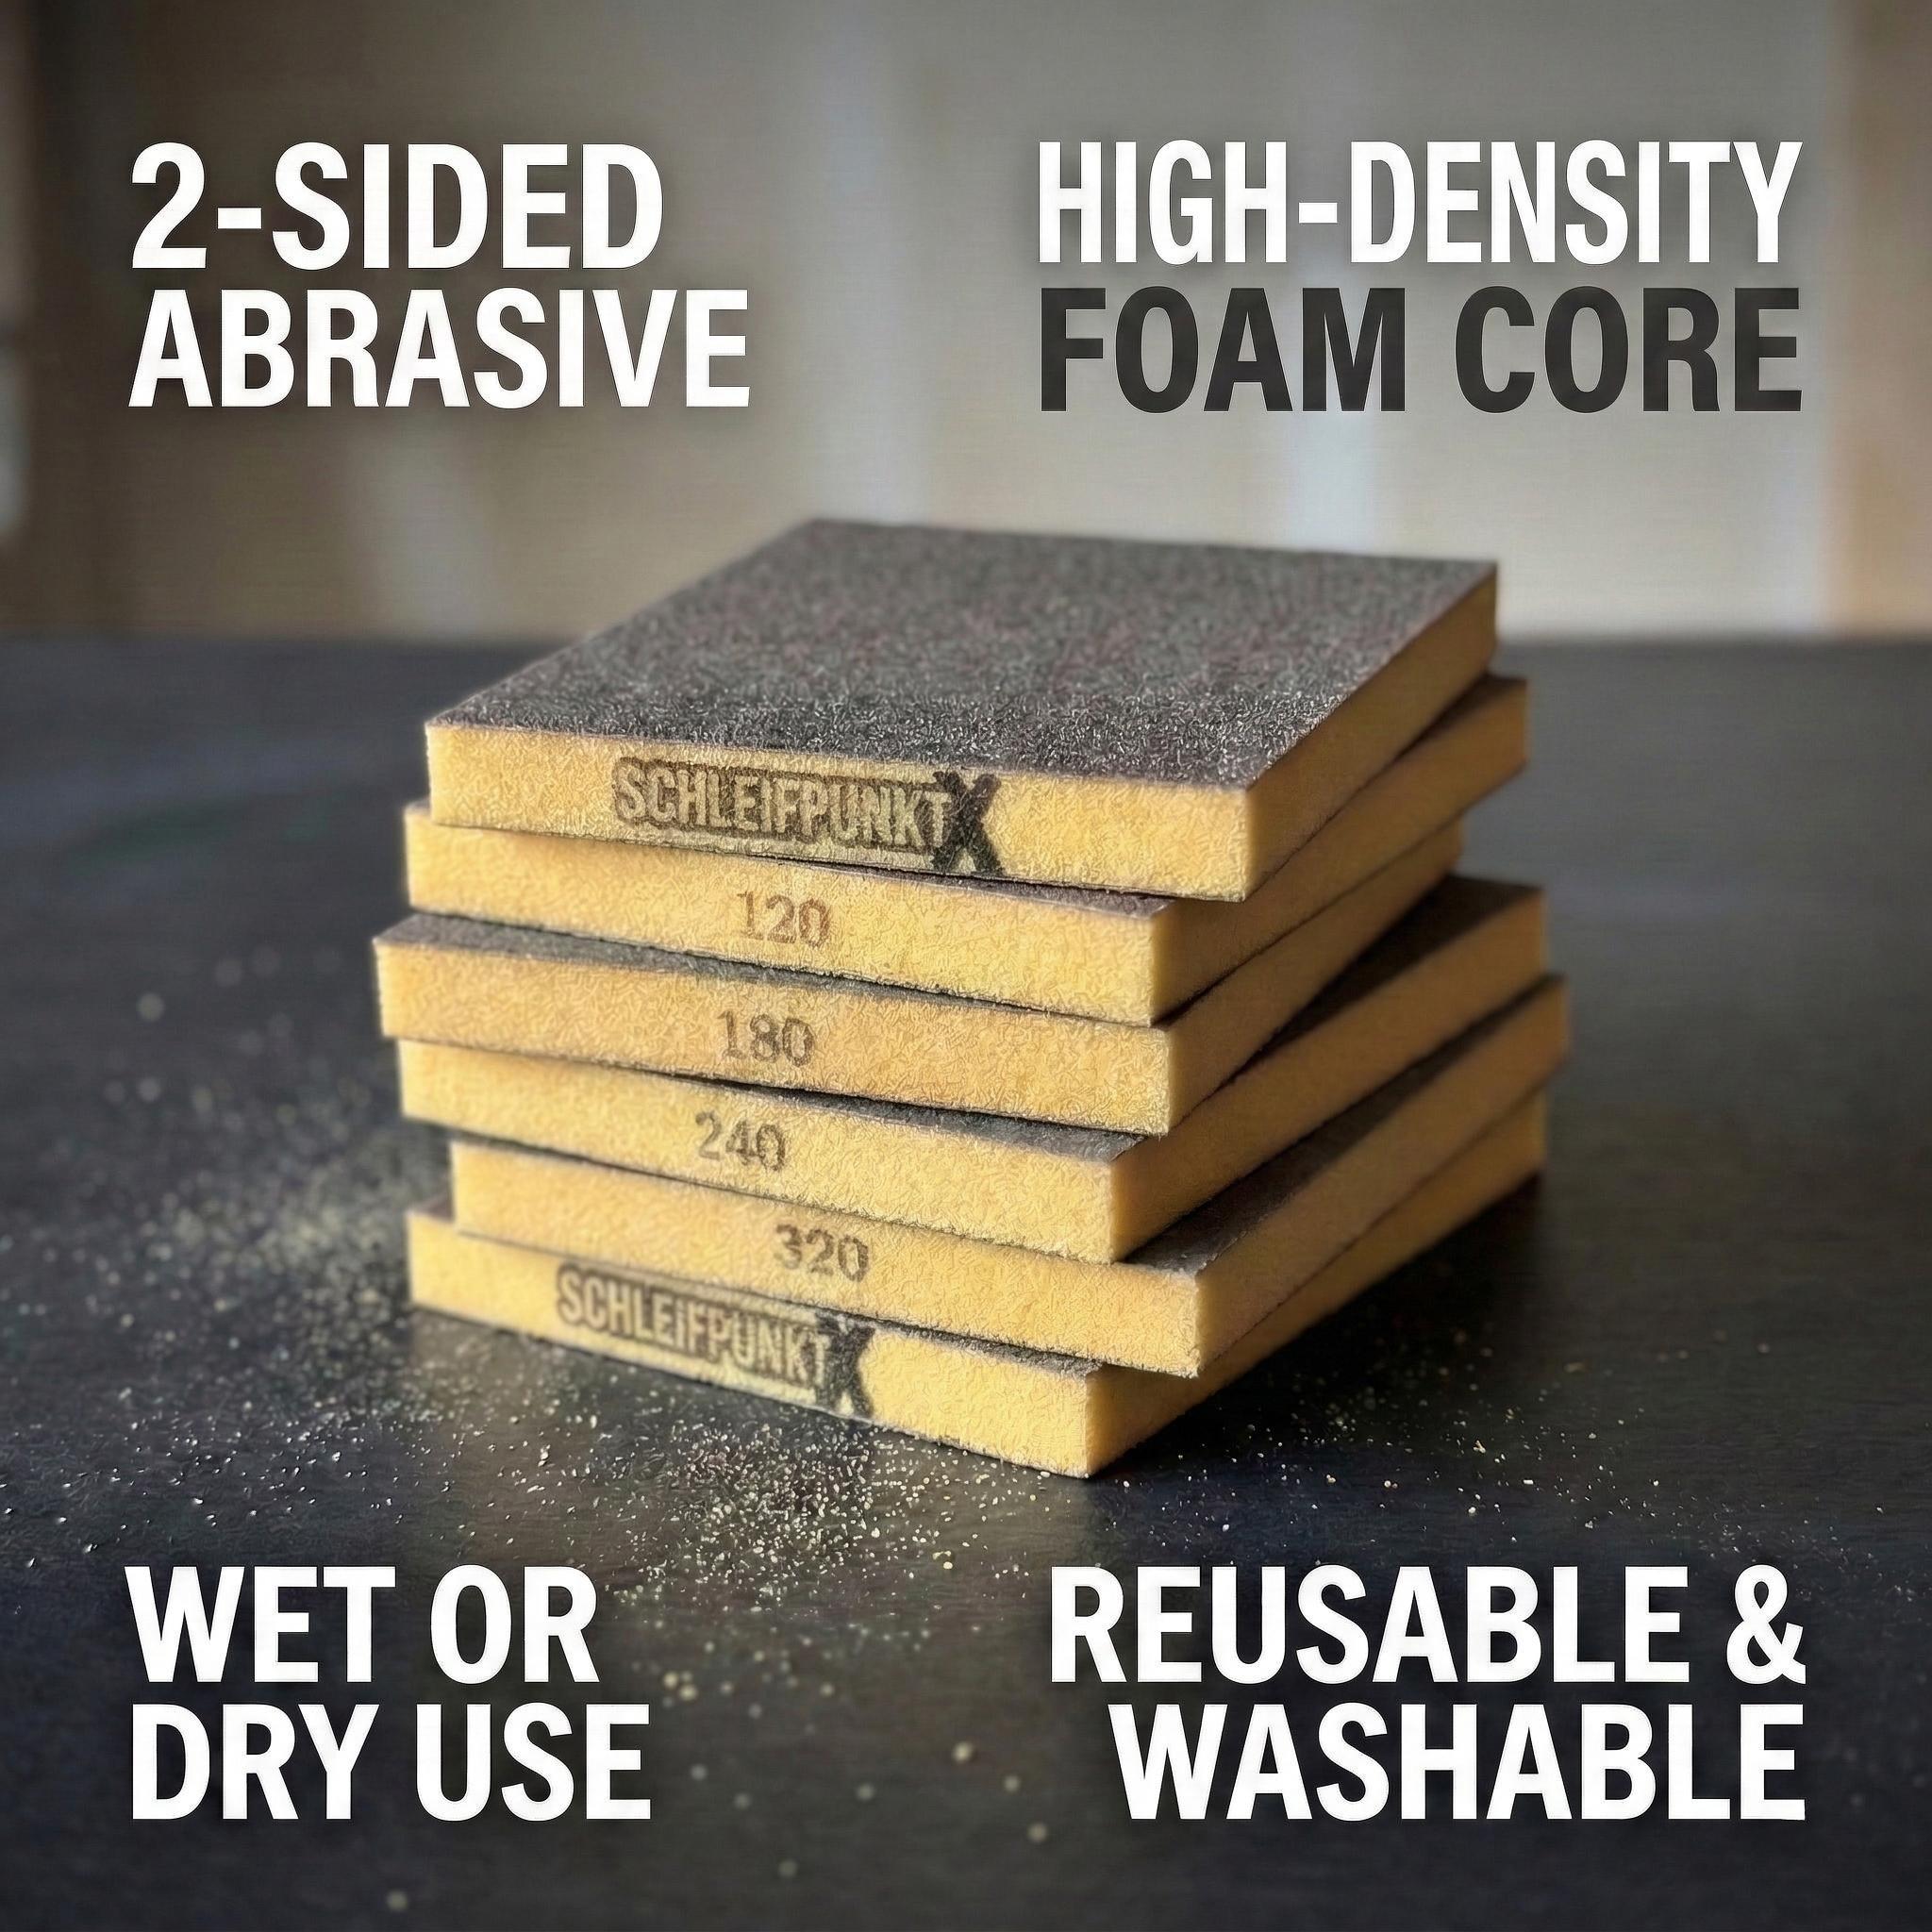
Paint prep is where discipline pays off. Once the surface is straight, stop chasing cut rate and start chasing scratch control. For primer refinement and broader fine prep, discs like the SPX 205mm yellow ceramic sanding disc range make sense for larger work zones. For curved panels, blend areas, or finer finishing, a softer option like the orange sponge-back wet/dry disc or the fine sponge-back wet/dry disc range gives better conformity and edge safety.
Practical rule: If the next stage is primer, your sanding should create a stable base. If the next stage is colour or clear, your sanding should leave as little drama behind as possible.
Common mistakes that ruin sanding results
- Choosing by price alone. Cheap discs often get expensive once labour, change-outs, and rework are counted.
- Using one disc for every stage. Heavy shaping and fine paint prep are different jobs.
- Skipping grit steps. Deep scratches do not disappear because you want them to.
- Ignoring dust extraction. Loaded discs cut worse, run hotter, and hide defects under dust.
- Using a hard setup on soft edges and curves. This is how burn-through happens.
- Cleaning up with compressed air and hope. Dust left on the surface or trapped in the abrasive creates rogue scratches and contamination issues.
There is also the safety side. Sanding timber, paint systems, fillers, and silica-containing materials creates airborne contaminants that need to be managed properly. Good extraction, sensible work practices, and the right PPE are part of the process, not an optional extra. If your team is sanding every day, basic protection such as P2 masks and clear safety specs belongs in the same conversation as grit choice.
How to buy better from a wholesale abrasives Australia supplier
If you are buying for a workshop rather than a single job, supply matters almost as much as performance. A good abrasive supplier Melbourne businesses can rely on should give you more than a catalogue and a price list. You want steady availability, sensible pack sizes, grit coverage that matches your workflow, and support when you are trying to standardise products across a team.
Ask these questions before you buy:
- Does the abrasive range cover rough removal through to fine finishing?
- Are the hole patterns and sizes compatible with your current sanders and pads?
- Can you standardise on a small number of discs for most of your work?
- Is the supply reliable enough for regular trade use?
- Can you access bulk pricing without compromising on quality?
For trade buyers looking for wholesale abrasives Australia wide, the goal is simple: fewer substitutions, fewer supply headaches, and less time trying to make the wrong disc do the wrong job.
Request wholesale pricing if you are buying on volume, or contact the SPX team if you want to talk through the right setup for your workshop. You can also browse the full SPX range or head straight to the sanding discs category.
Frequently asked questions
Are ceramic sanding discs worth it for every workshop?
No. They make the most sense where the work is hard on abrasives or the workshop is moving volume. In panel shops and heavy prep, ceramic usually pays for itself. In light-use or delicate finishing stages, a less aggressive option may be the smarter buy.
What grit should I use before primer or paint?
That depends on the system and stage, but many workshops work in the 240 to 320 range before primer prep, then 400 to 600 for final primer refinement before colour. The key is matching the scratch profile to the coating that comes next.
What size disc is best for most workshops?
150mm is the common all-rounder for many random orbital and DA setups because it balances coverage, control, and product availability. Larger discs can make sense on broad surfaces. Smaller or softer systems are better for tight contours and delicate work.
Why do my discs clog so fast?
Usually because the abrasive is not suited to the material, dust extraction is poor, the disc quality is low, or too much pressure is being used. Loaded discs stop cutting properly and start rubbing heat into the surface.
Can I use the same sanding discs on timber and automotive work?
Sometimes, yes. But the stage matters more than the substrate label. A disc that works on filler or primer may be too aggressive for a veneered cabinet panel. A disc that gives beautiful timber finish control may be too slow for rough automotive prep. Match the disc to the task, not just the material category.
Featured Products From This Article
Quick picks already referenced in this guide.
Recommended reading
Comparing SPX with the big abrasive brands
Once you know which disc suits your work, the next question is usually which brand. These side-by-side guides keep it fair across cut, fitment, and cost per job.
- SPX vs 3M sanding discs — ceramic cut against 3M Cubitron.
- SPX vs Mirka sanding discs — dust extraction and format compared.
- SPX vs Norton abrasives — refinish focus versus a broad industrial catalogue.